
Multi-drop test images
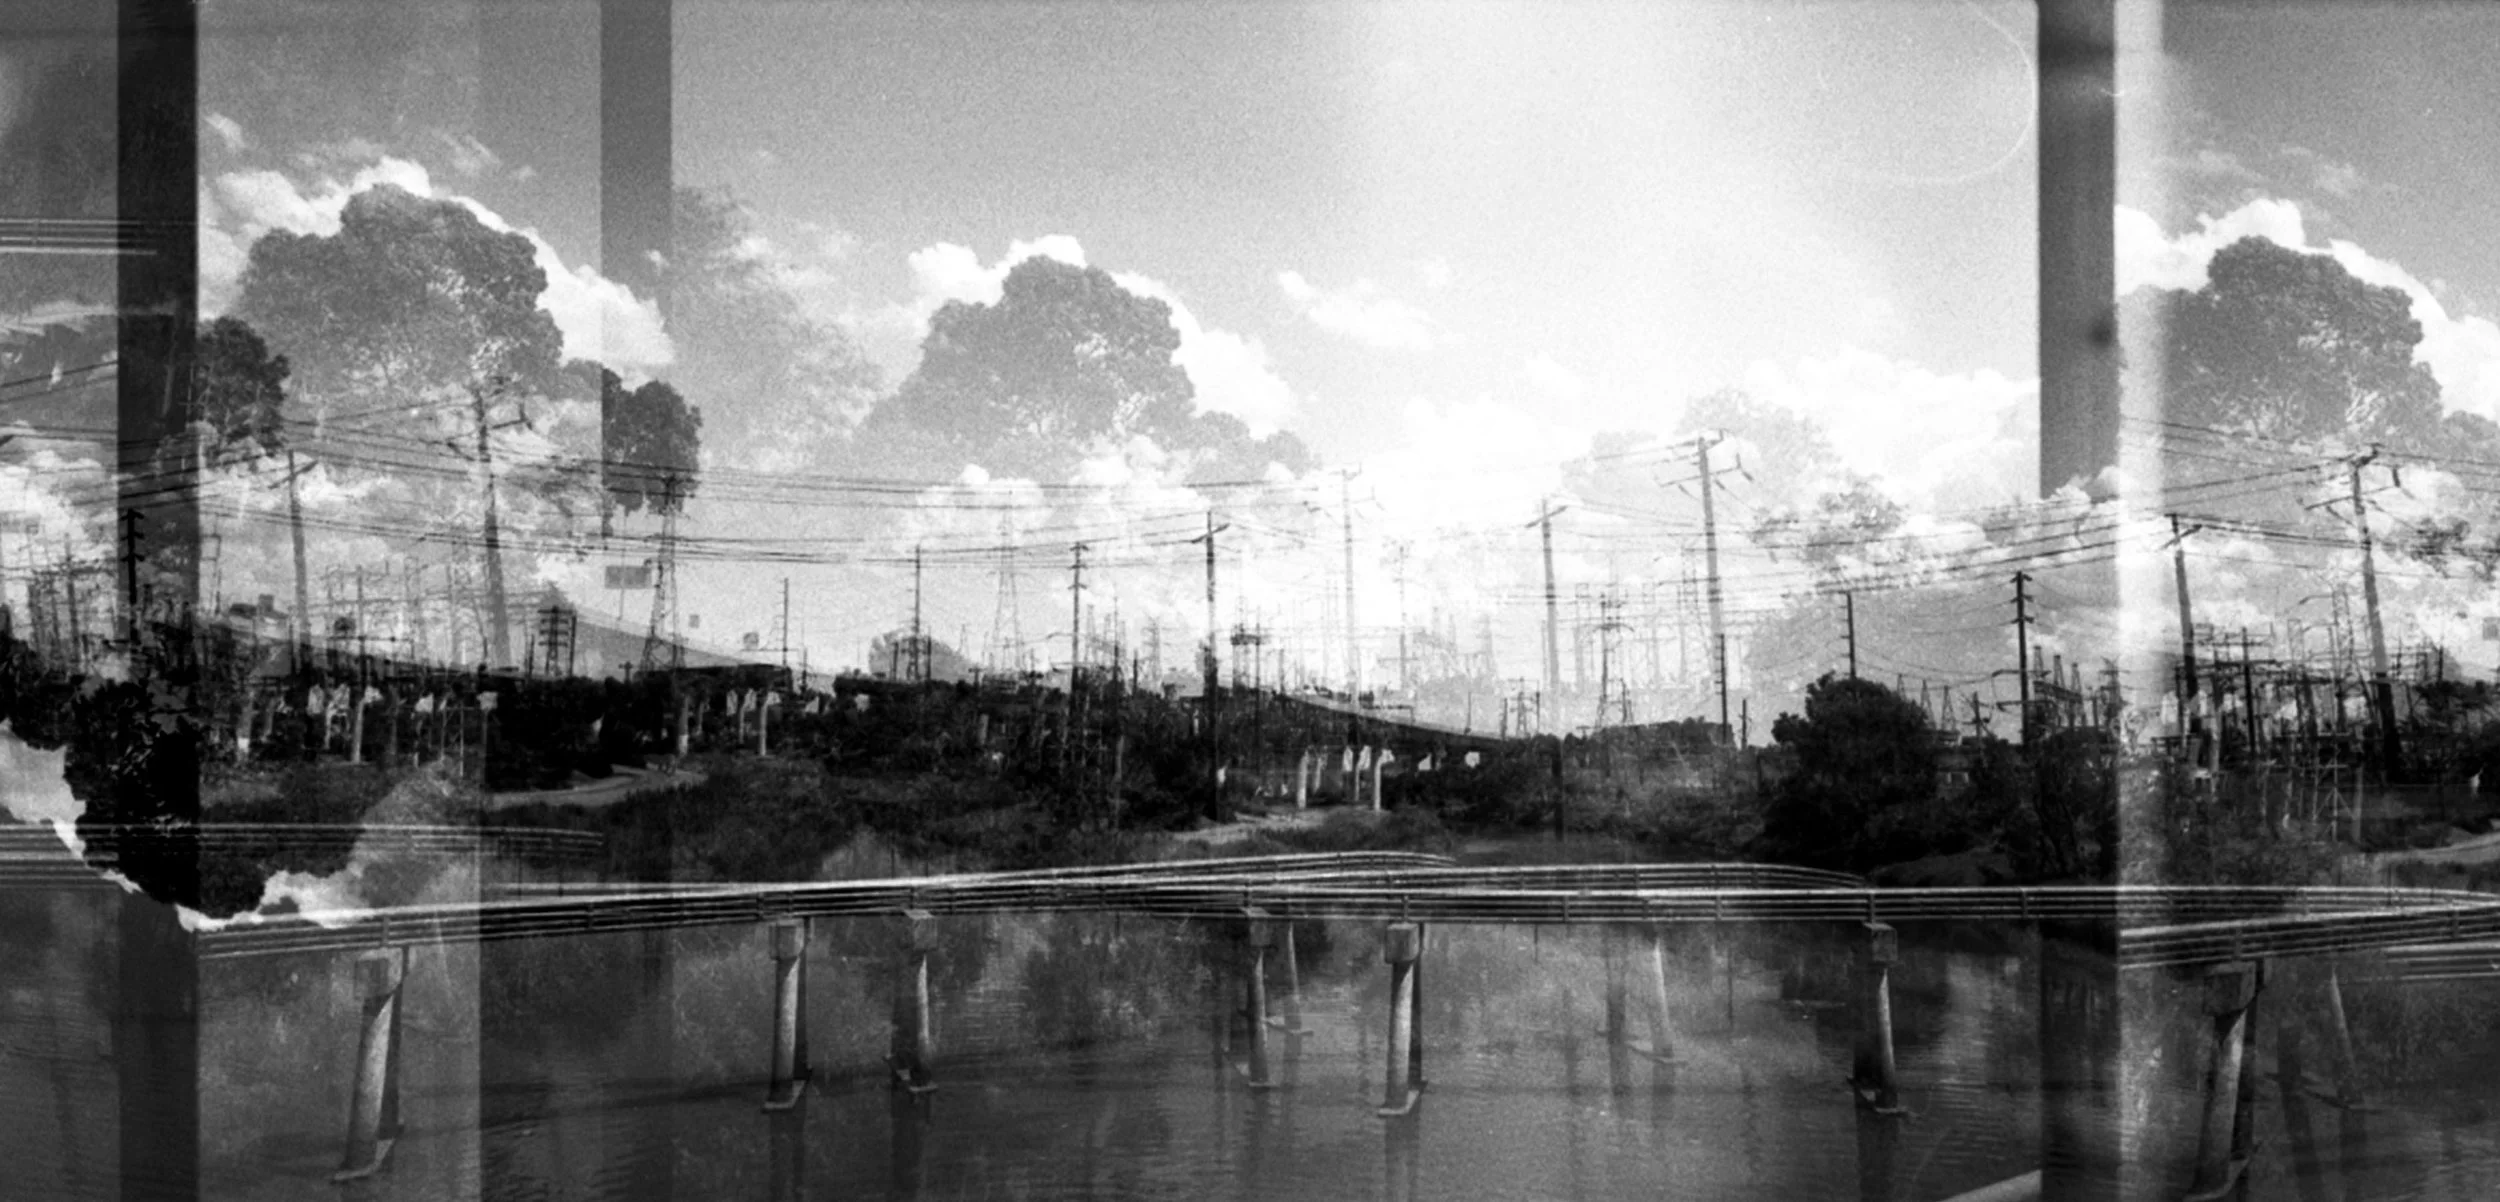
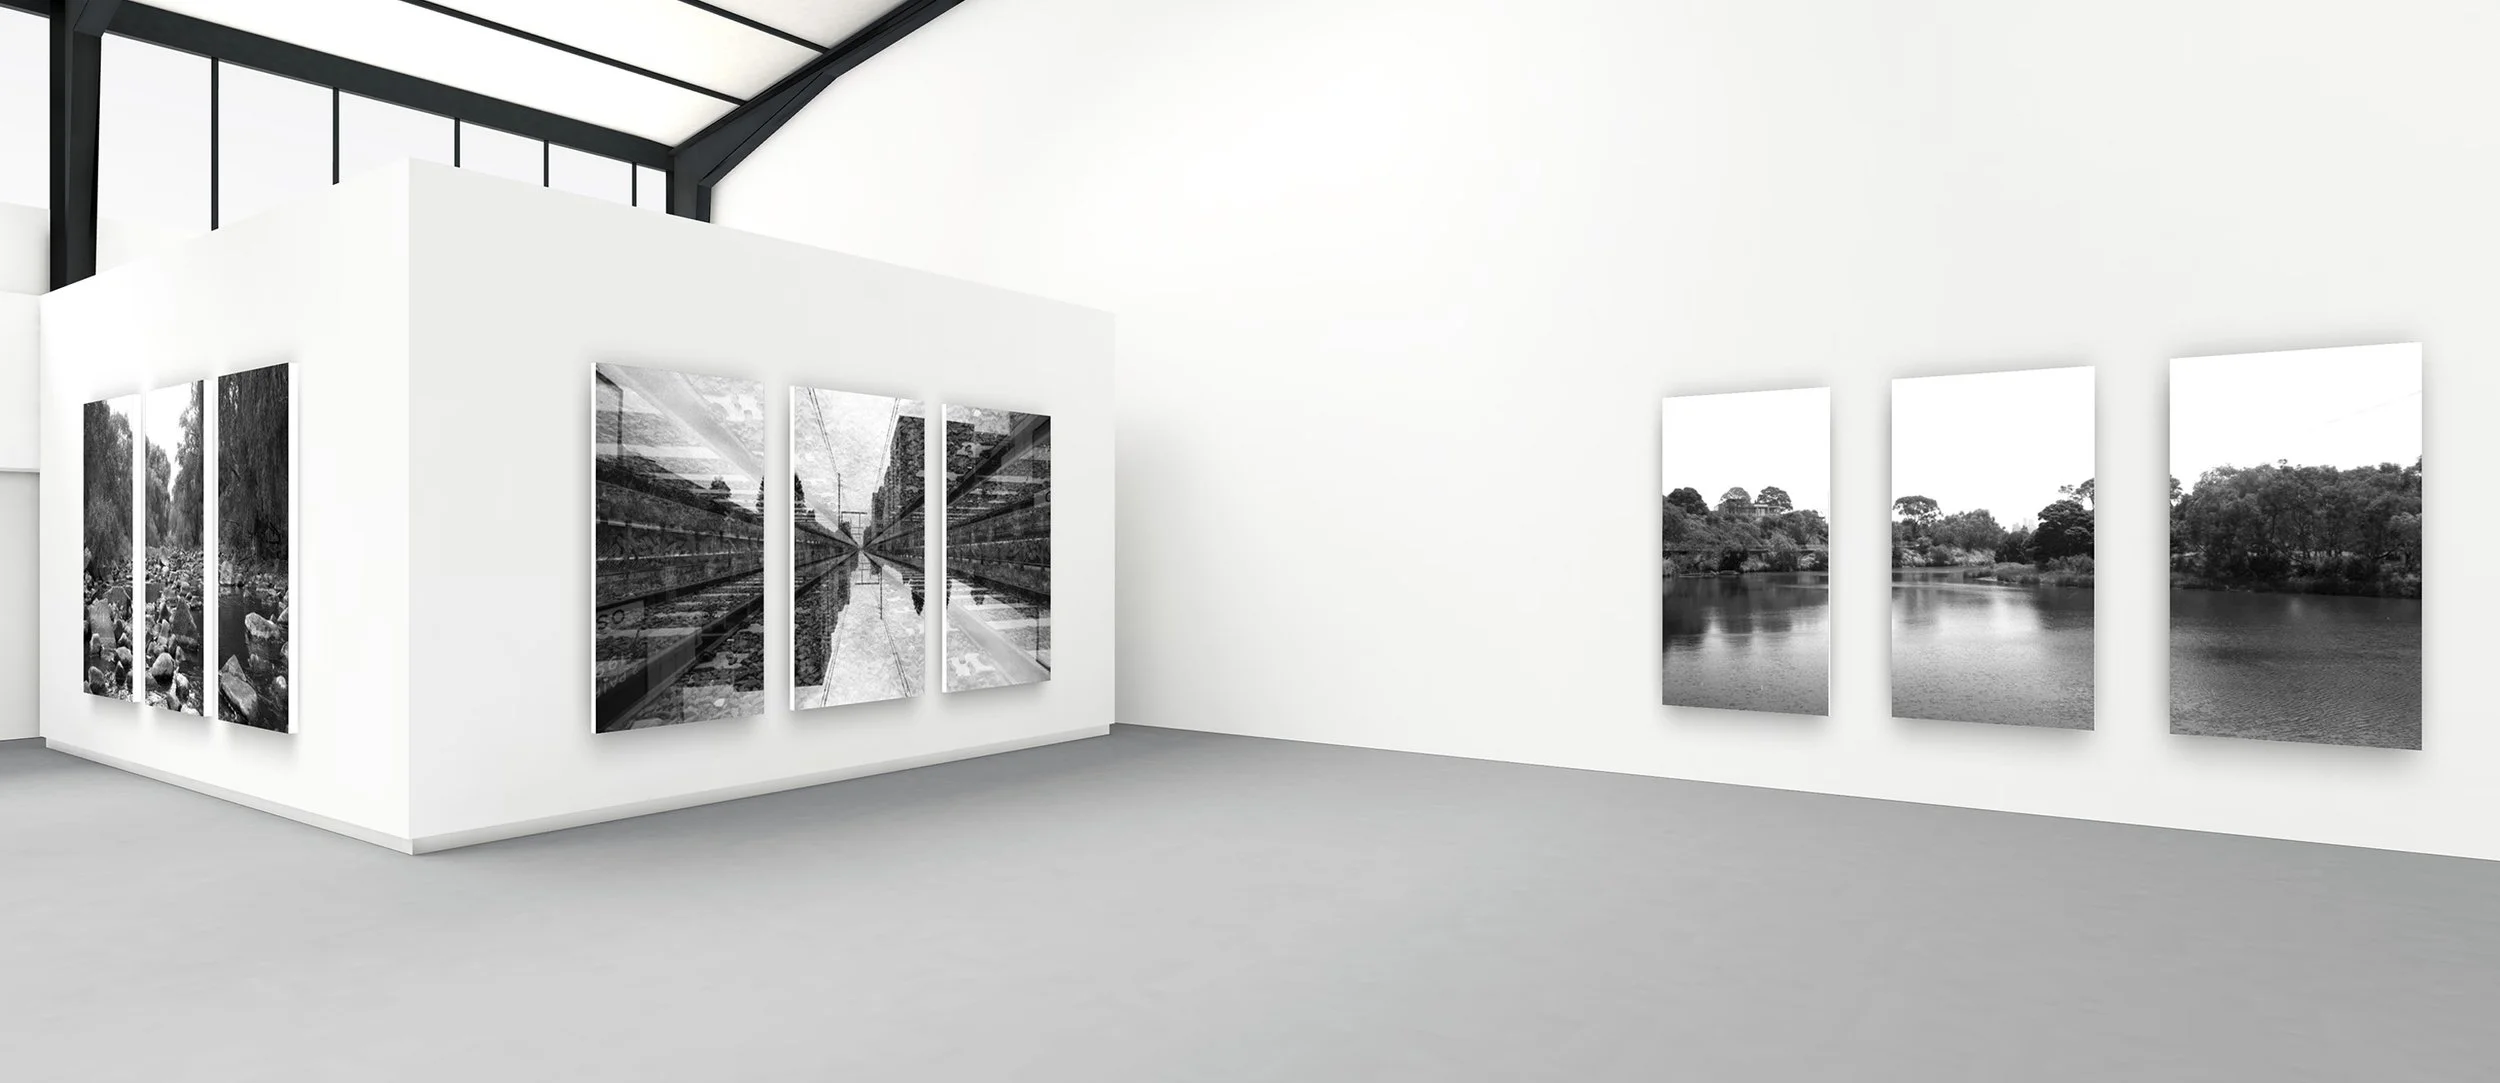
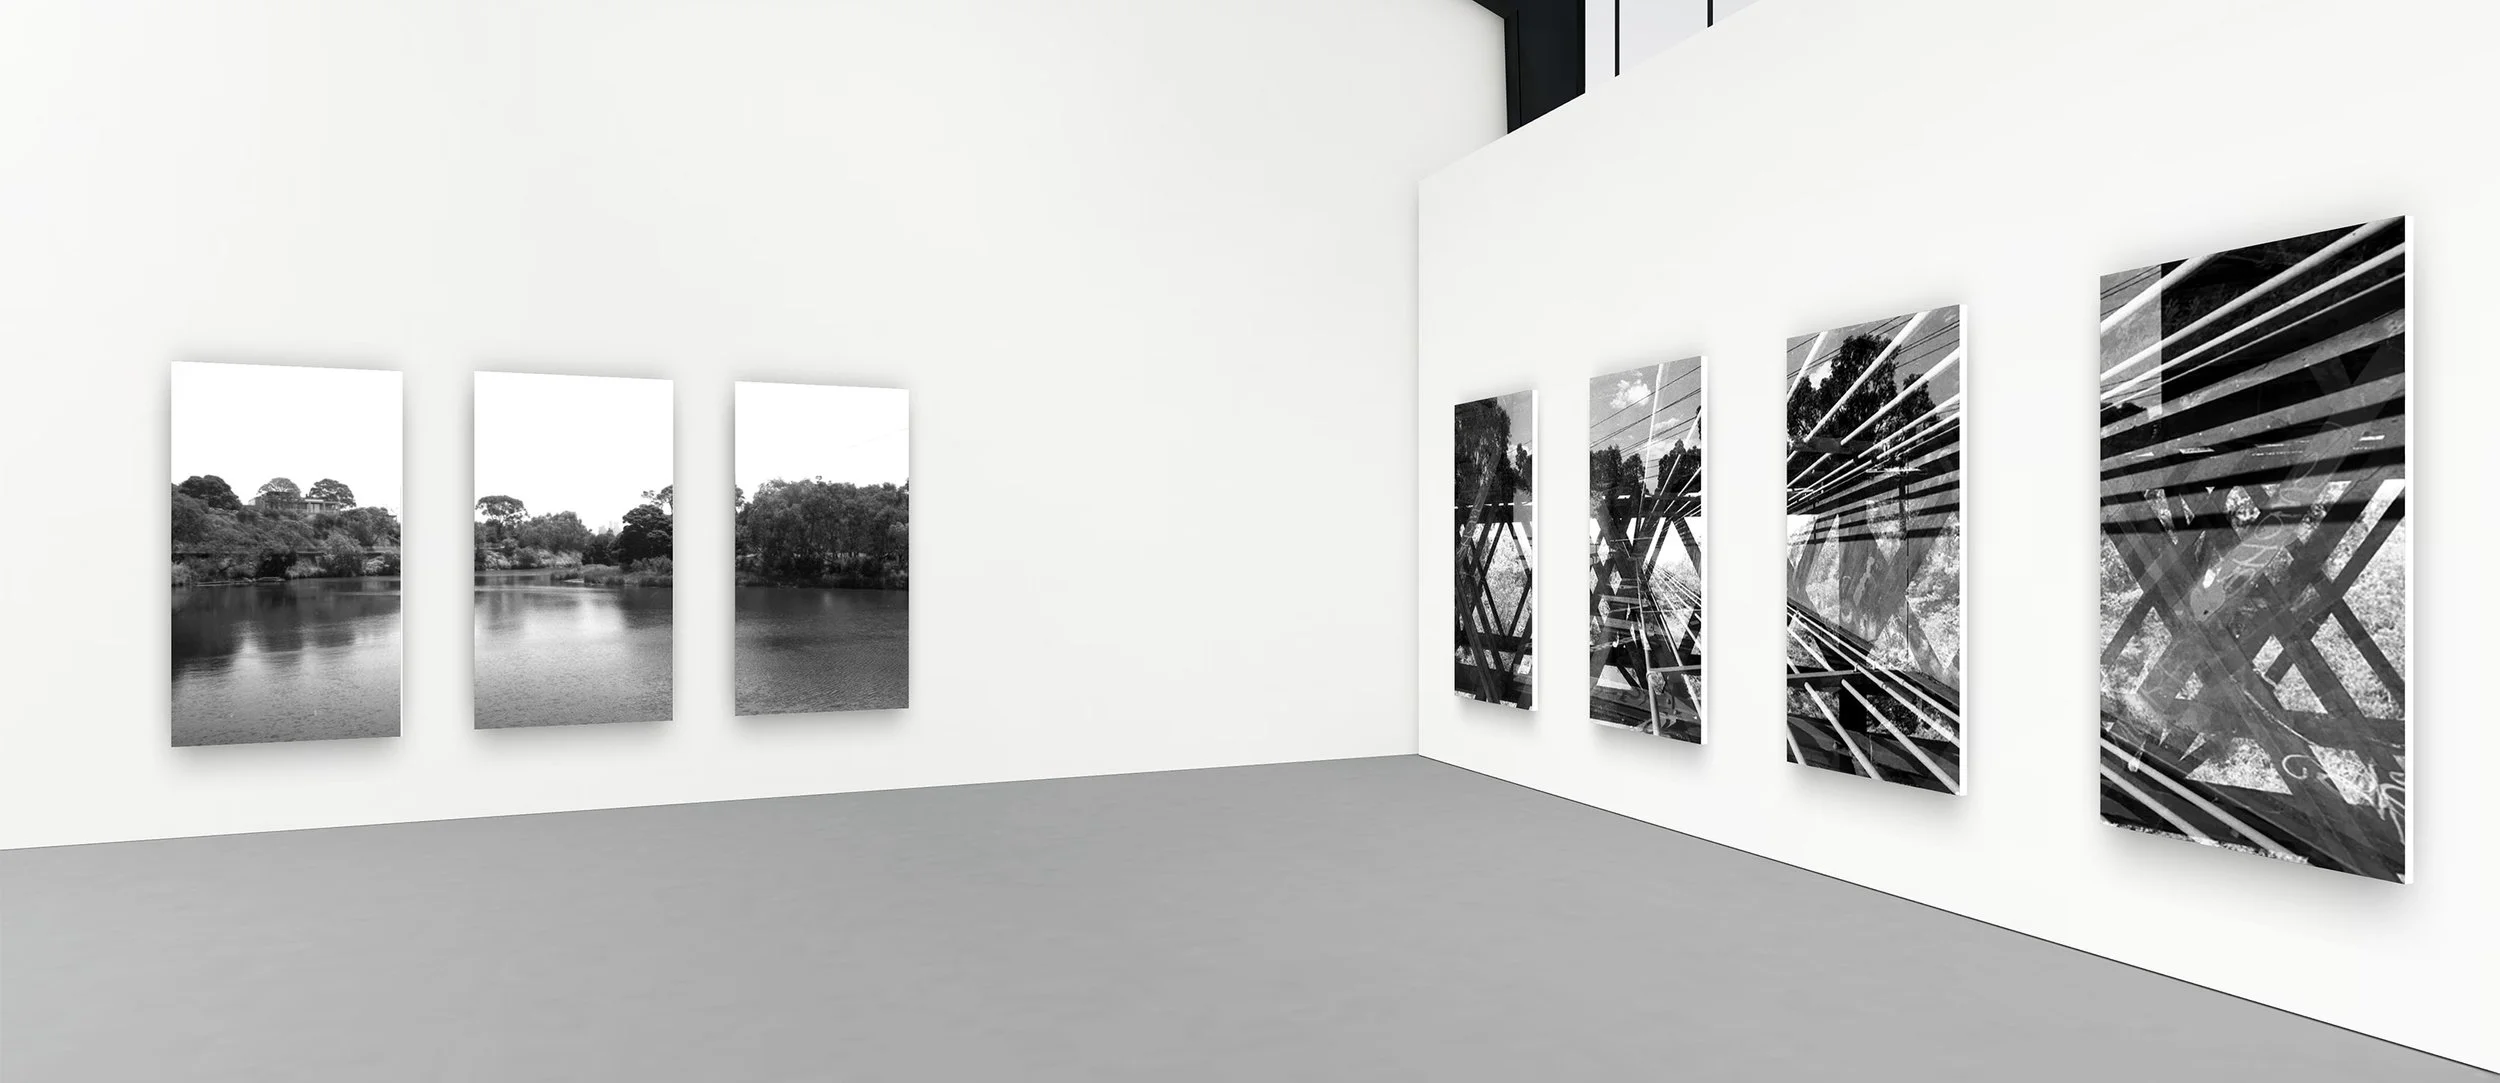
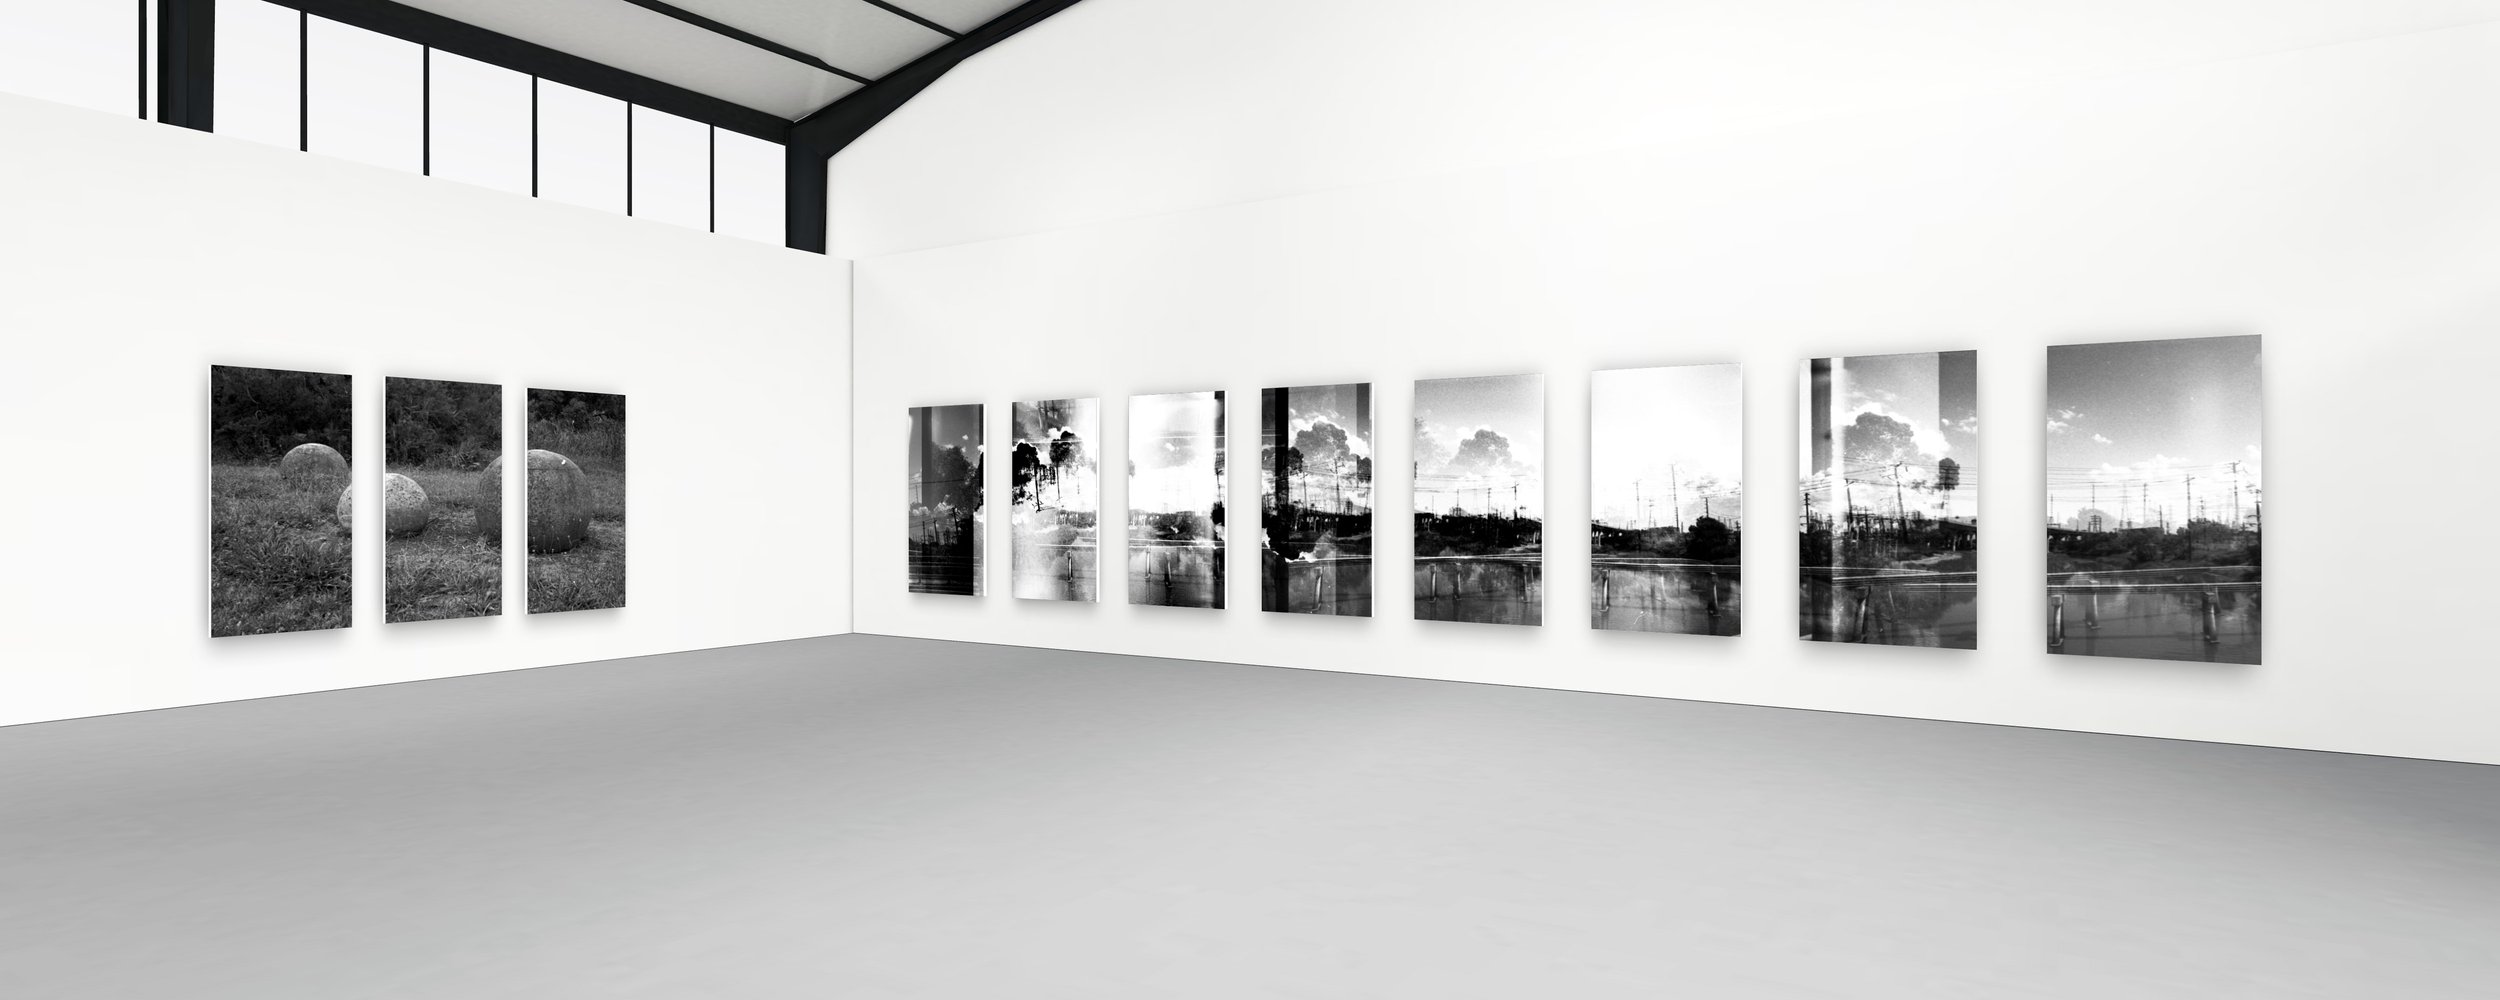
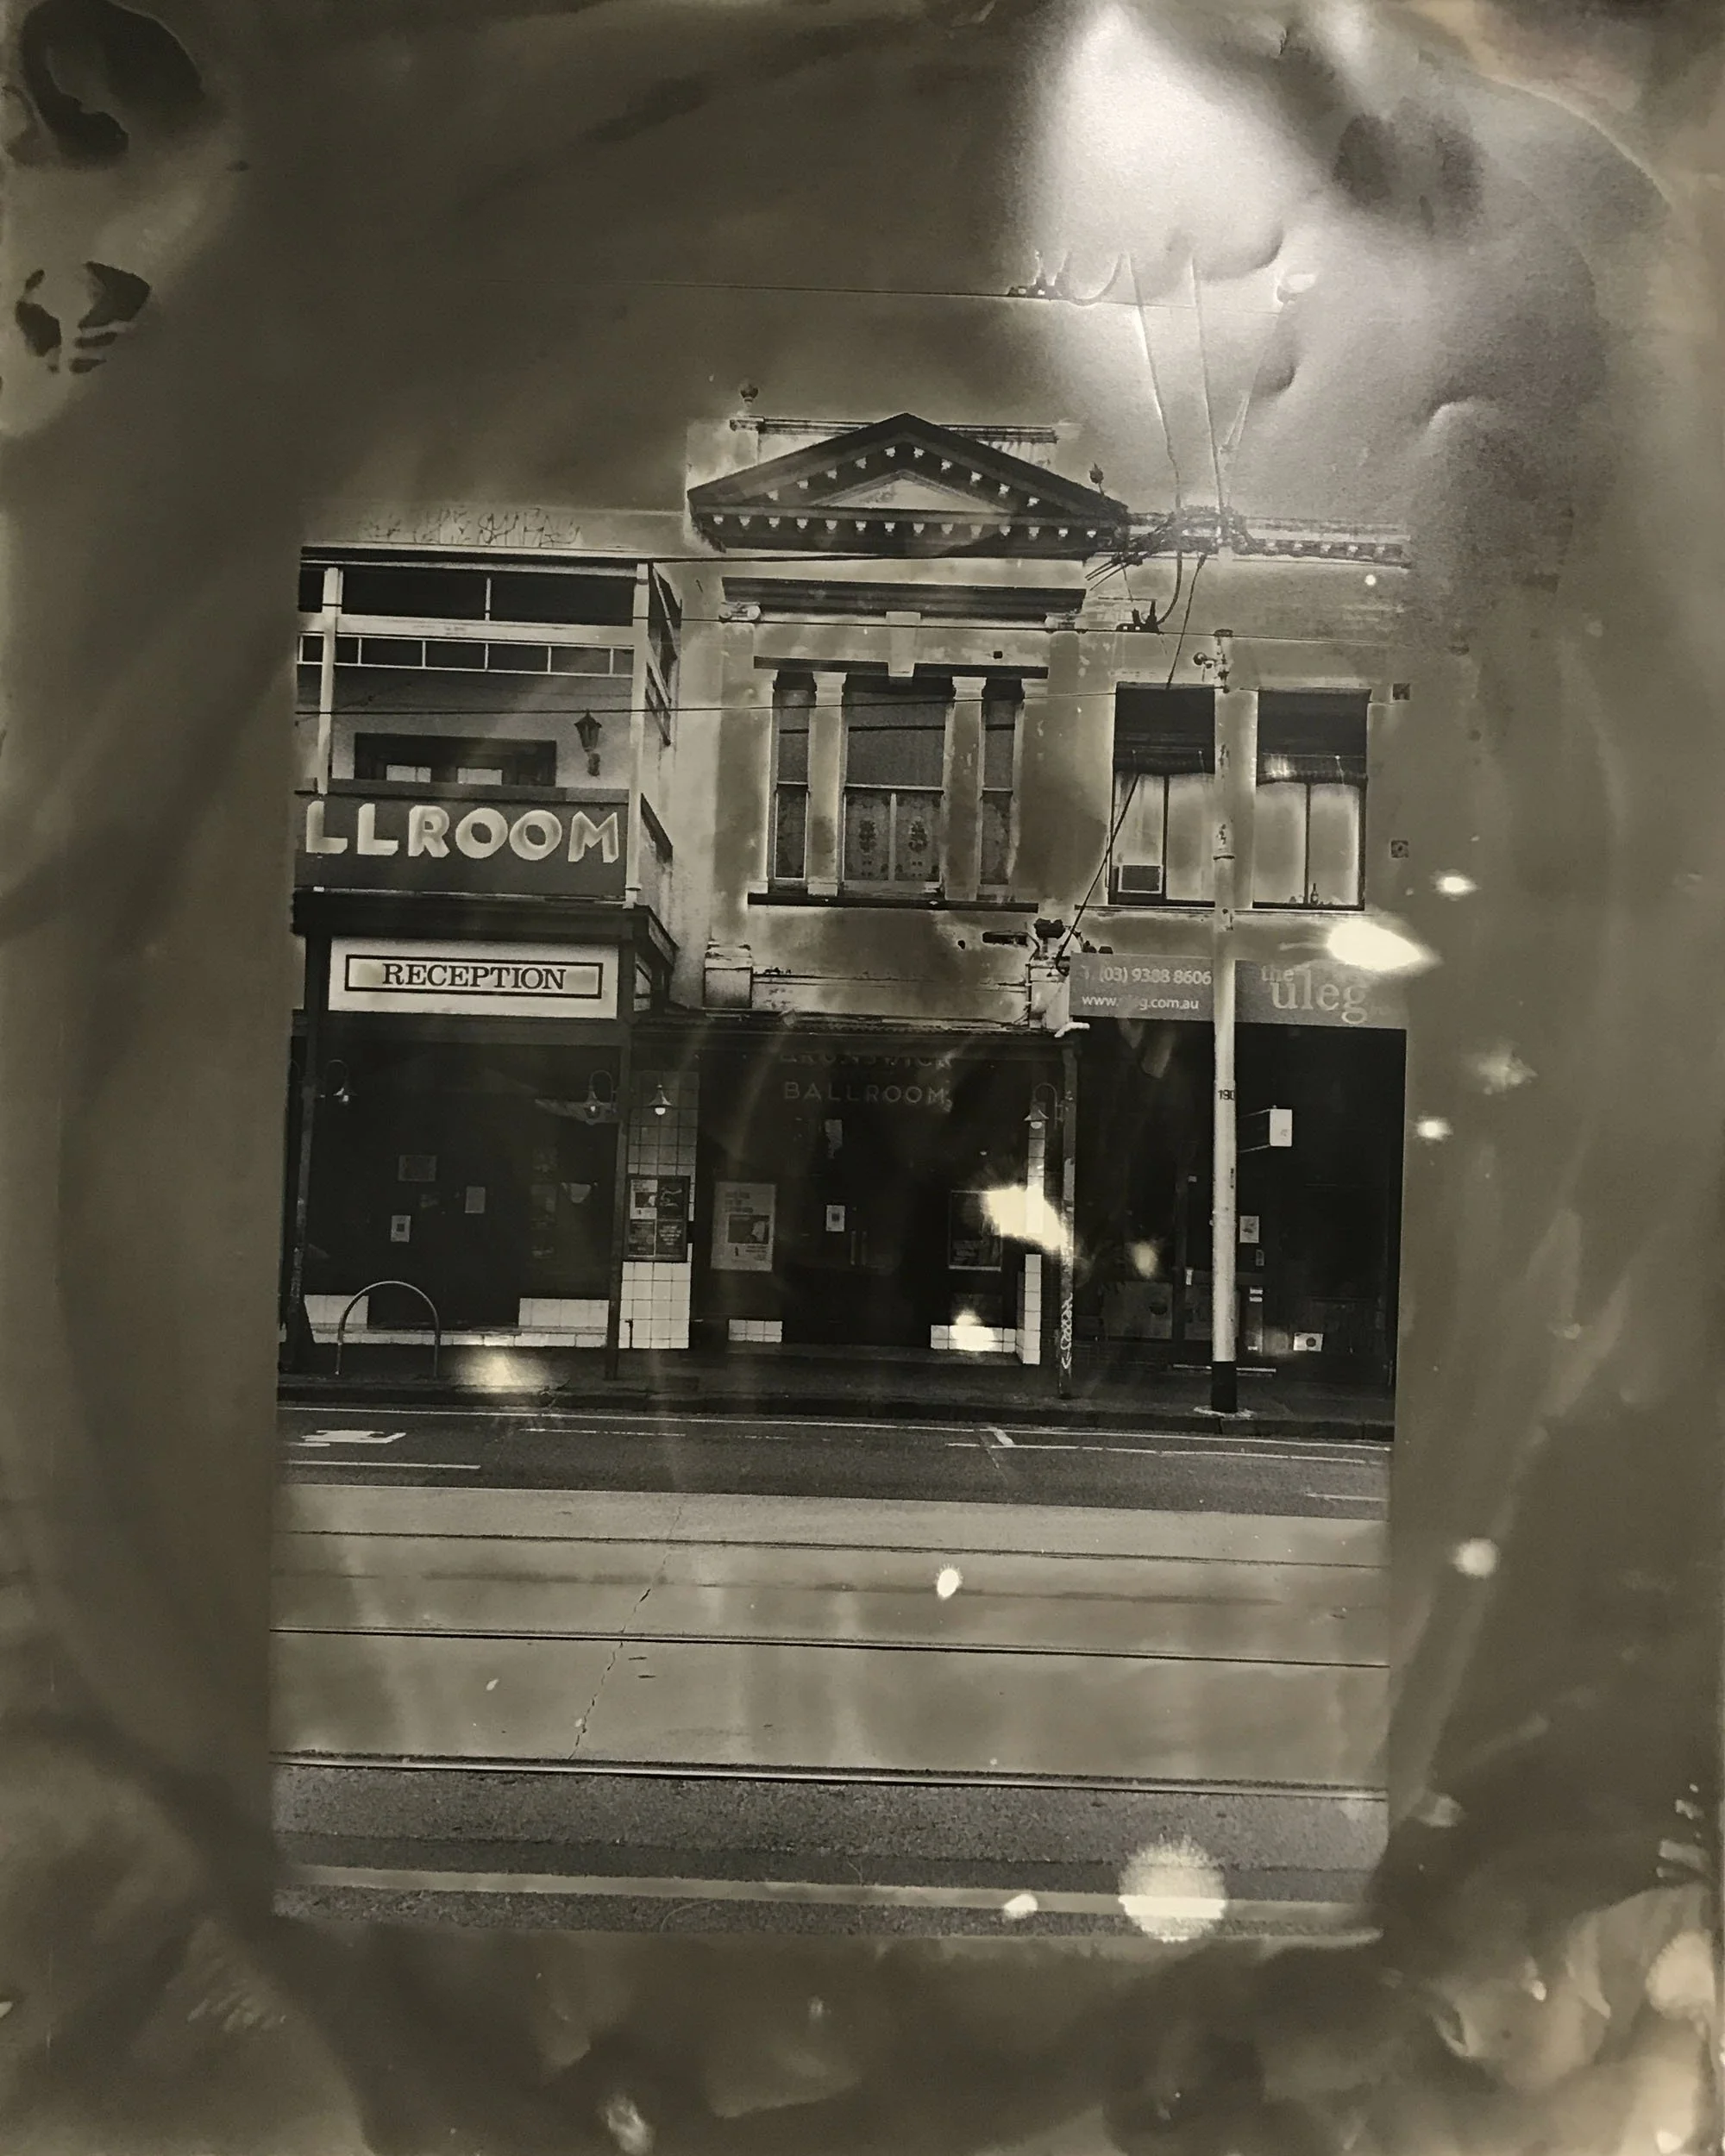
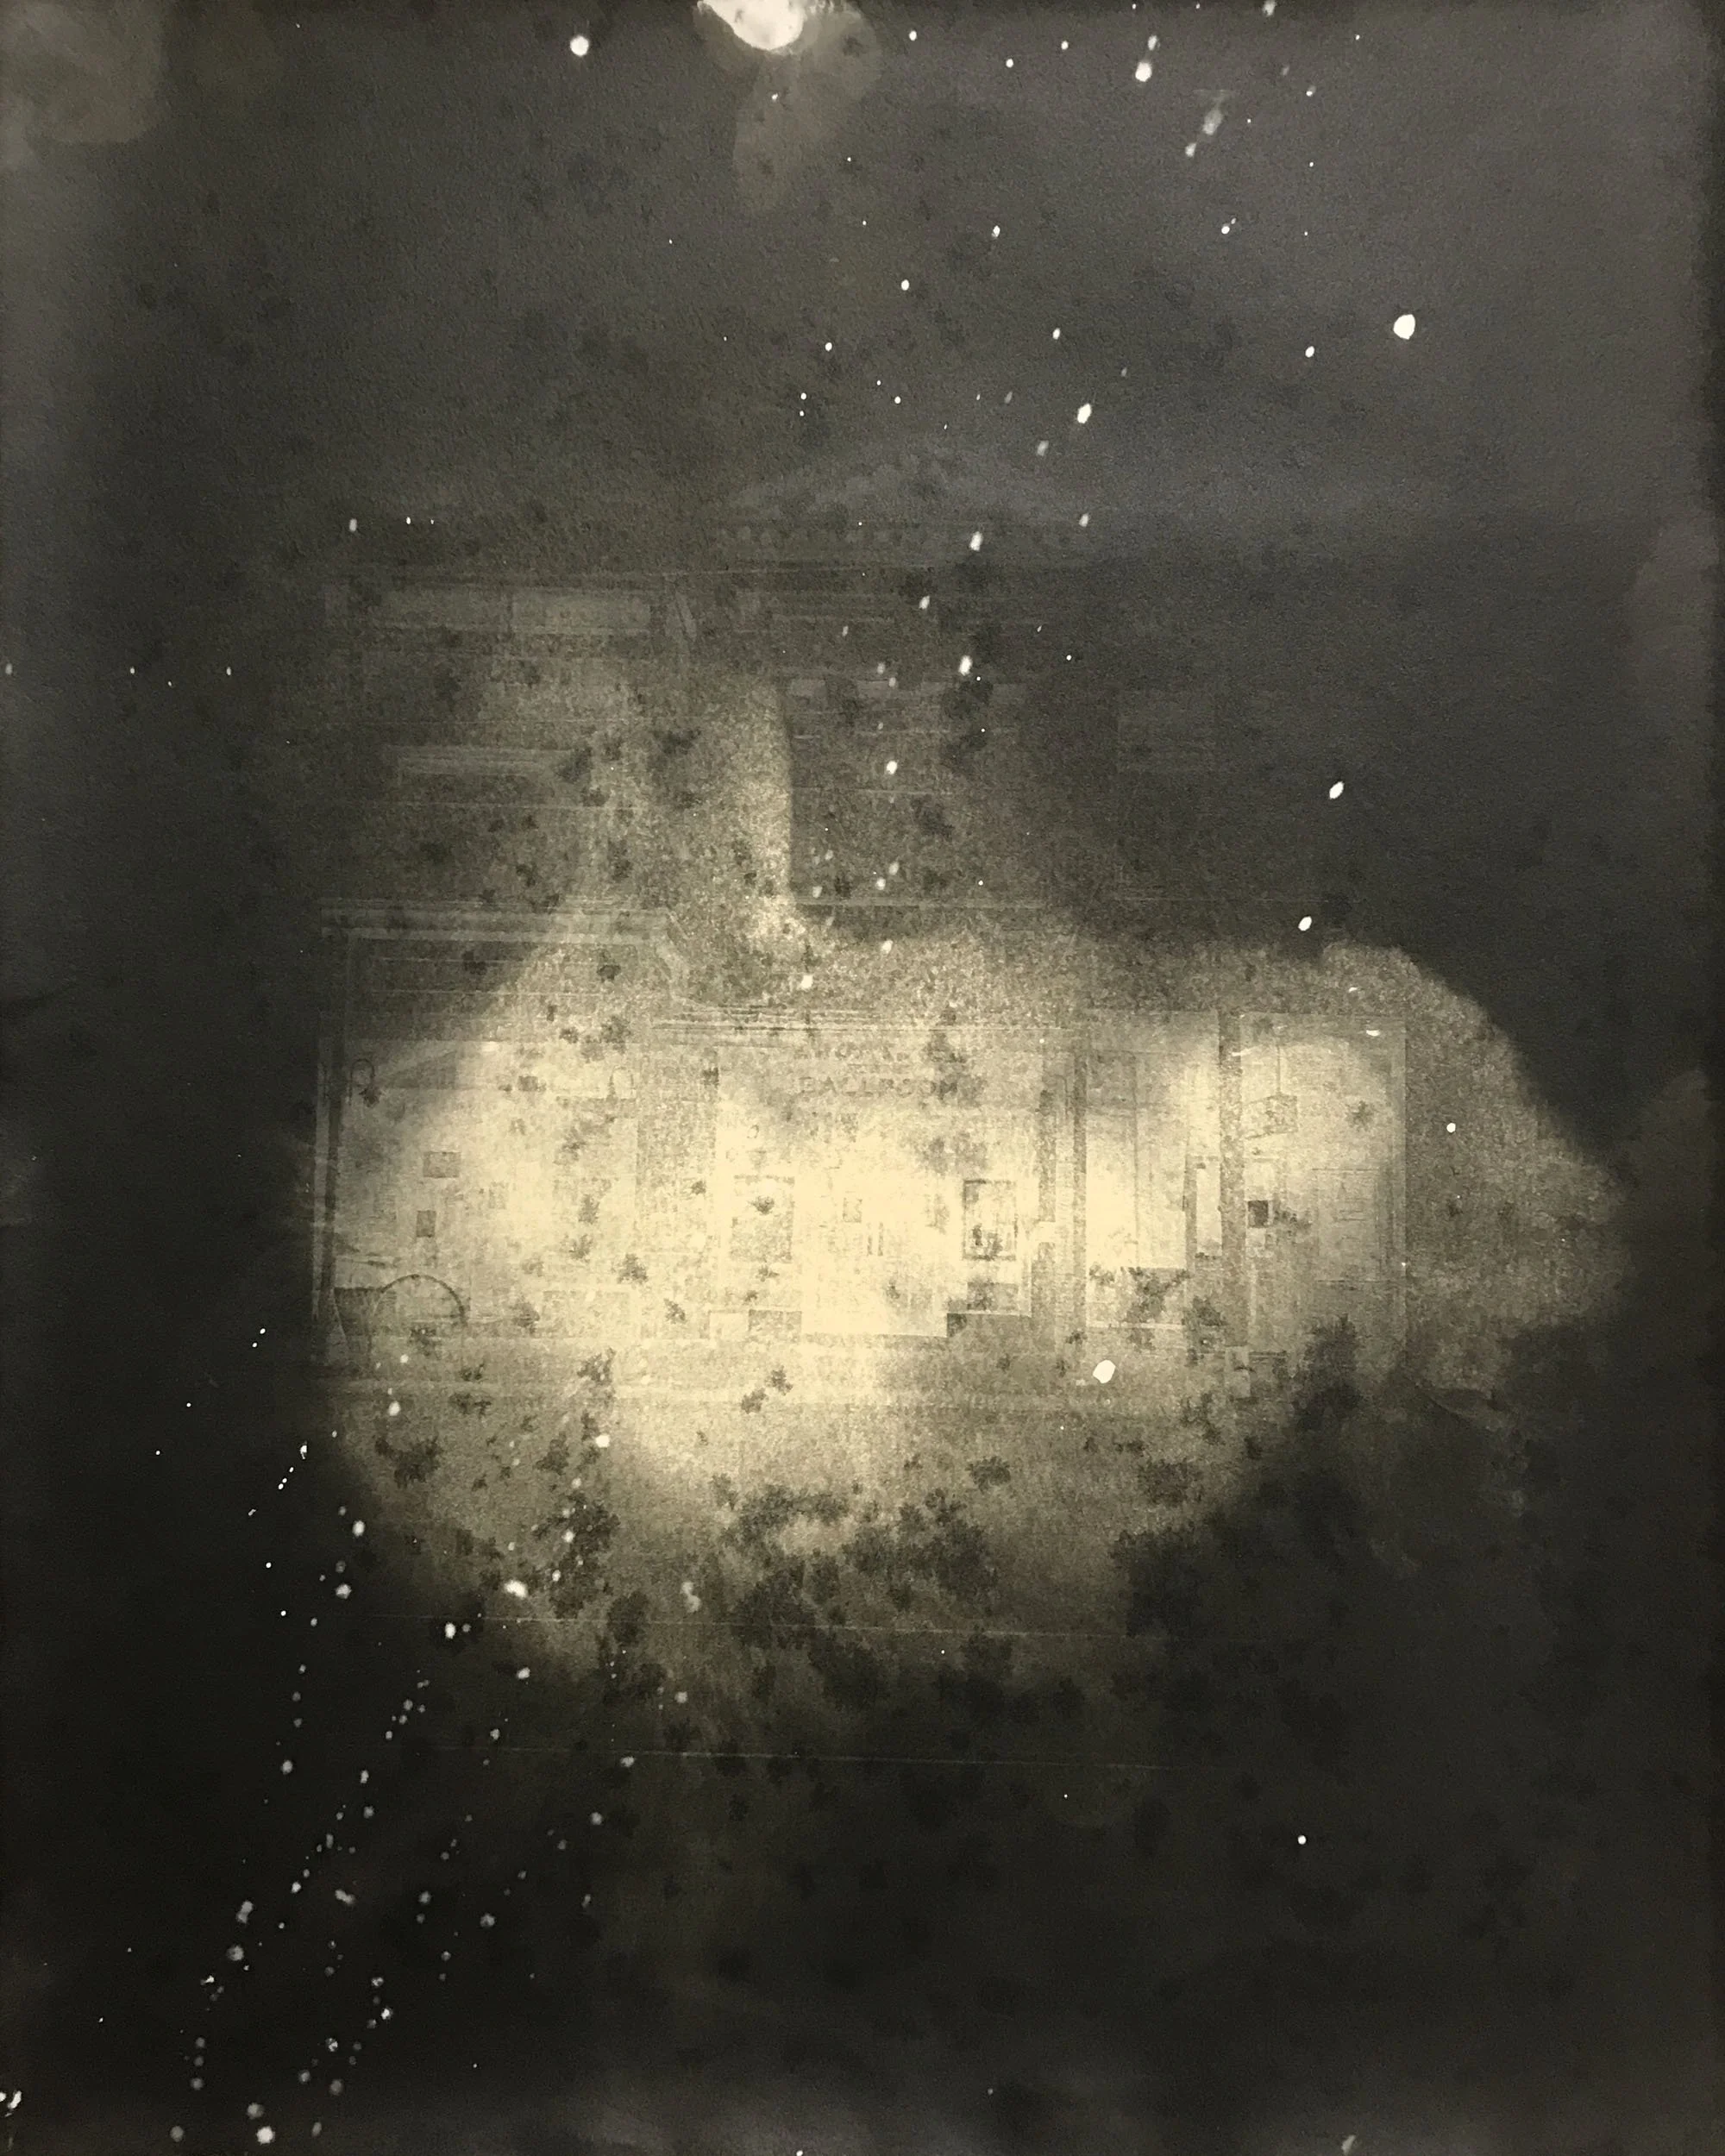
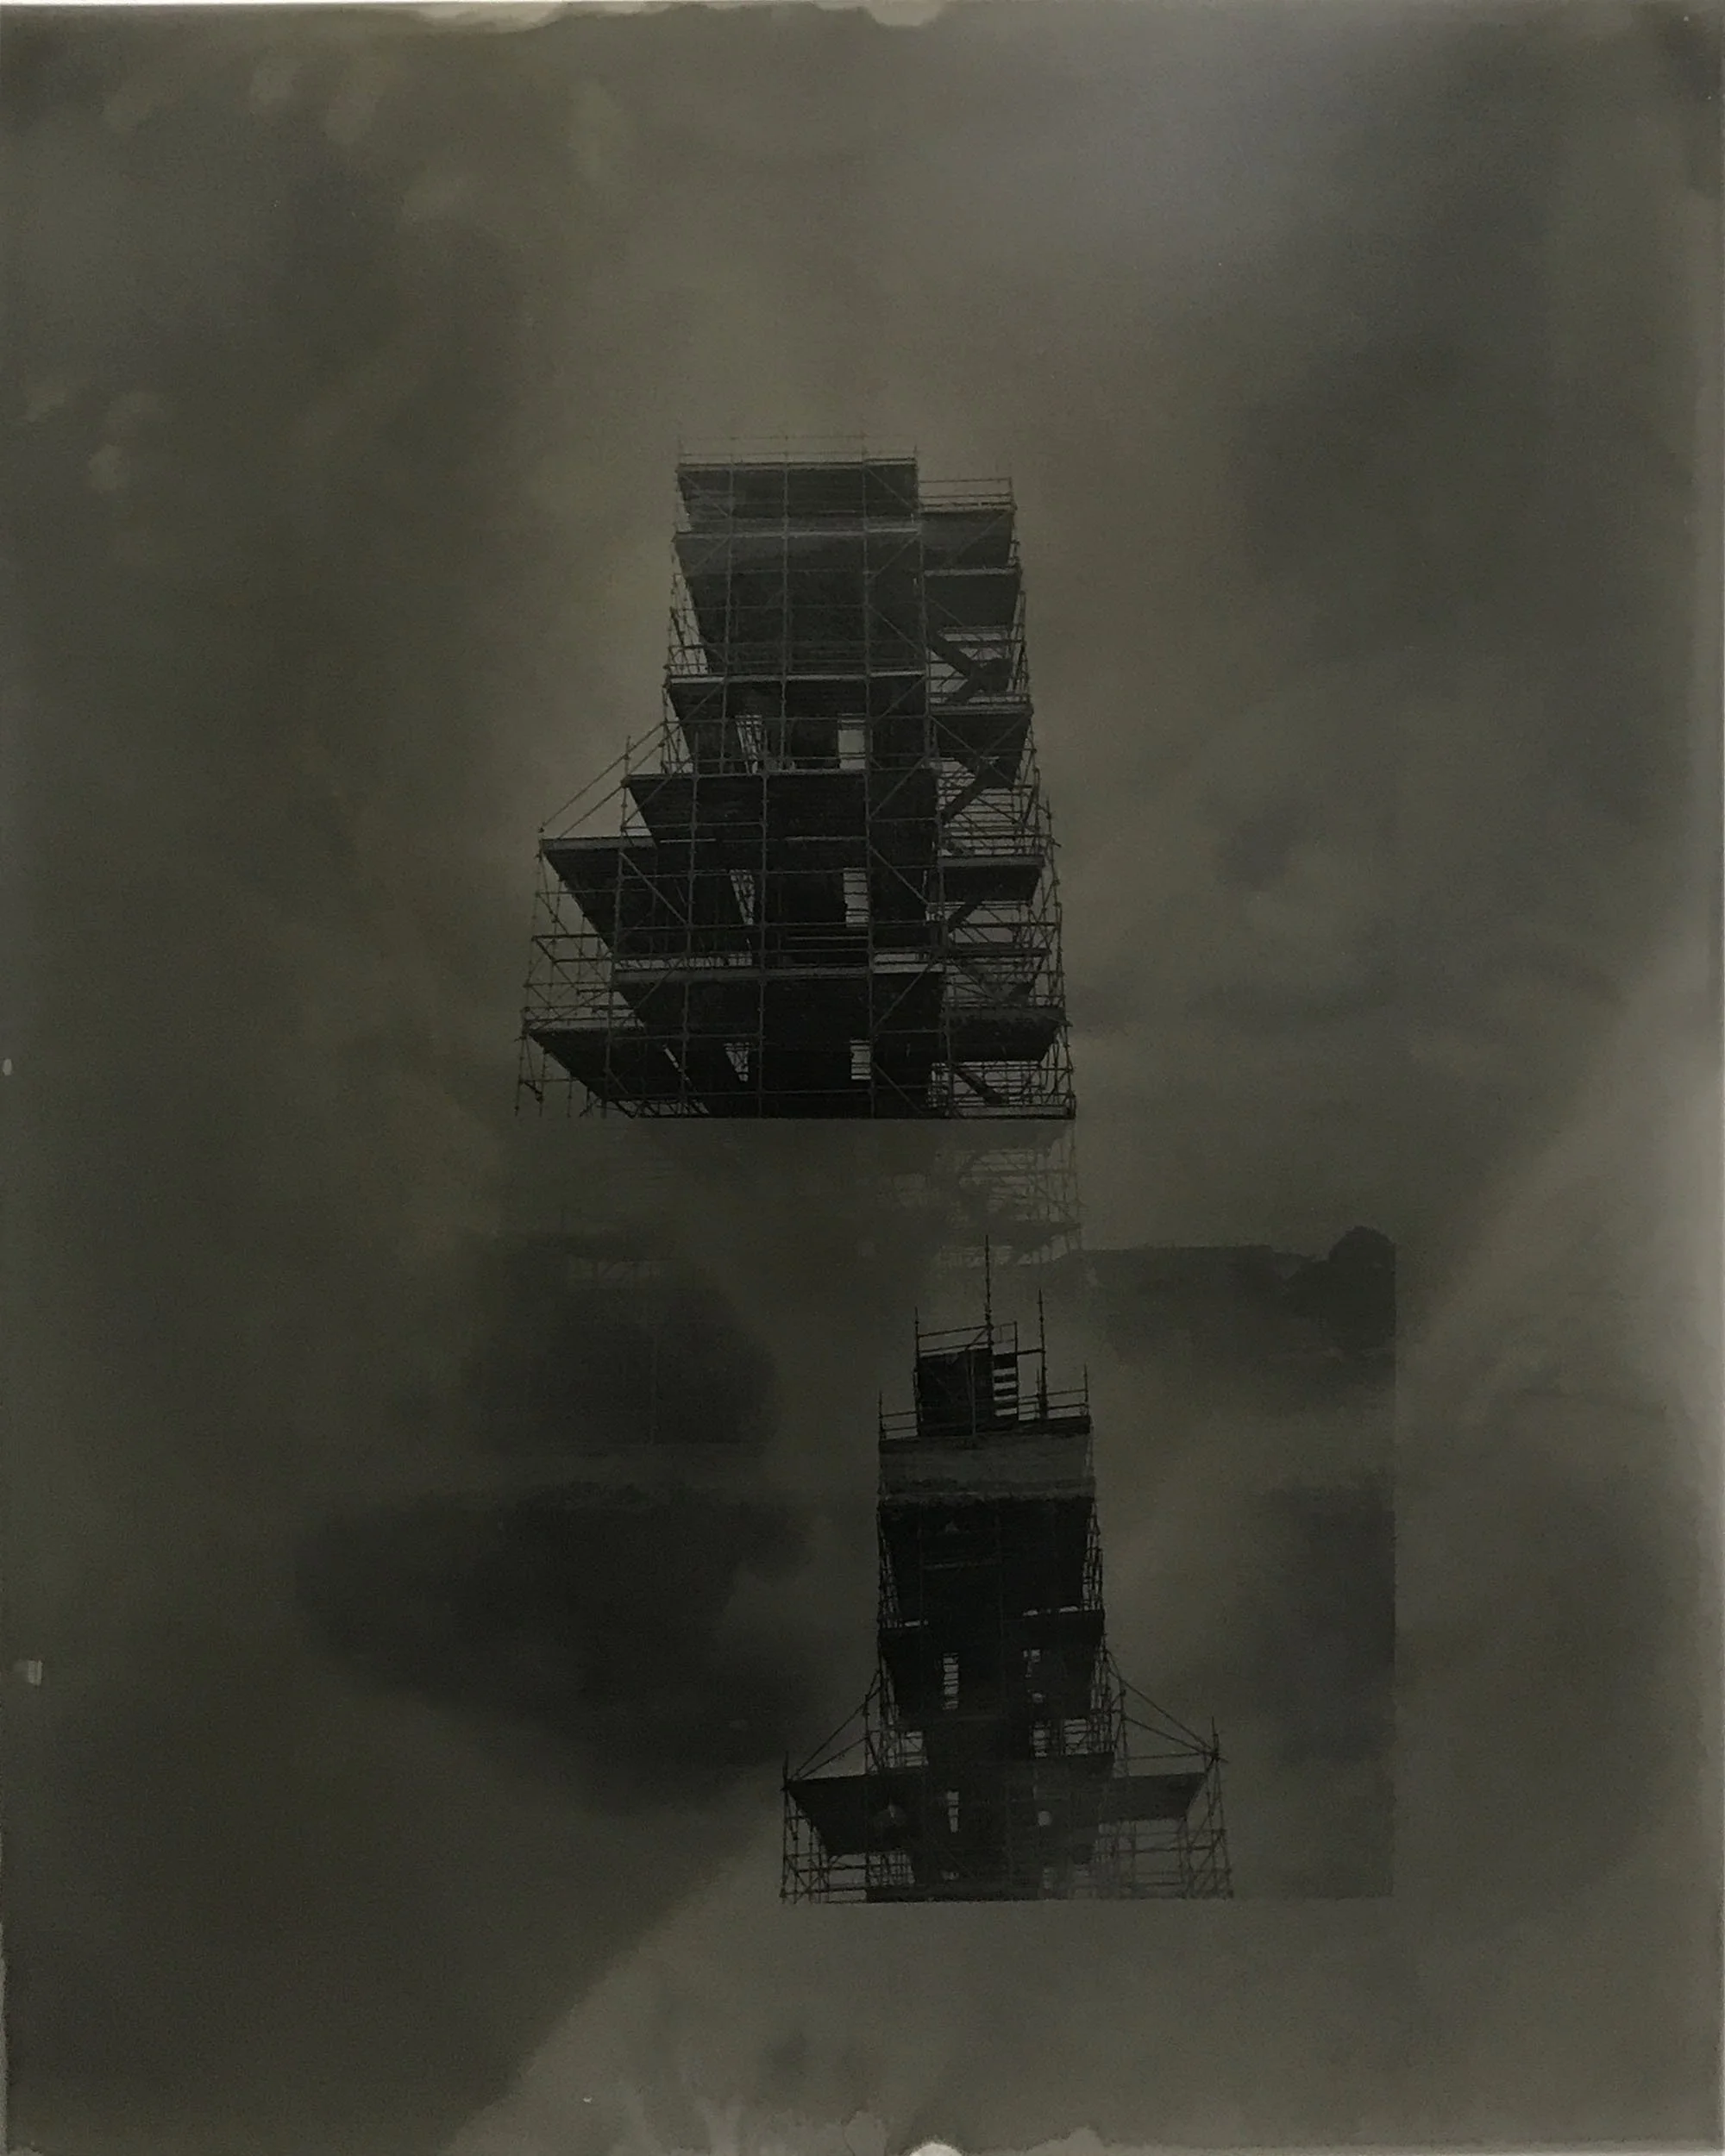
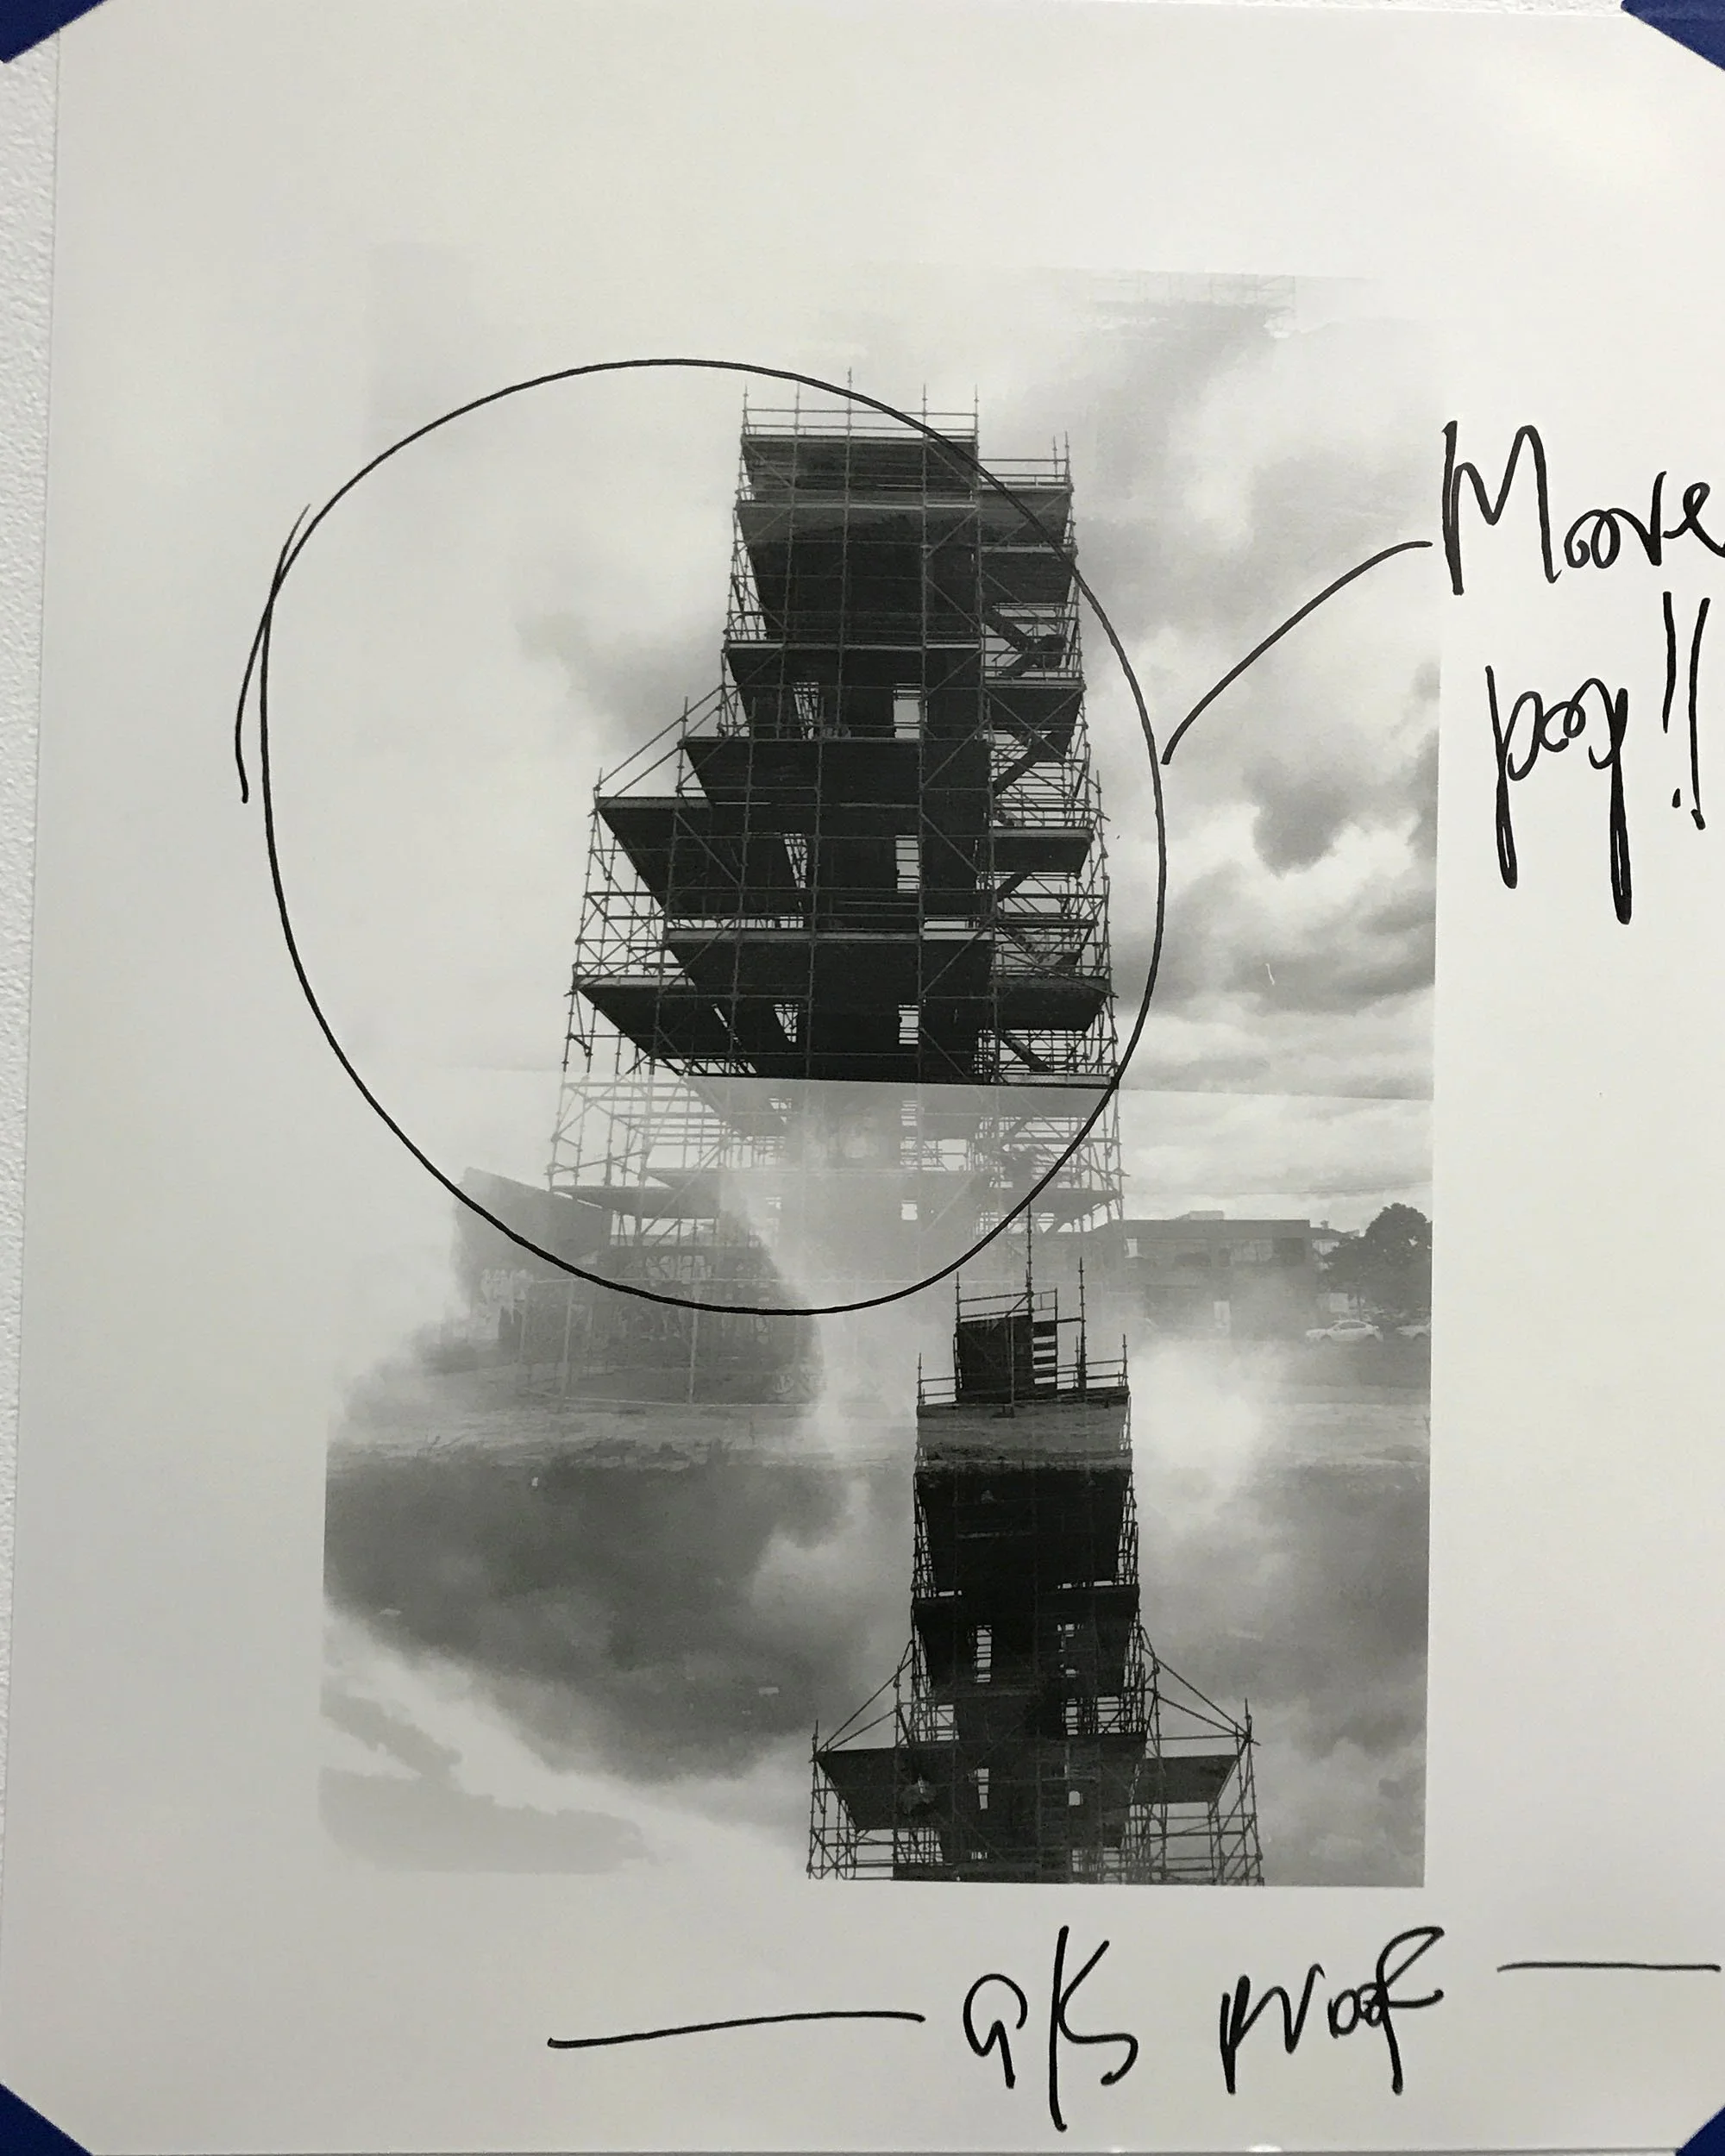
Figure 2. Arden St: Maribyrnong Trail (detail), 35mm in-camera multi-exposure, NYE 2022
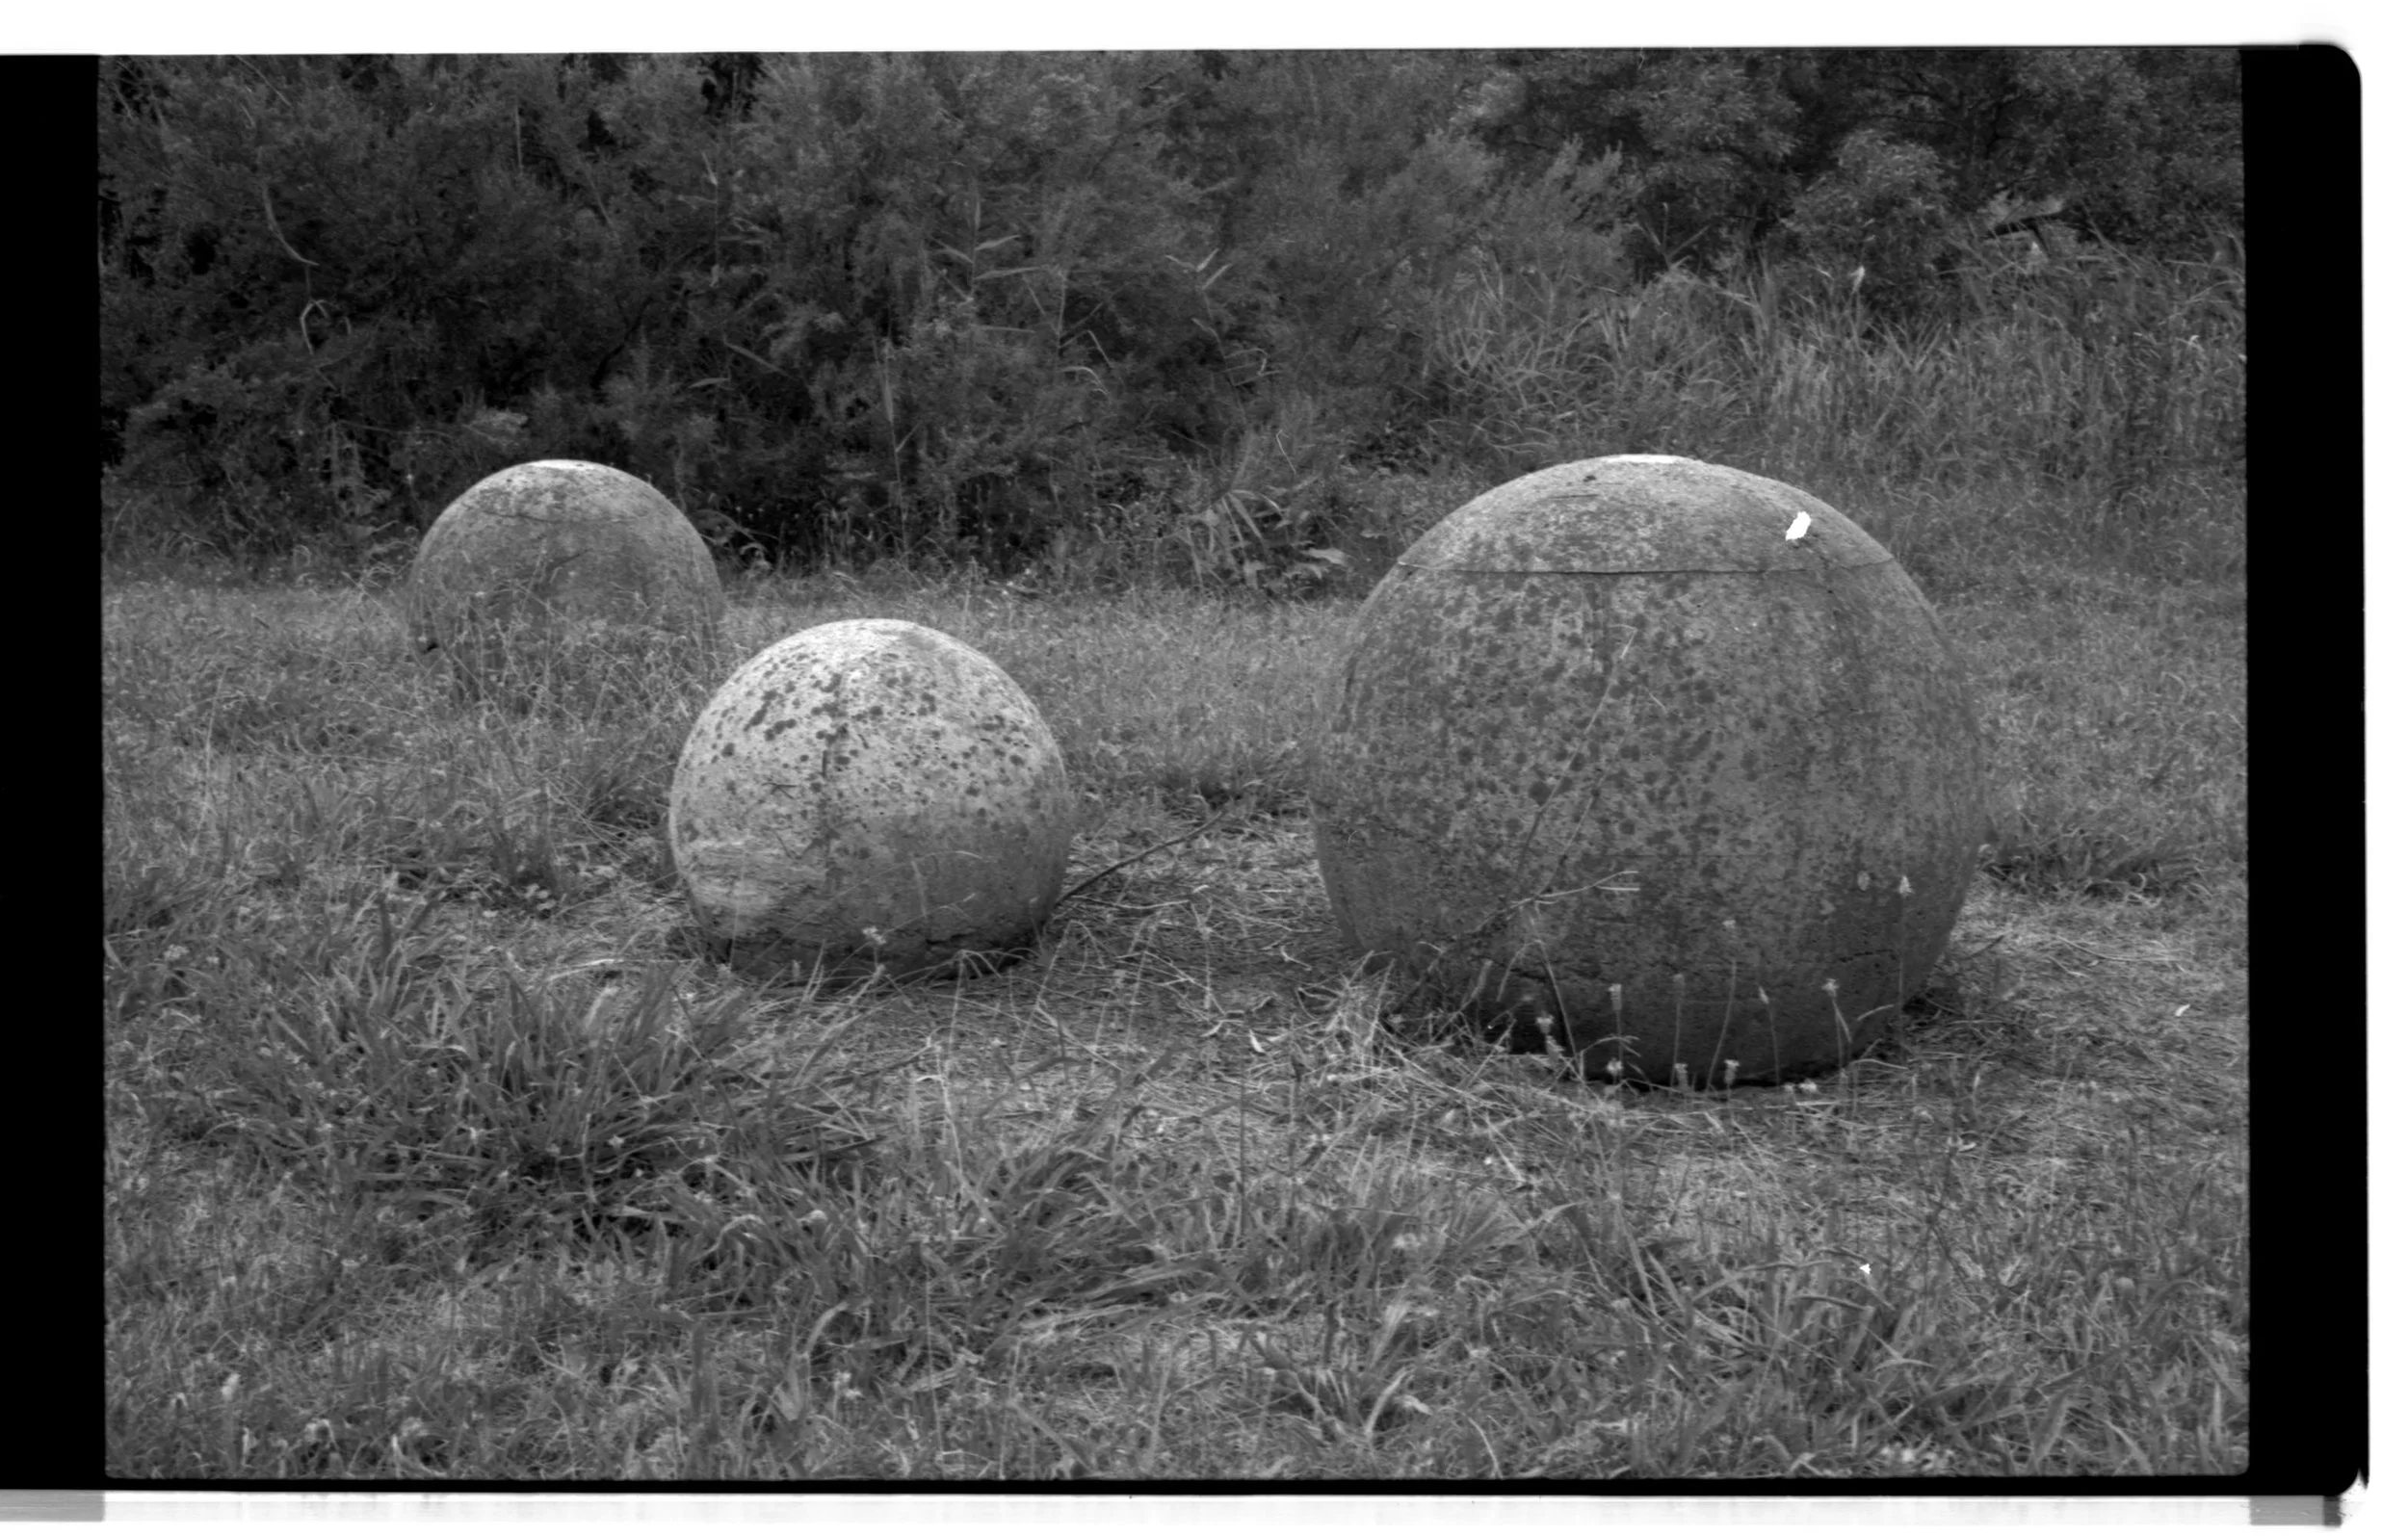
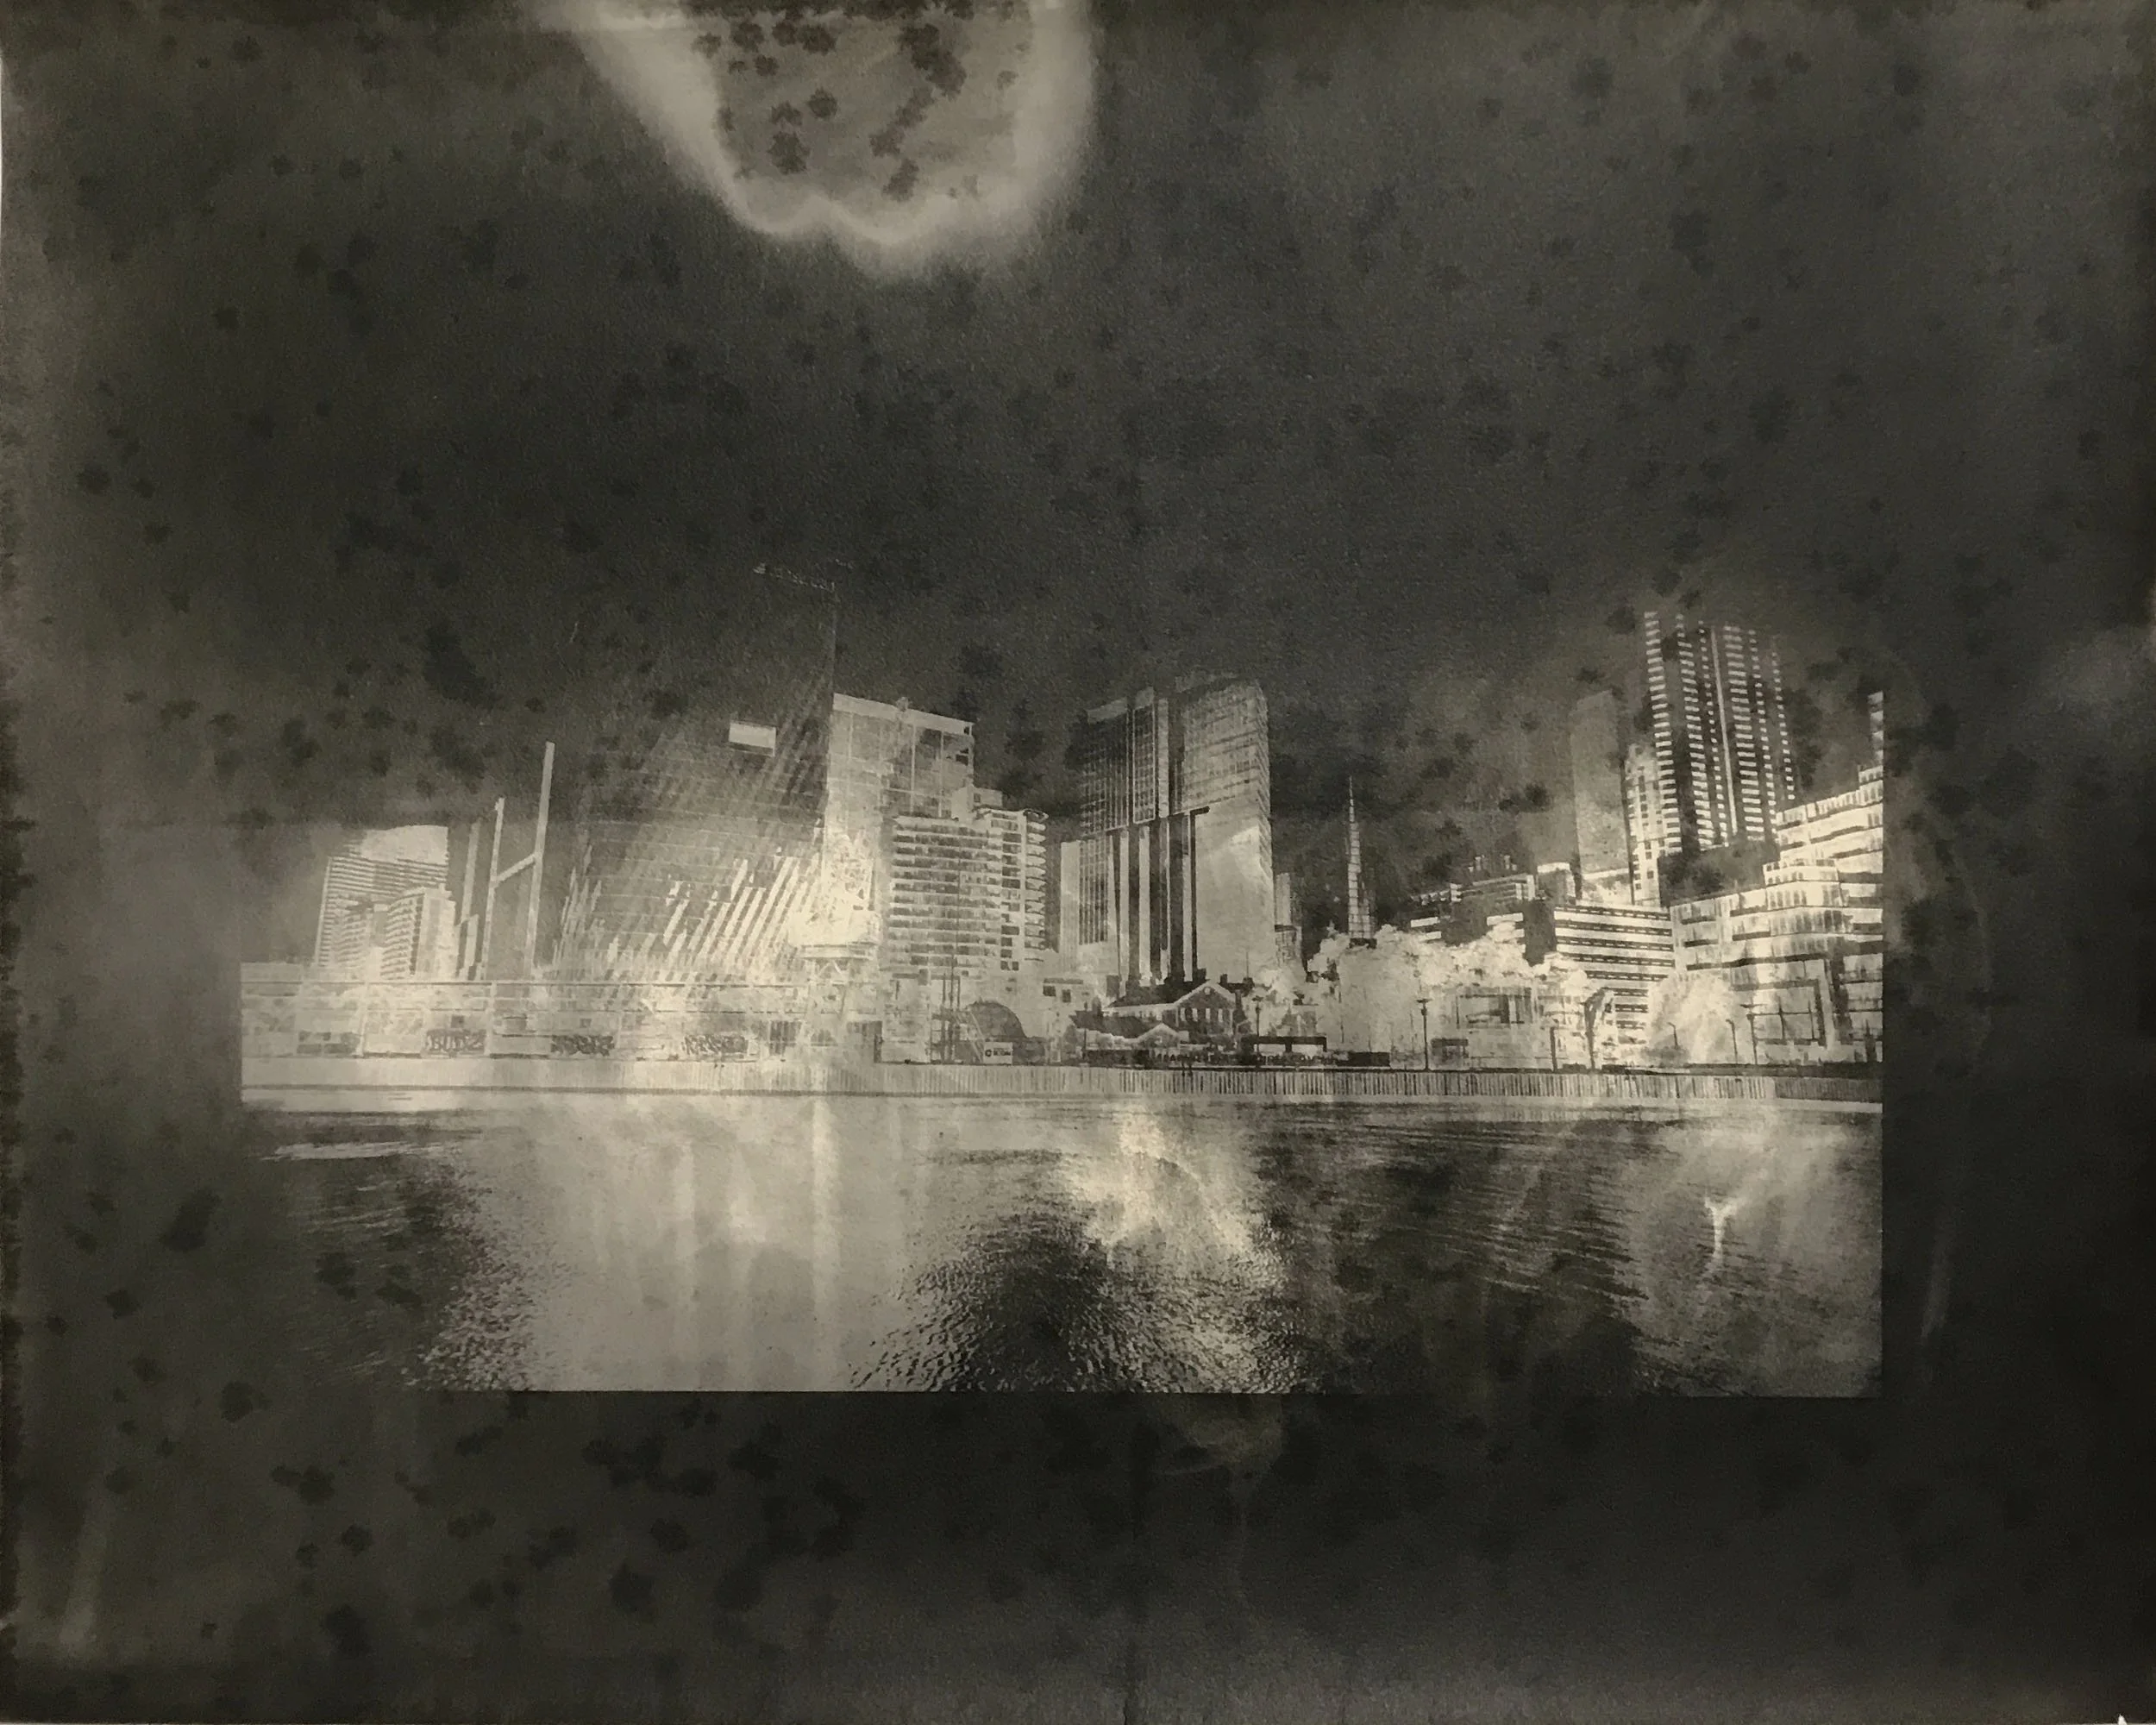
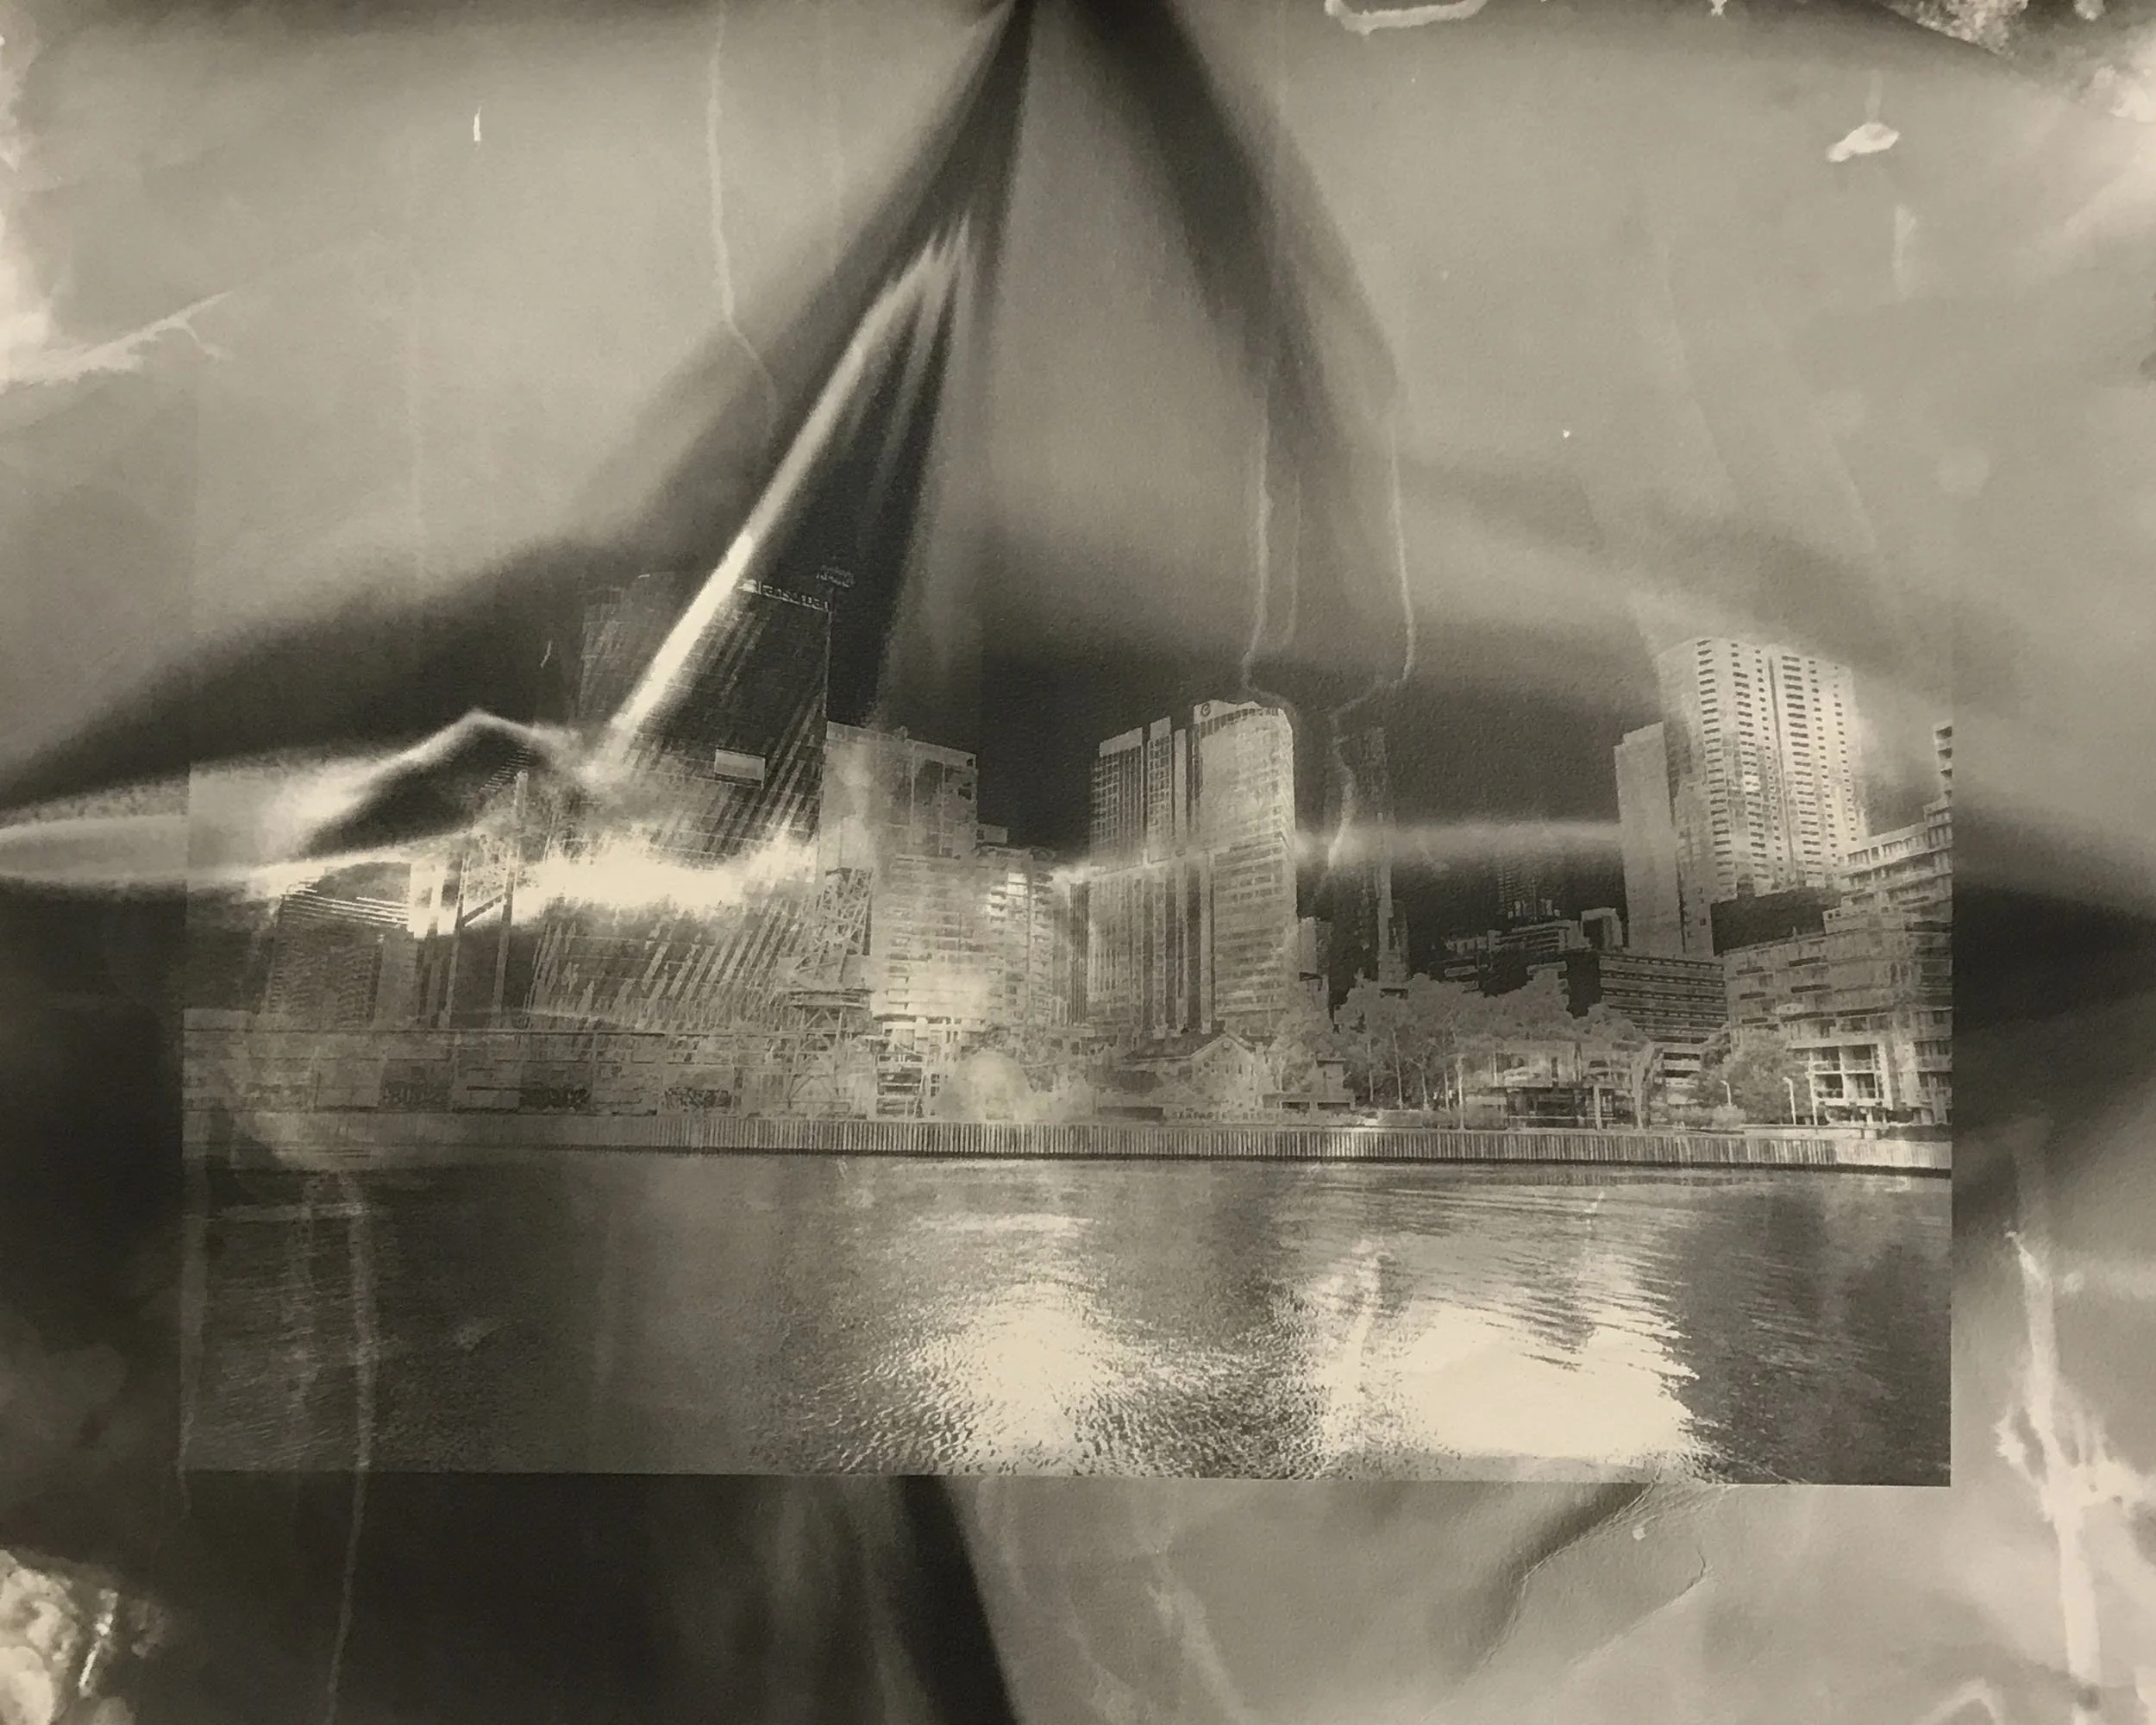
Figure 3. Zag: Merri Creek Trail, 35mm film capture, 2023
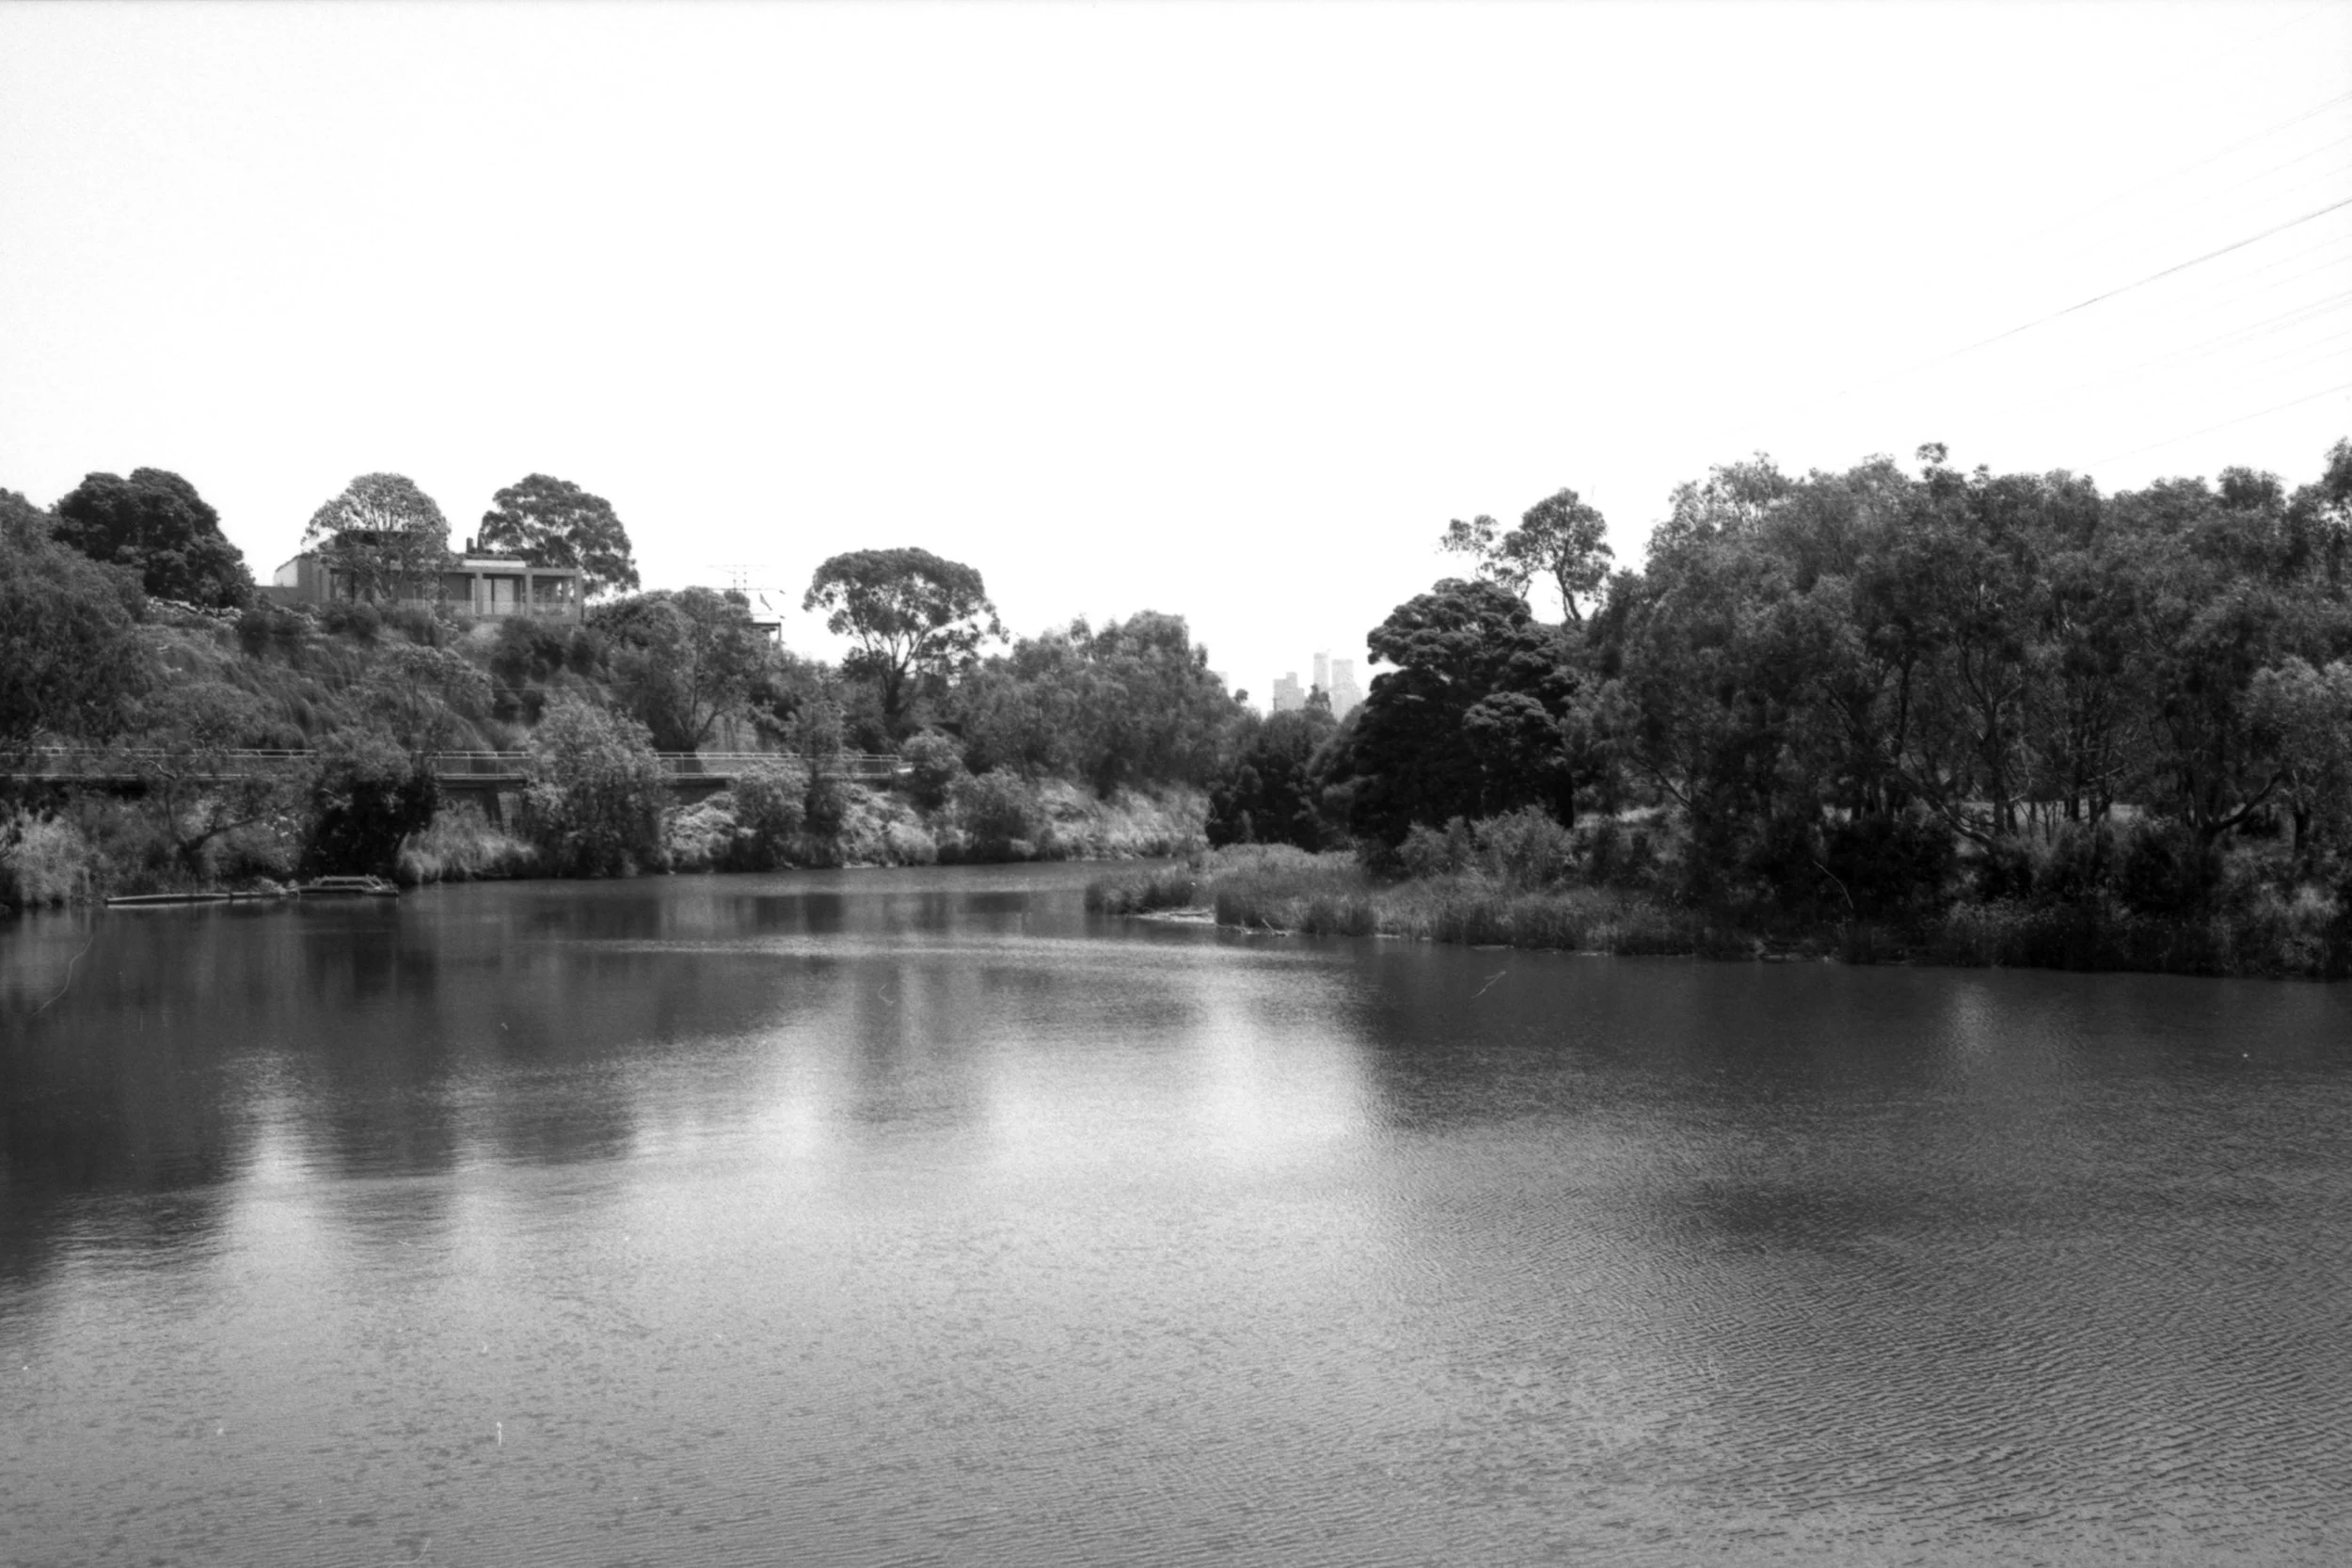
Figure 1. Kew boulevard: Yarra Trail, 35mm capture, 2023
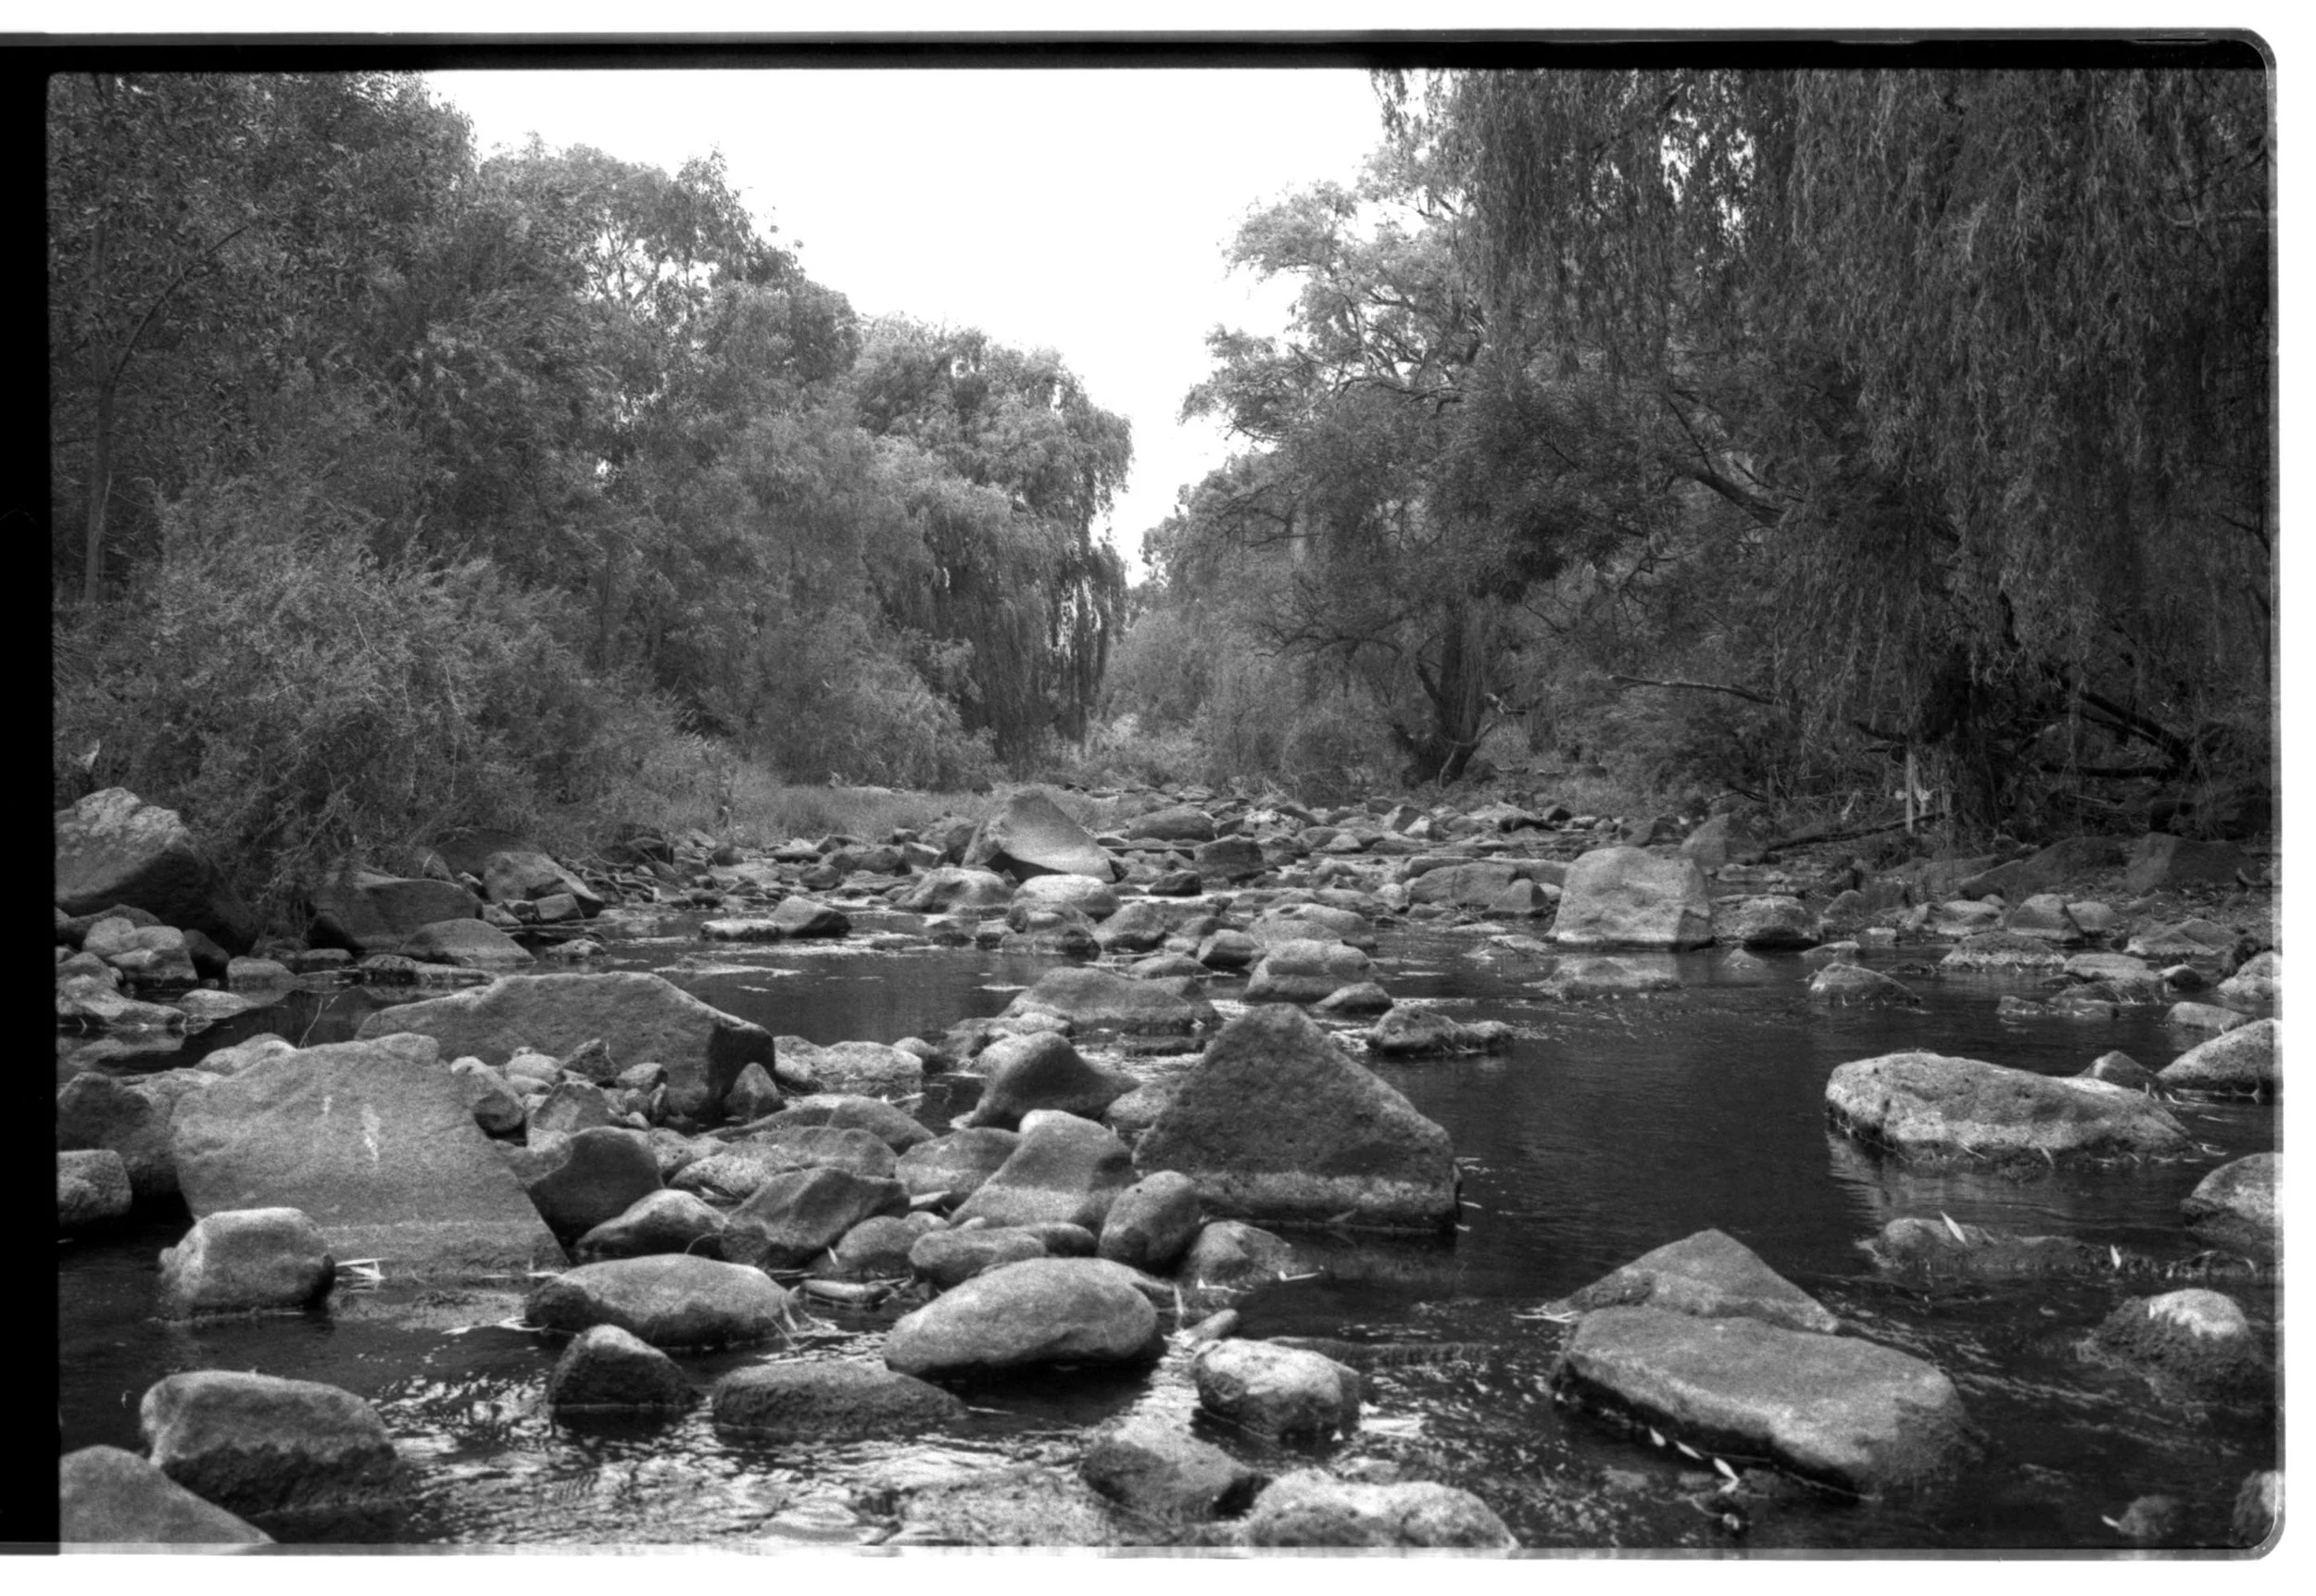
Figure 4. Low tide: Merri Creek Trail, 35mm film capture, 2023
Alternative darkroom
All images below are unique gelatin silver prints created as a series of experiments for MFA Studio 2. The works expand on the academic and studio-based research investigating how a generative photographic practice can foster and contribute to creative care. Moreover, the pieces are significant to my development of practice as I work on refining and deepening my exploration into experimental analogue photography.
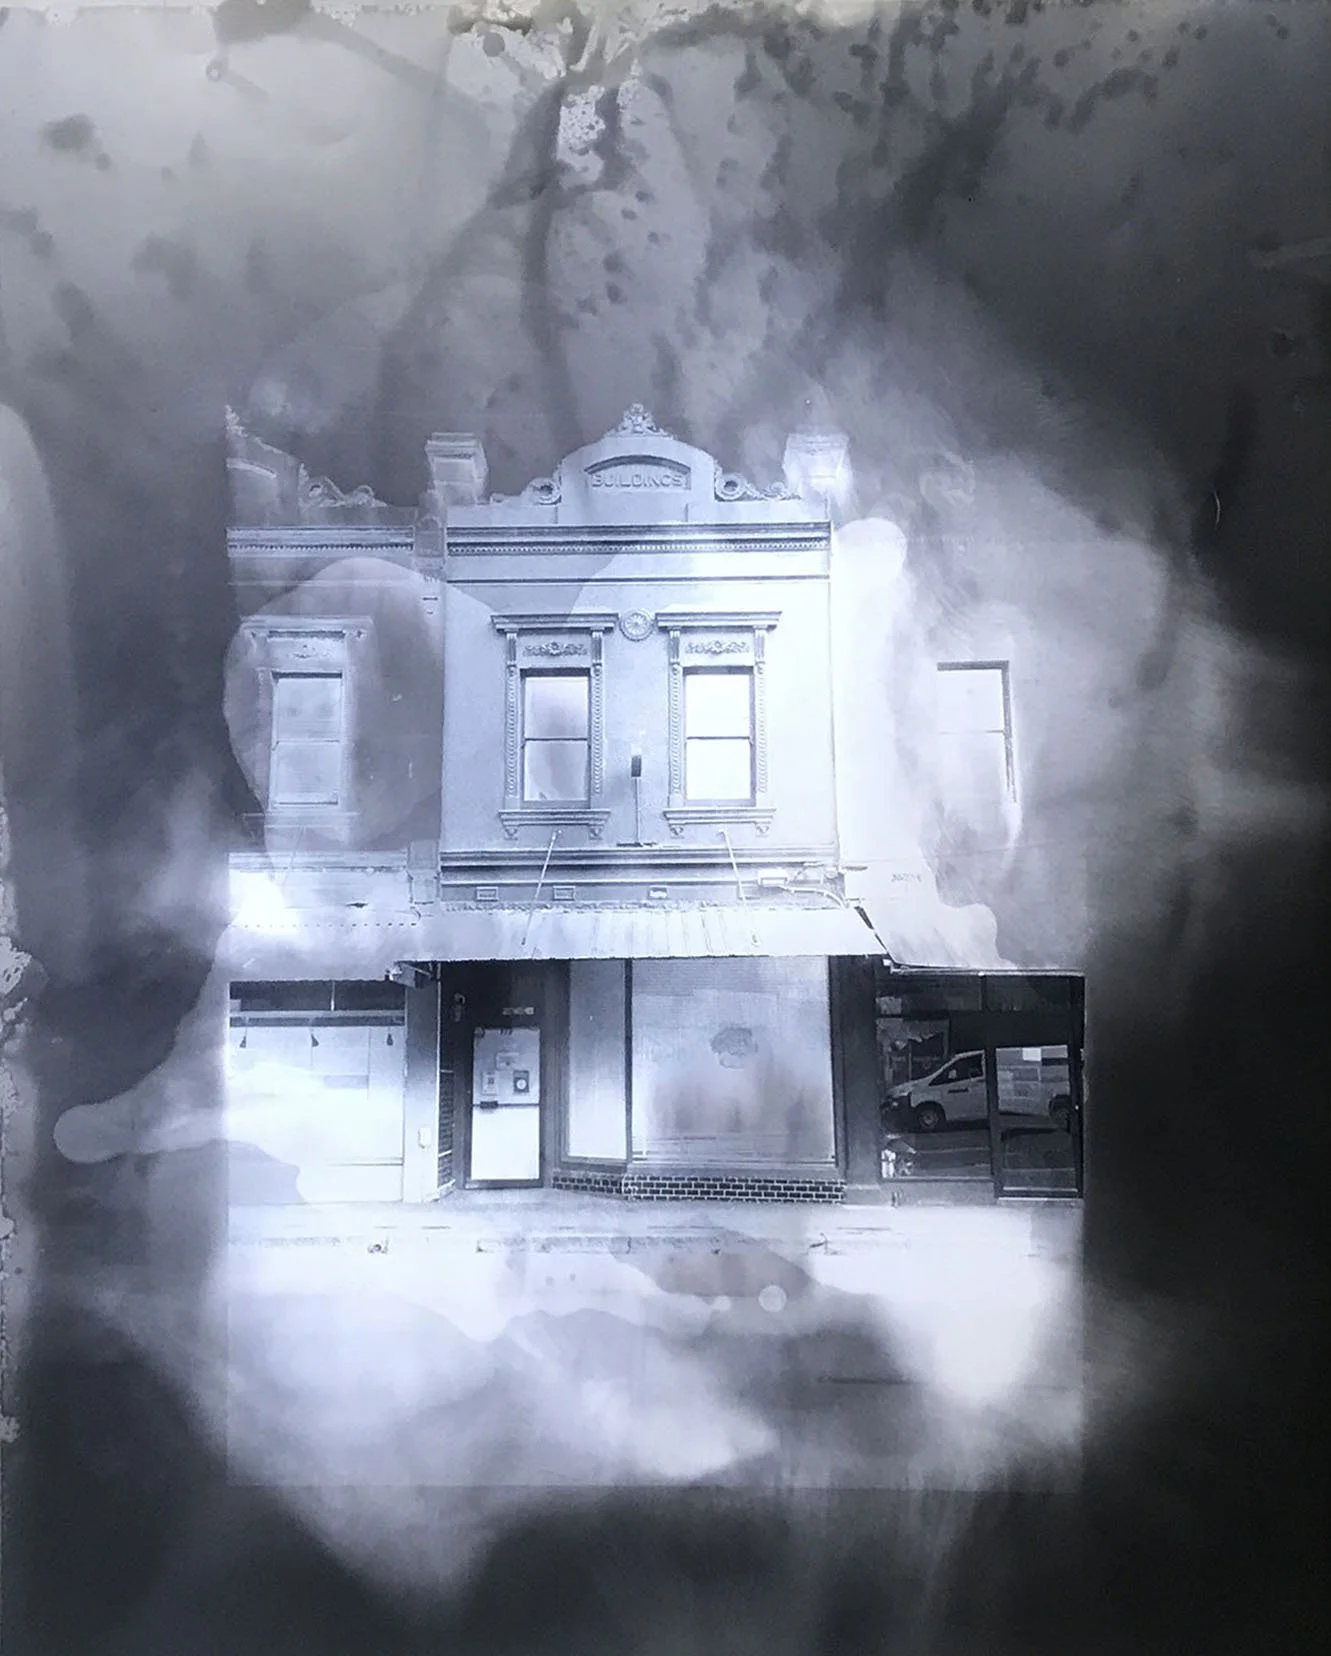
The studio-based research is informed by academic disciplines, including brain sciences, phenomenology and ethnomethodology. The study questions how unpredictable modes of analogue photography and alternative darkroom processes can be used to cultivate alternative means of perception and observation. Second, a generative photographic practice is explored to visually iterate and interpret physical and psychological responses to lived experiences. Finally, unfamiliar modes within the mediums discussed above are further investigated to allow suspension of presumptions and judgments about, and expand upon, my existing practice.
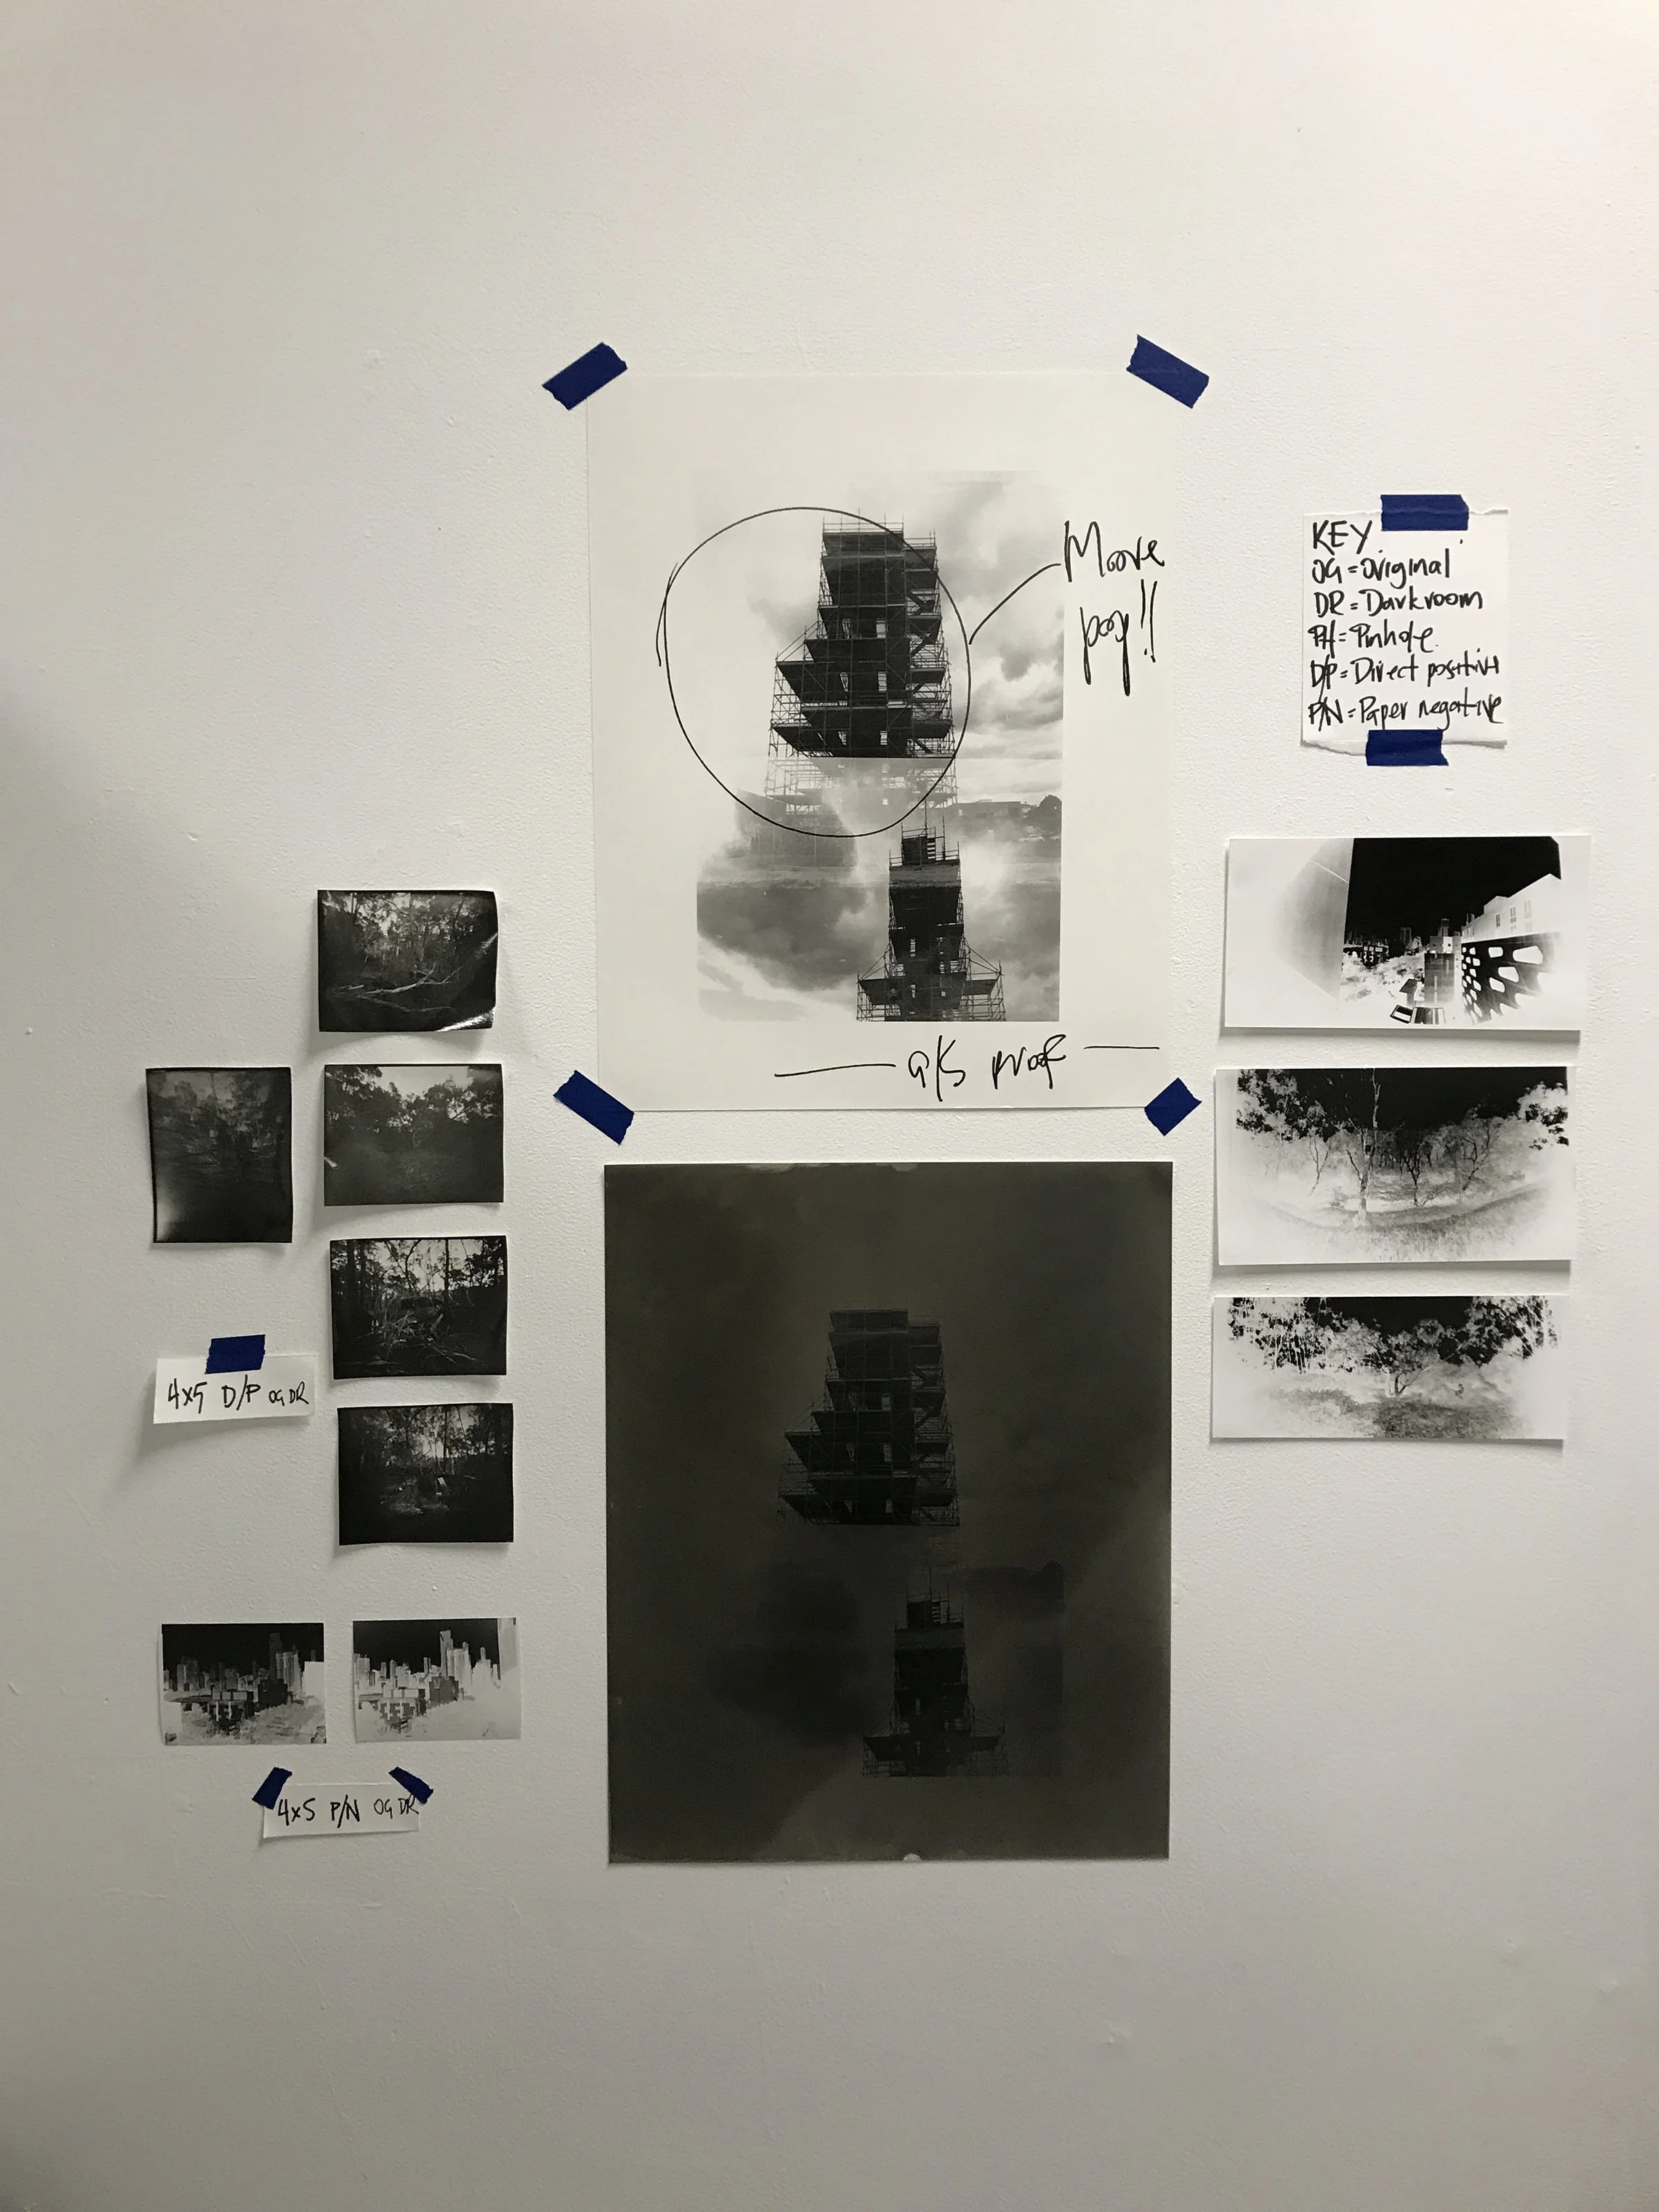
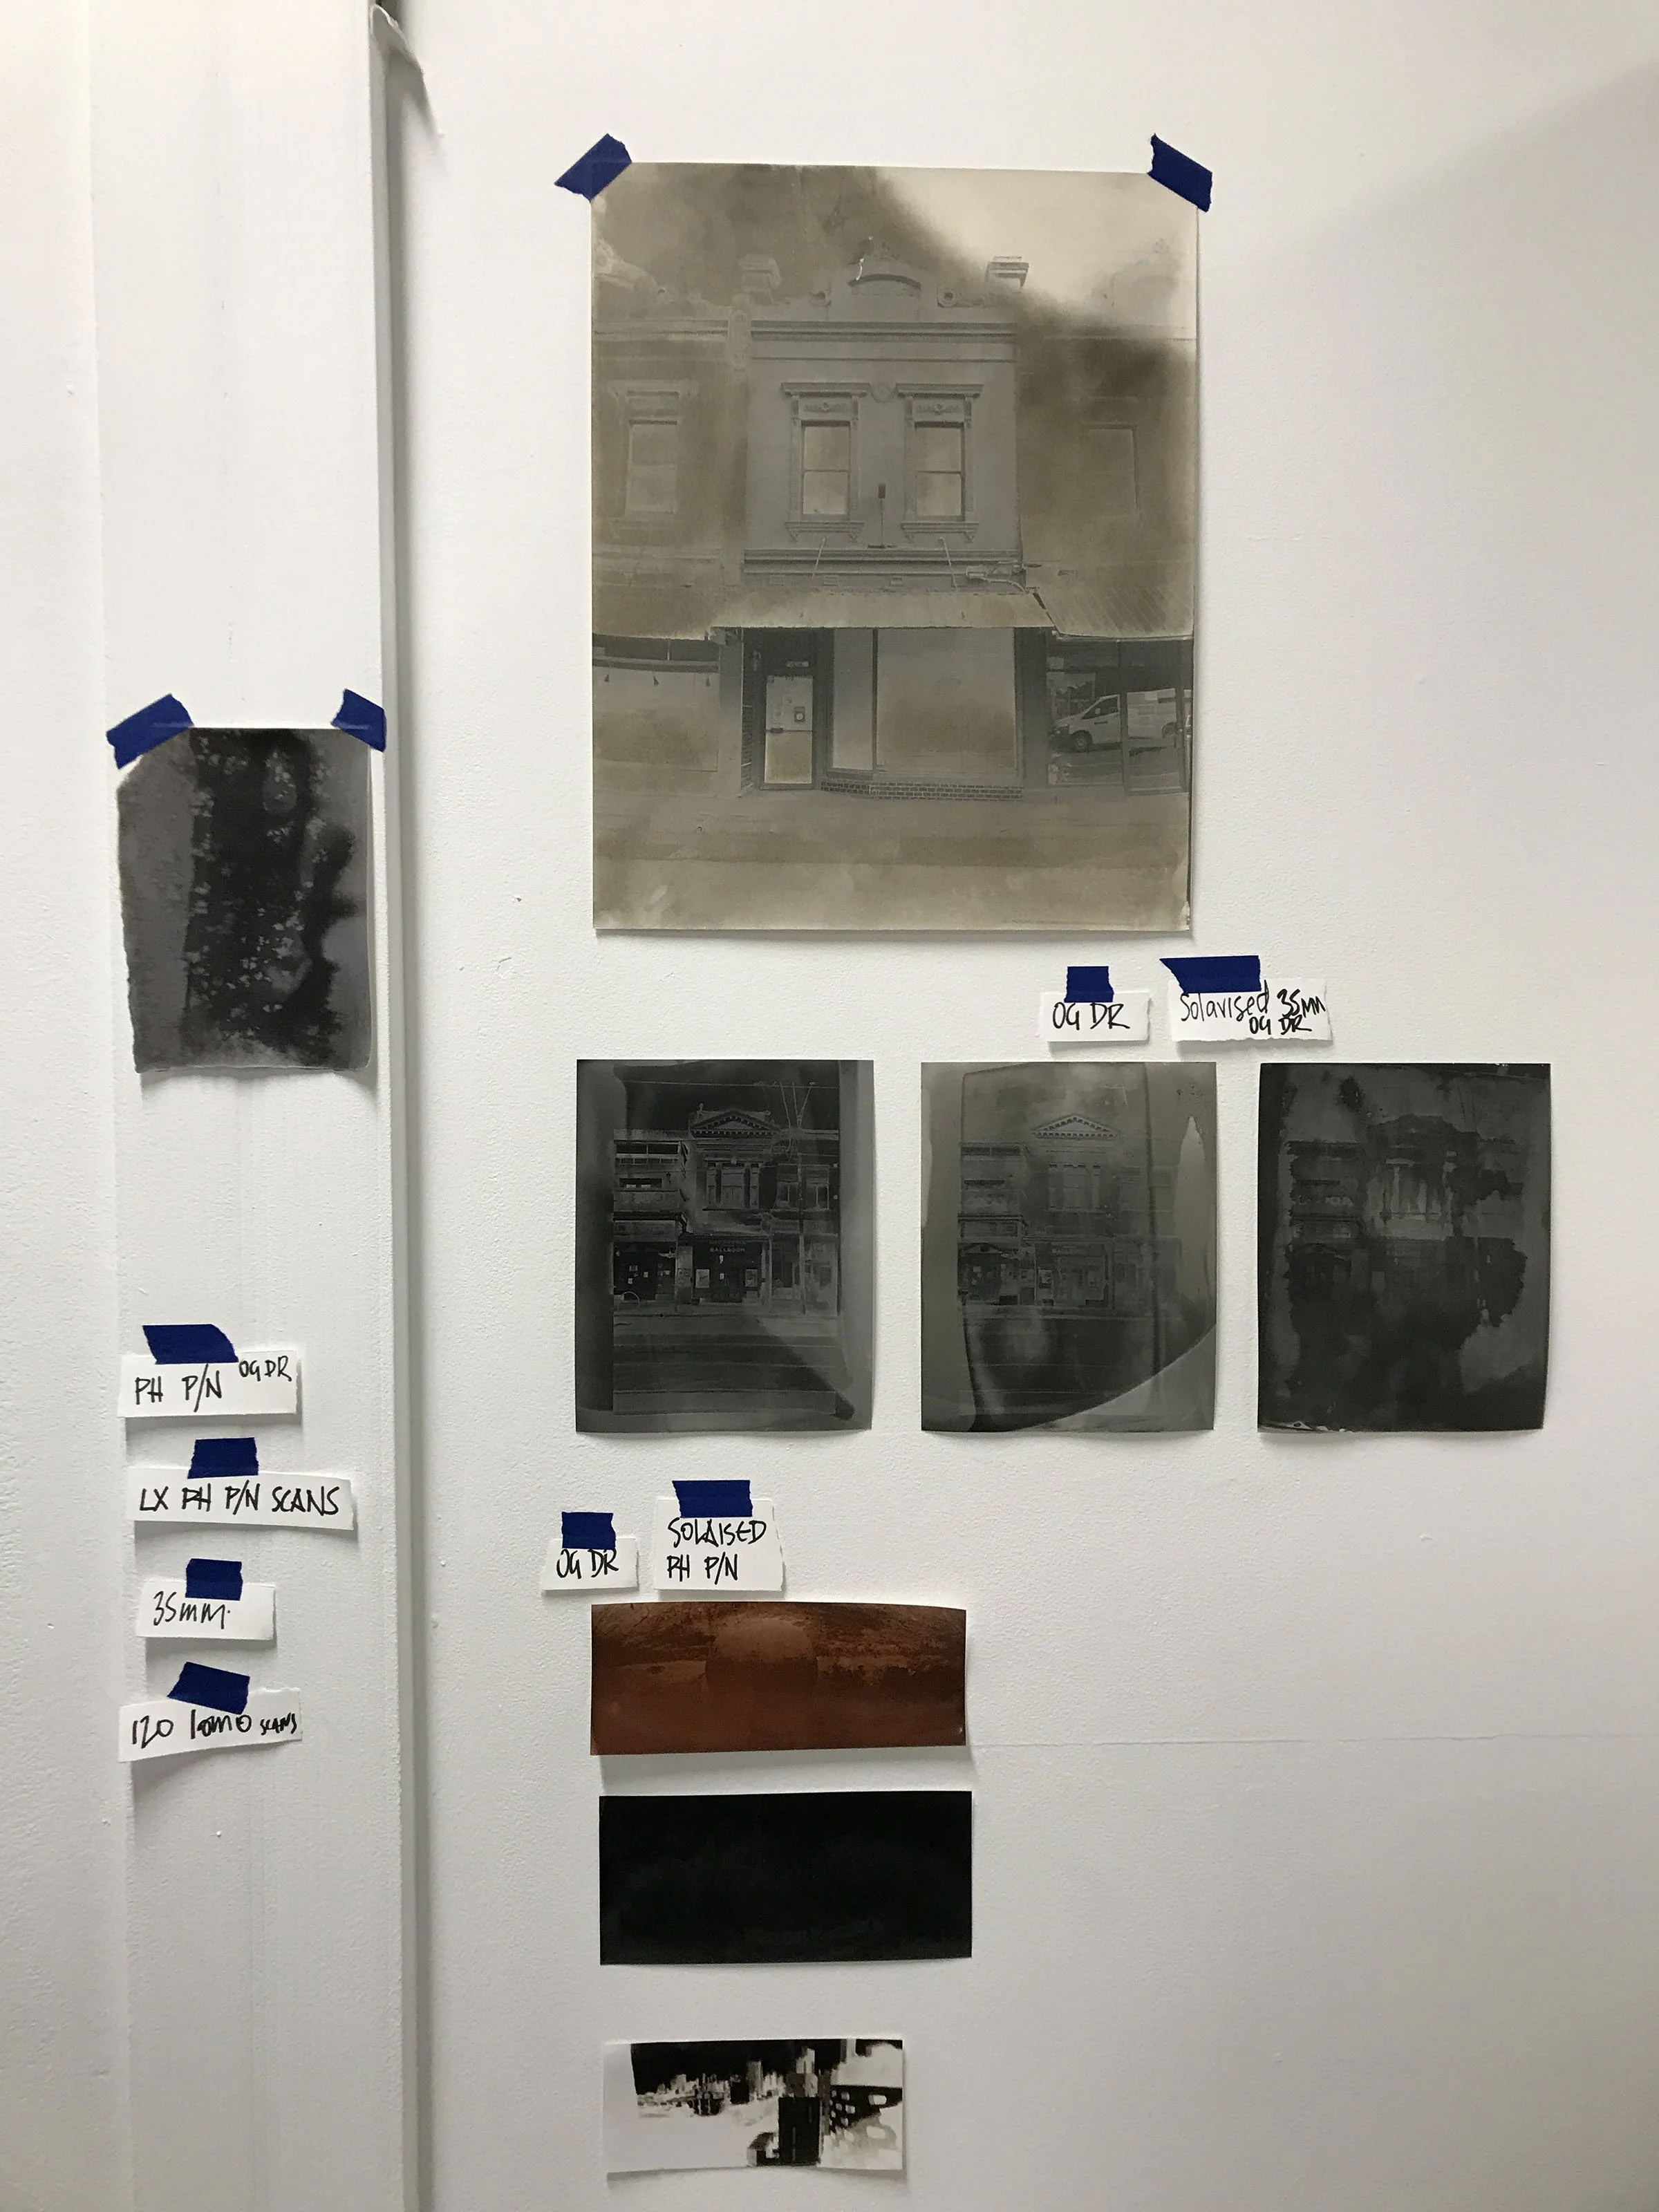
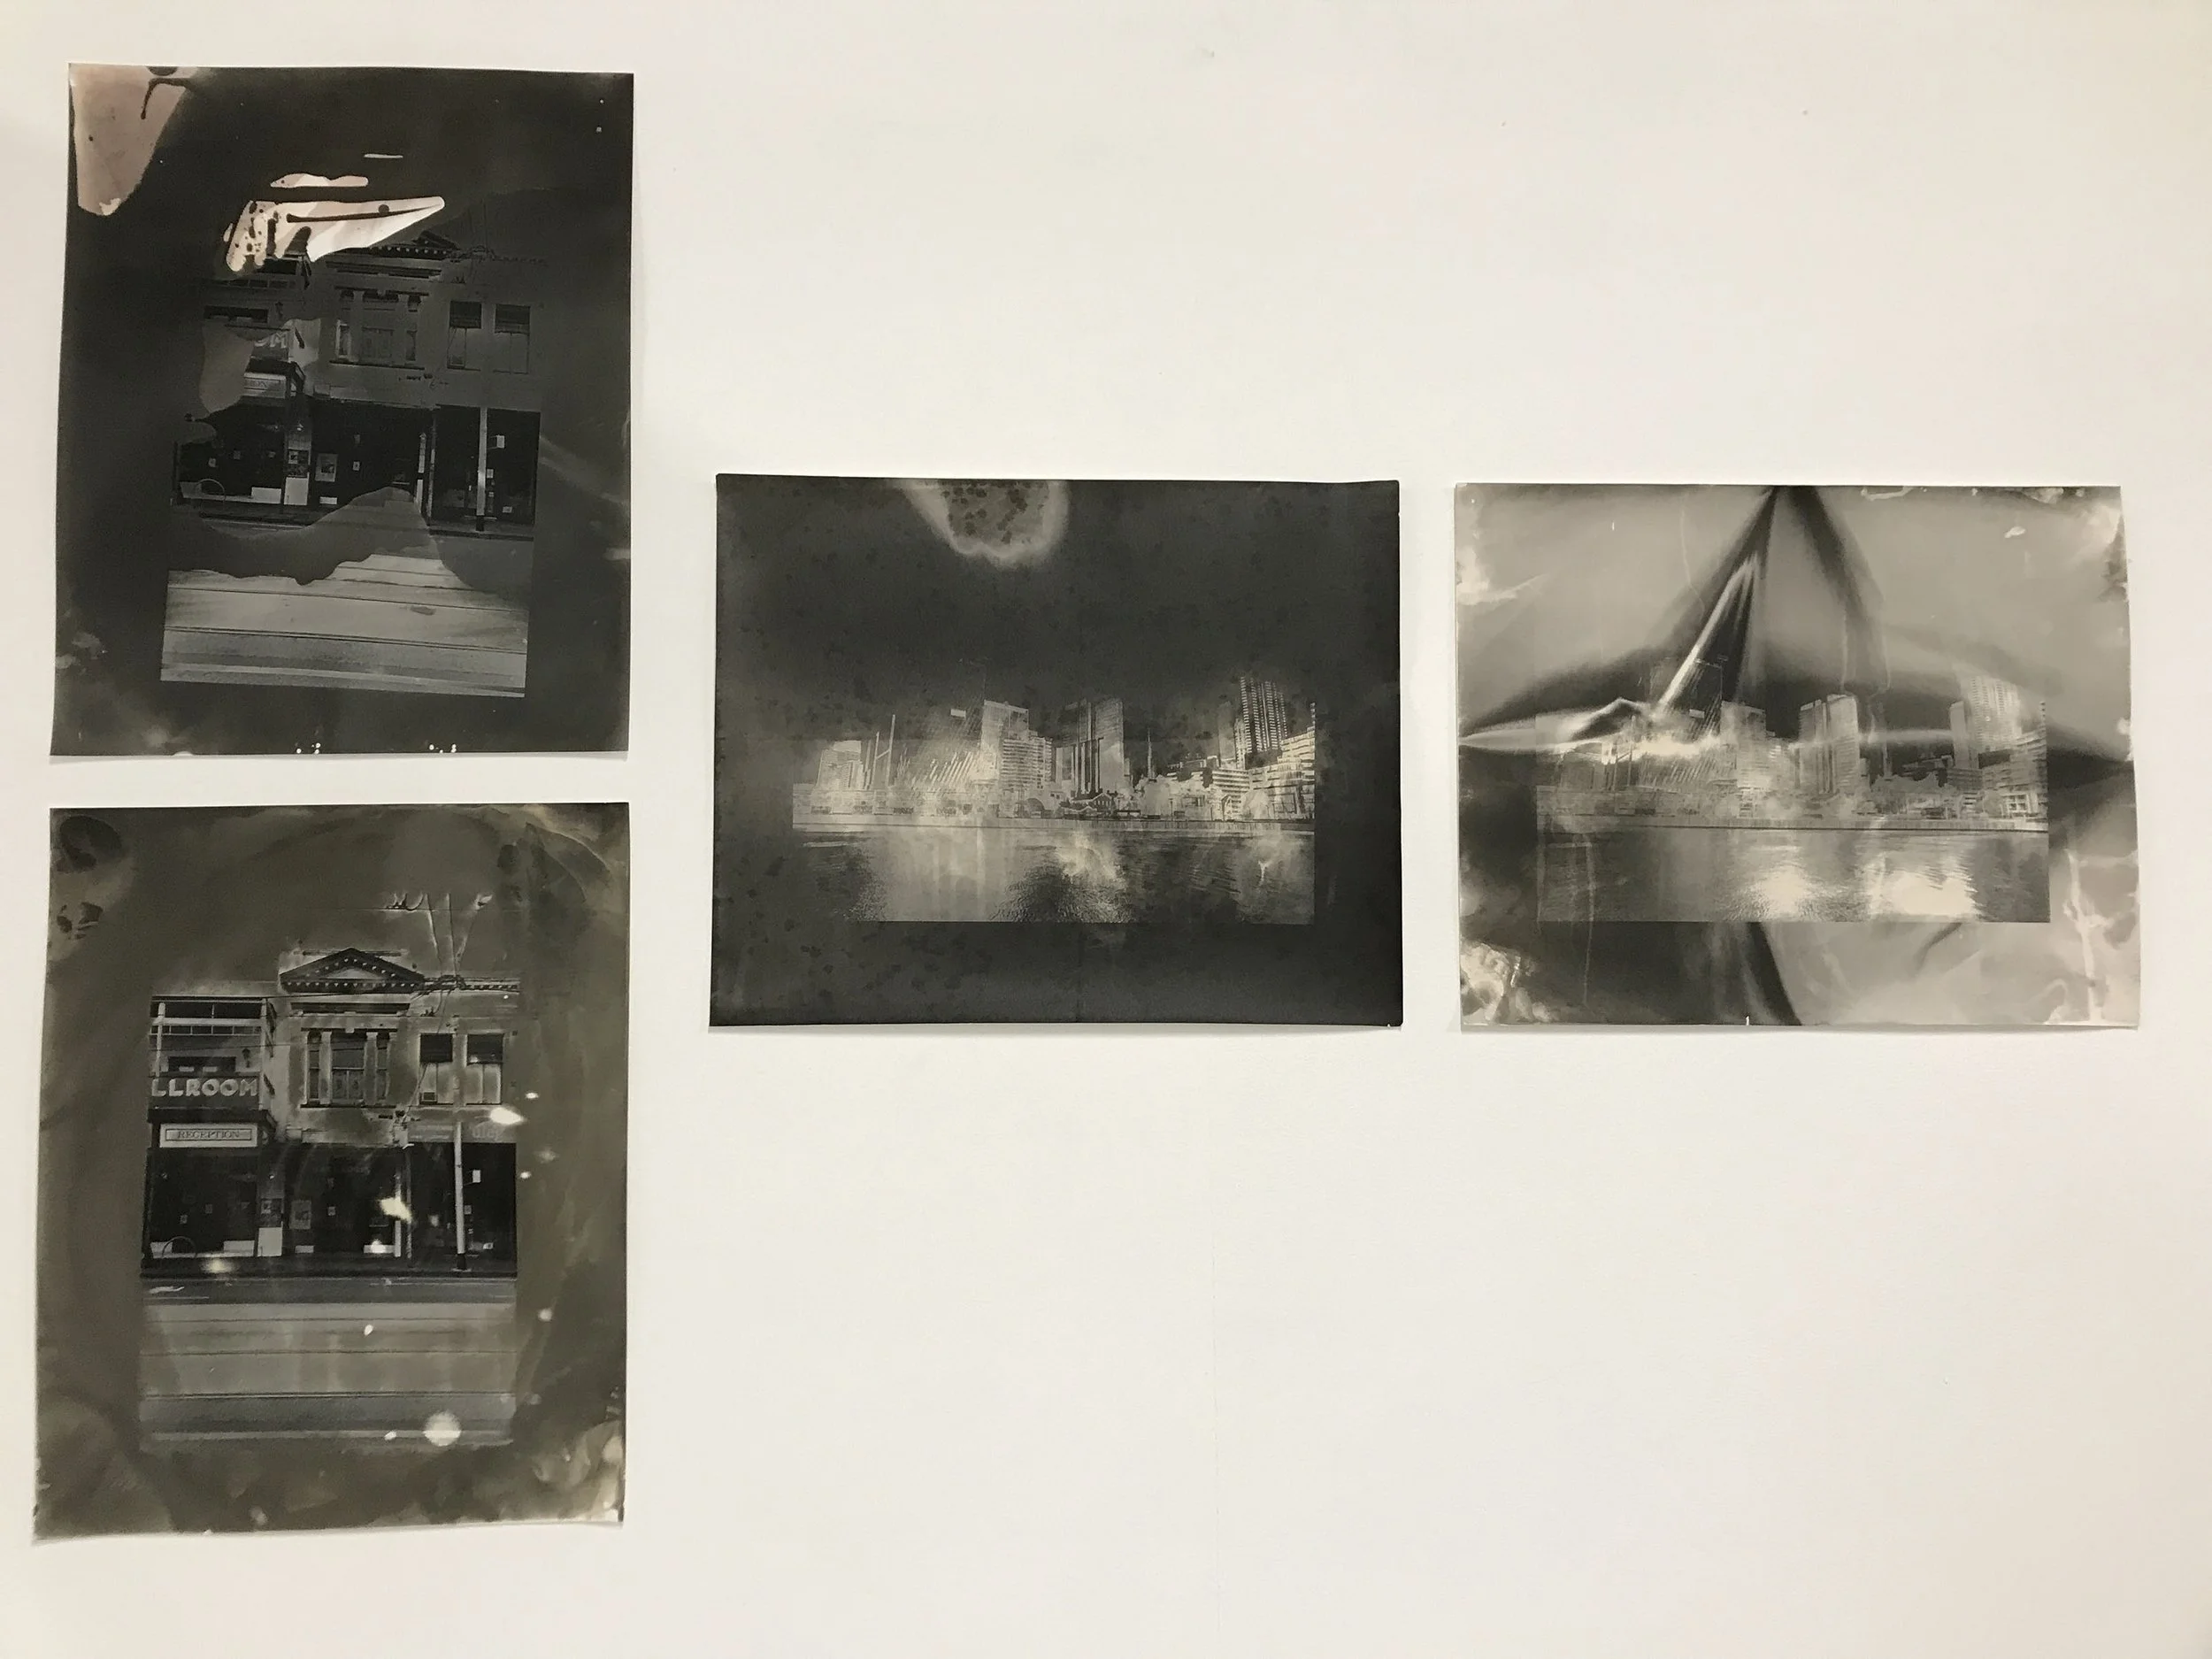
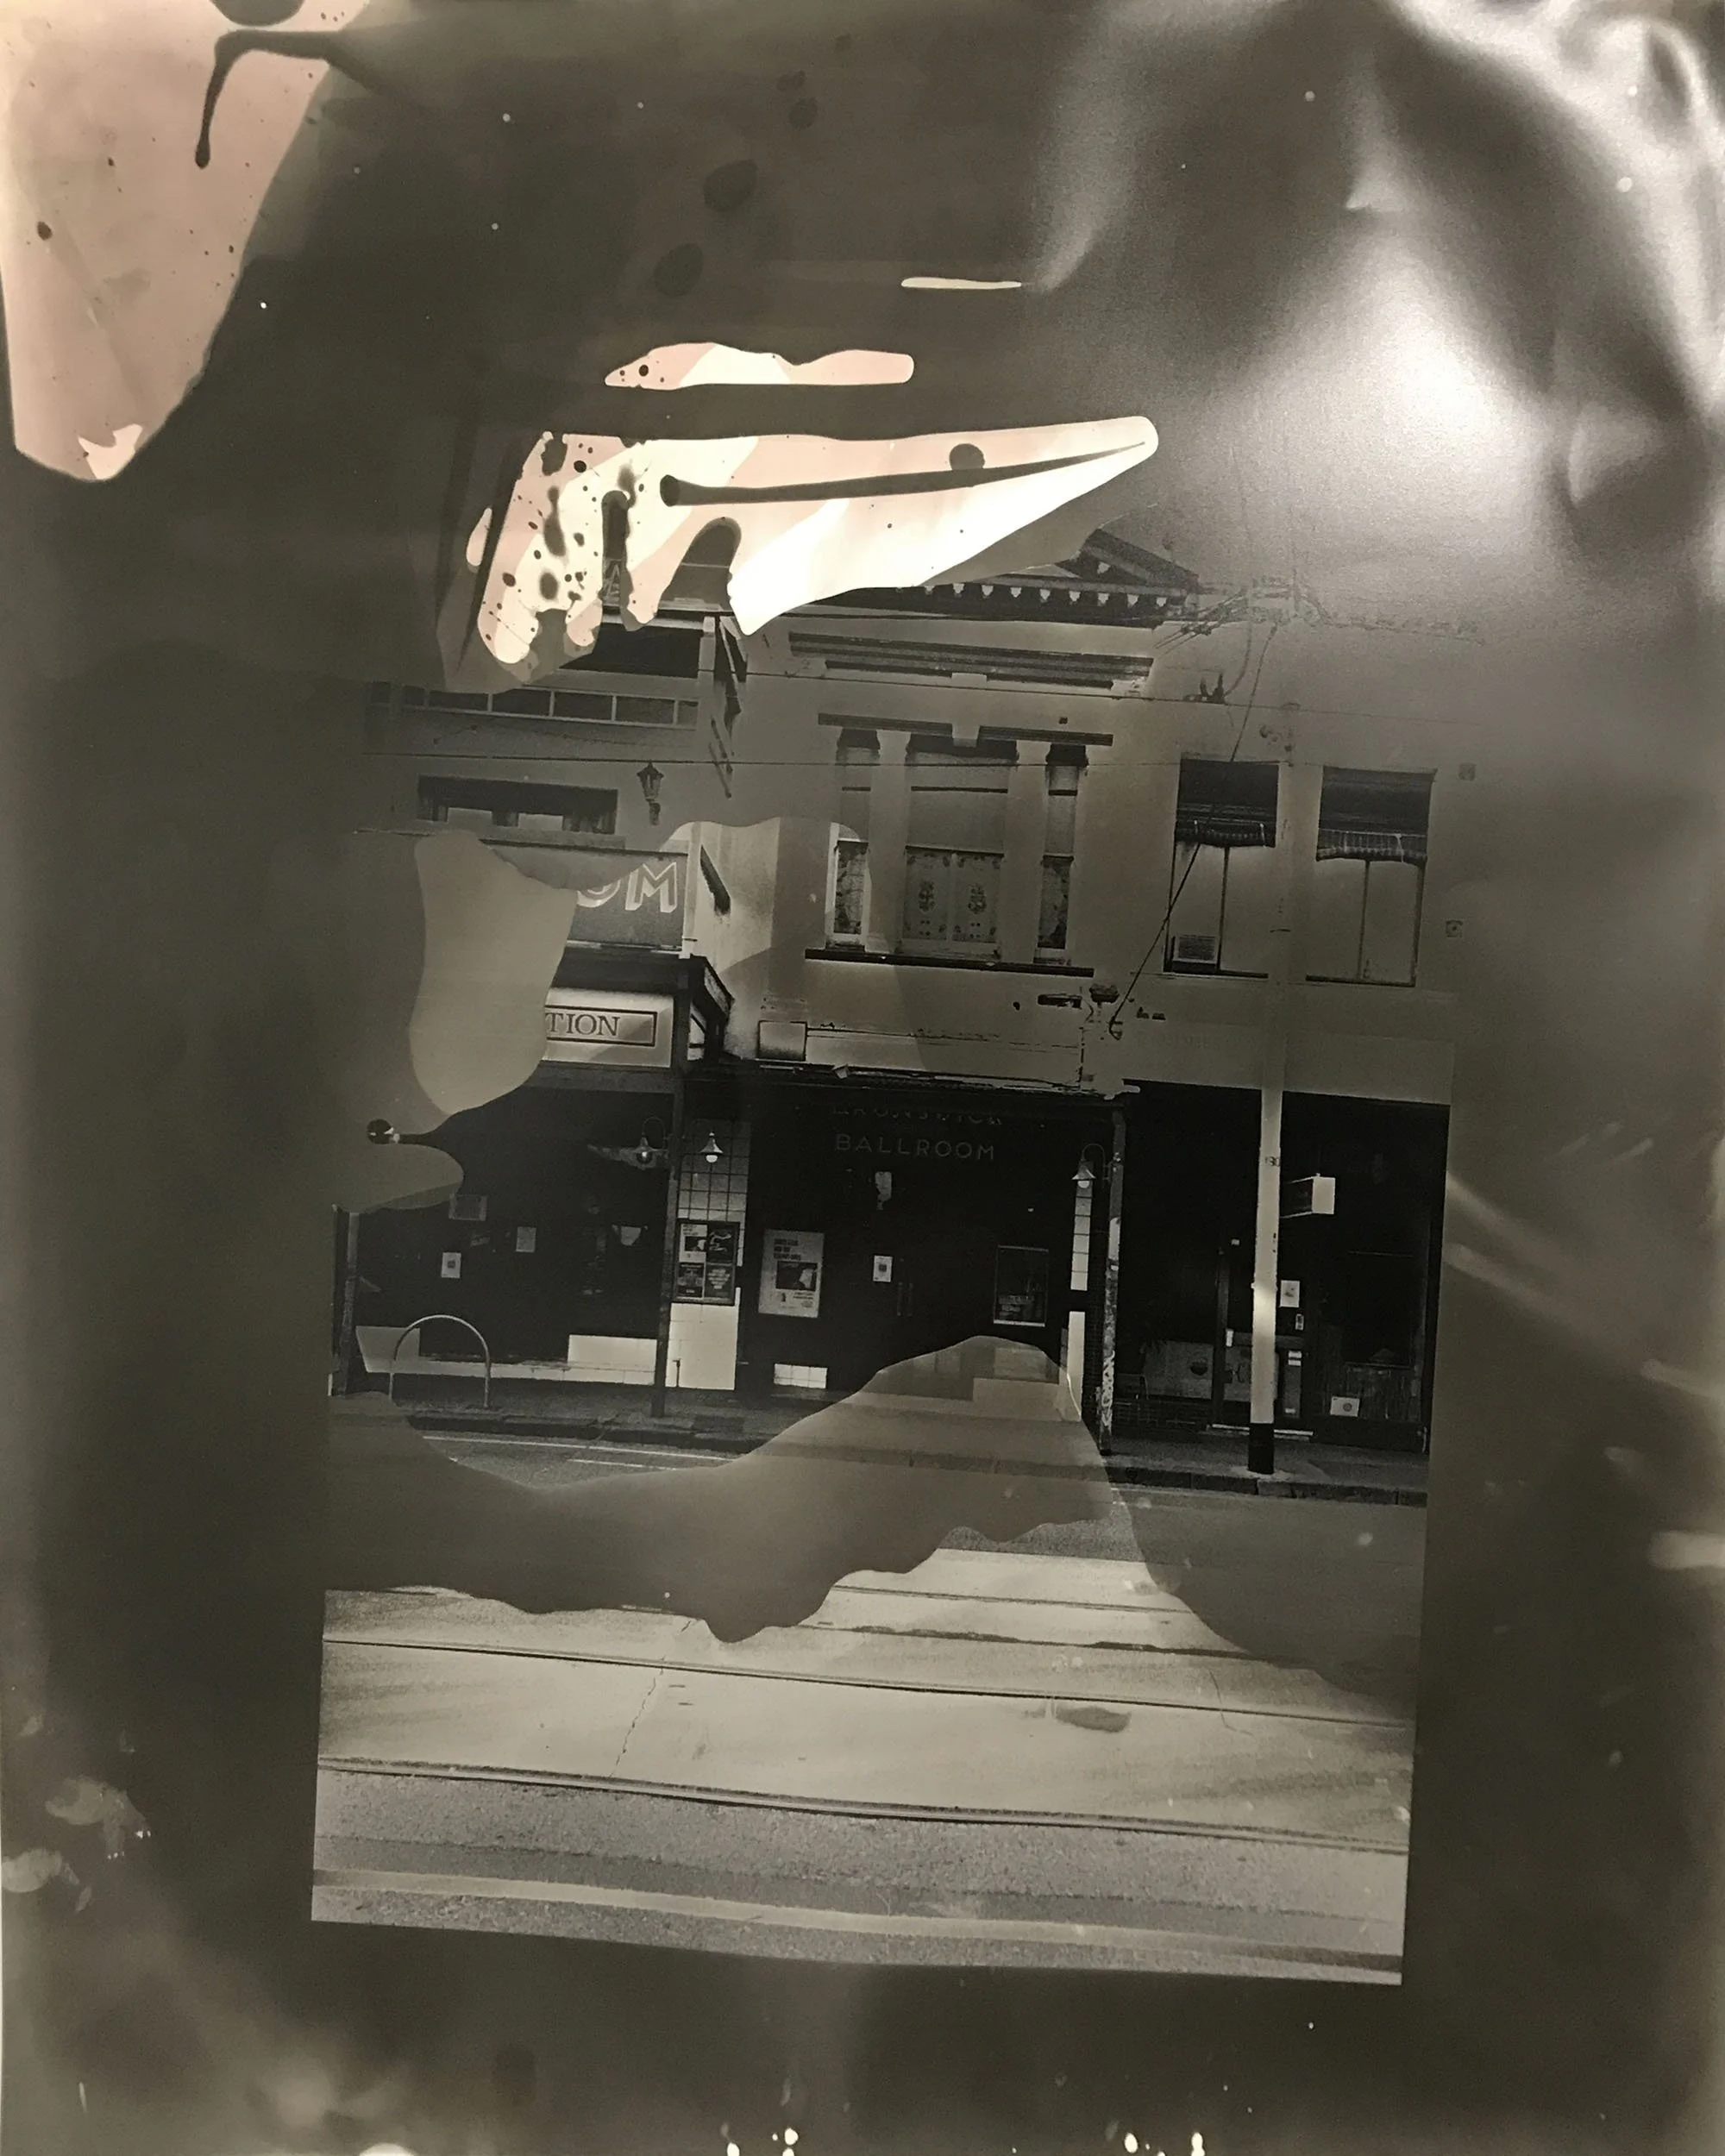
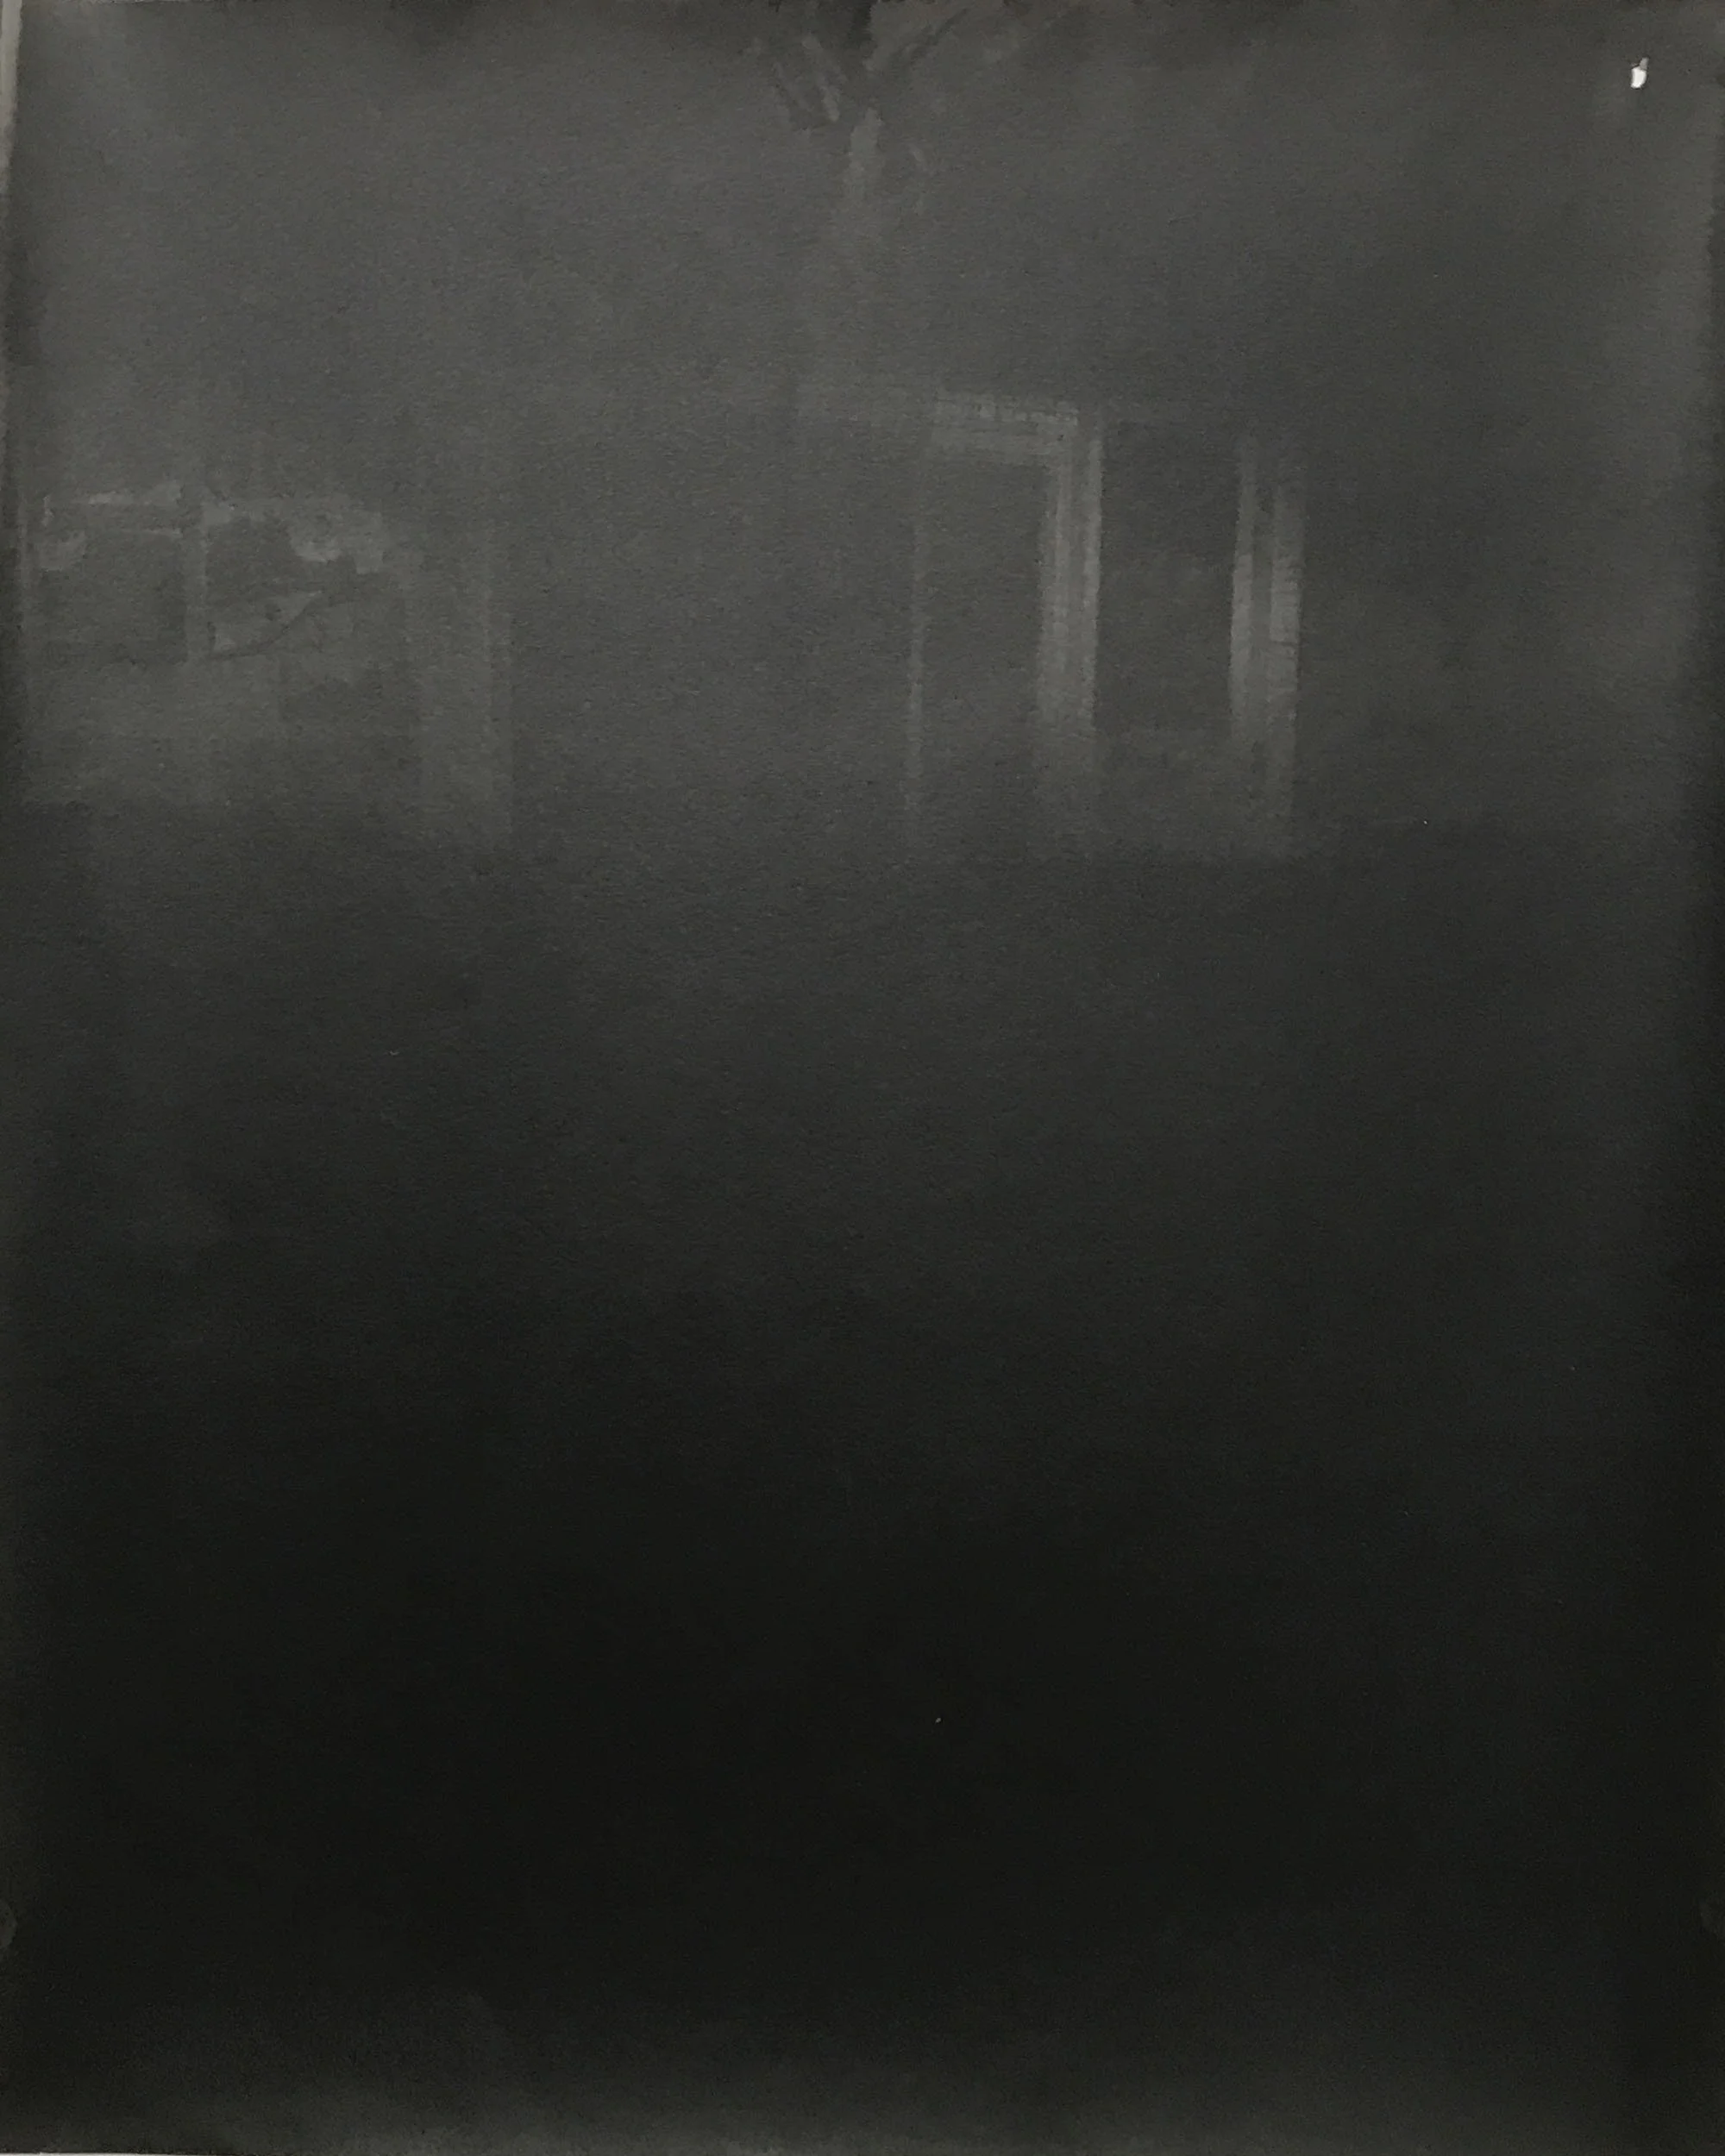
Long exposure pinhole
Like lumen prints, pinhole long exposures form directly on the gelatin silver paper (Figures 1). In fact, developing pinhole gelatin silver paper long exposures is likely to overexpose and obliterate the image. Further, as a photographer with a foundational generative practice, making the cameras, cutting the paper, composing and producing the exposures, and then developing the paper negatives is a complete and all-encompassing cycle. The pinholes are as much artwork as the images made of them. Consequently, pinhole photography epitomises the ‘evolving’ and ‘devolving’ Kintsugi and Wabi Sabi aesthetic, fostering serendipitous outcomes and ephemeral, captivating and hauntingly evocative images that question time and space while acknowledging the fragmented and displaced with newfound beauty.
Floating in D minor, 2022, digitally enhanced scan of solarised unique gelatin silver paper negative five-day pinhole exposure, original print size 140x150mm (approx)
Keywords
Long exposure, Pinhole, Solarise, Unique print, Gelatin silver, Experimental darkroom
Making pinhole cameras in isolation 2
I have struggled reading having a lack of clarity in my thought processes due to being Covid positive. Making the most of my time in isolation I finished constructing an iPhone 7 box, a gift box and Fluevog shoe box pinhole cameras to use with paper negatives. Test exposures were captured on the balcony.
Figure 1a. Scanned test exposure paper negative captured with iPhone 7 box pinhole camera, 2022
Figure 1b. Scanned iPhone 7 box pinhole camera test exposure (Figure 1) notes, 2022
Figure 1c. Digital positive of scanned test exposure paper negative captured with iPhone 7 box pinhole camera (Figure 1), 2022
Figure 2a. Scanned test exposure paper negative captured with Fluevog shoe box pinhole camera, 2022
Figure 2b. Scanned Fluevog shoe box pinhole camera test exposure notes, 2022
Figure 2c. Digital positive of scanned test exposure paper negative captured with Fluevog shoe box pinhole camera, 2022
Figure 3a. Scanned test exposure paper negative captured with gift box pinhole camera, 2022
Figure 3b. Scanned test exposure captured with gift box pinhole camera notes, 2022
Figure 3c. Digital positive of scanned test exposure paper negative captured with gift box pinhole camera, 2022
Keywords
Pinhole photography, Handcrafted cameras, Test exposures, iPhone 7 box, Gift box, Fluevog shoe box, MFA, Studio 1
S1 A1 reflection
Feedback
Zo, you've done more experimentation than we have actually engaged with in our 3 conversations to date. The previous work is not so relevant to this report and I vote we leave this behind, for now, we don't need to make new work in relation to those projects. I think the paint experiments are better than you think they are, and actually, I am interested in digging them out for our next discussion, as well as the work you are currently doing! I have made a comment on the frisson theory, this may or may not be relevant going forward, but the term is not so specific as your reference would have it. I think slowing down is really key at present. I can appreciate that you have already completed a Masters and that you are quite a fast thinker. But, we are not in any hurry and we have nothing to prove.
Response
It seems I have misunderstood a few things regarding previous work, which I see as a positive moving forward. More than happy to let that work go and second your vote. Some of the painting experiments have been thrown out. Some not. I'll dig out what I kept for our next meeting. I have a long way to go with embracing slowing down Dom, although I am improving. There is always something to prove to myself.
Reflection
Although there has been valuable guidance and advice, I feel that I am not only grossly misunderstood but also underestimated and deserve better than ‘commencing’ in the rubric. As stated in my interview for the MFA, I have no interest in 'exploring' new modes of making. Further, my interests are expanding on my generative art practice and continued investigation of how rhythm and energy manifest in the creative process and visual iteration of frissons. Notably, this now extends to studying how apparatus-based practice (analogue photography and experimental darkroom) can serve as a means of communication and self-expression that transgresses written and spoken language for the artist and challenge the indexicality, tropes, and traditional notions of what a photograph should be. Consequently, I am questioning how much of what was discussed in my meeting has been considered or taken on board by the university and whether I should continue my study in the MFA or reassess the program structure and move into Studio 3.
Submission
My initial experiments[1] created for the Master of Fine Art program included introducing unfamiliar elements into my practice, such as painting (Figures 1 and 2). At the time, I felt the results to be unsatisfactory failing to reflect or iterate the frissons I experience when listing to music and making and viewing art, but more my frustration in working with the medium. Printmaking artefacts (Figure 3) and abstract film photography (Figure 4) were also used to make photogravure prints on various substrates (Figures 3–5). Although the traces and movement in the artefacts and abstract photography were captivating, offering a potential representation of physical and psychological networks that receive and interpret auditory and visual stimuli, which manifest tangibly as frissons. As with the painting, I was not satisfied with the prints outcomes, representation, or overall aesthetic and have chosen not to work with these visual concepts as they feel forced and cliché. Additional experiments painting ink on tracing paper (Figures 6 and 7) and mixed media montages were made, but as with the methods outlined above, did not result in successful outcomes and have thus not been pursued.
Figure 1. Untitled 2022, mixed media on cardboard, 420x590mm
Figure 2. Untitled, 2022, acrylic on foam-core, 297x420mm
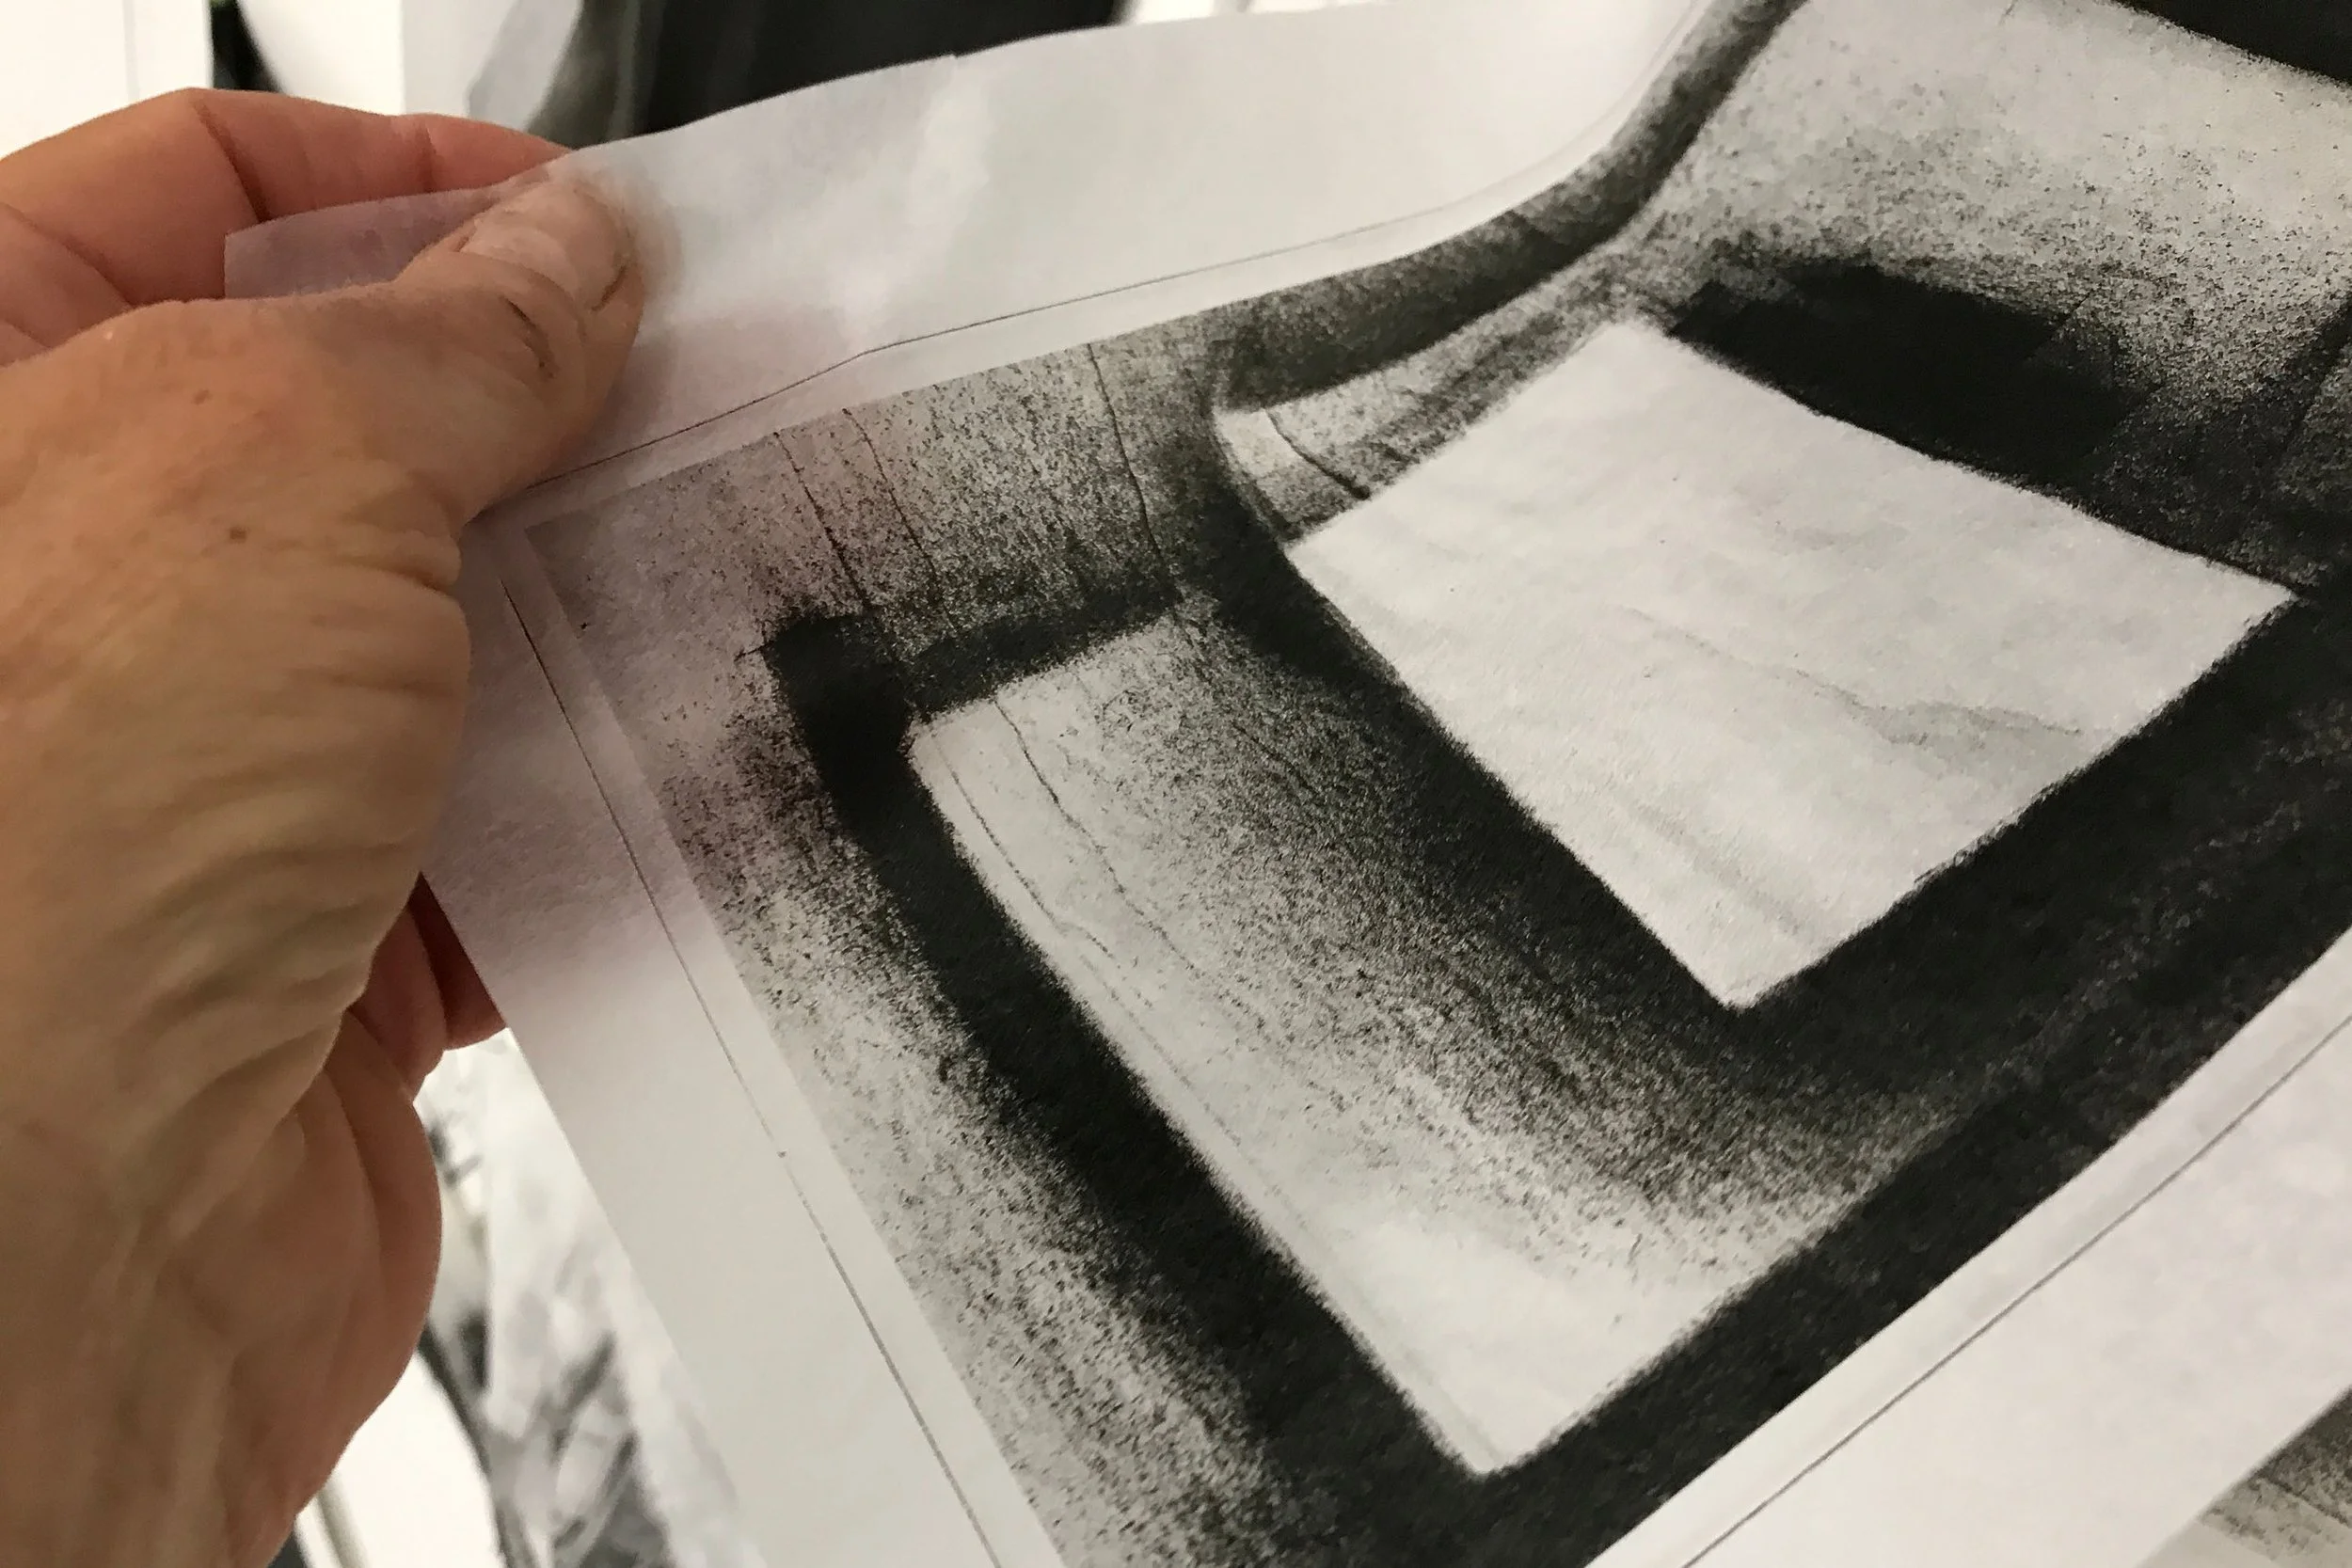
Figure 3. Untitled, 2022, photogravure on linen, plate size 148x210mm
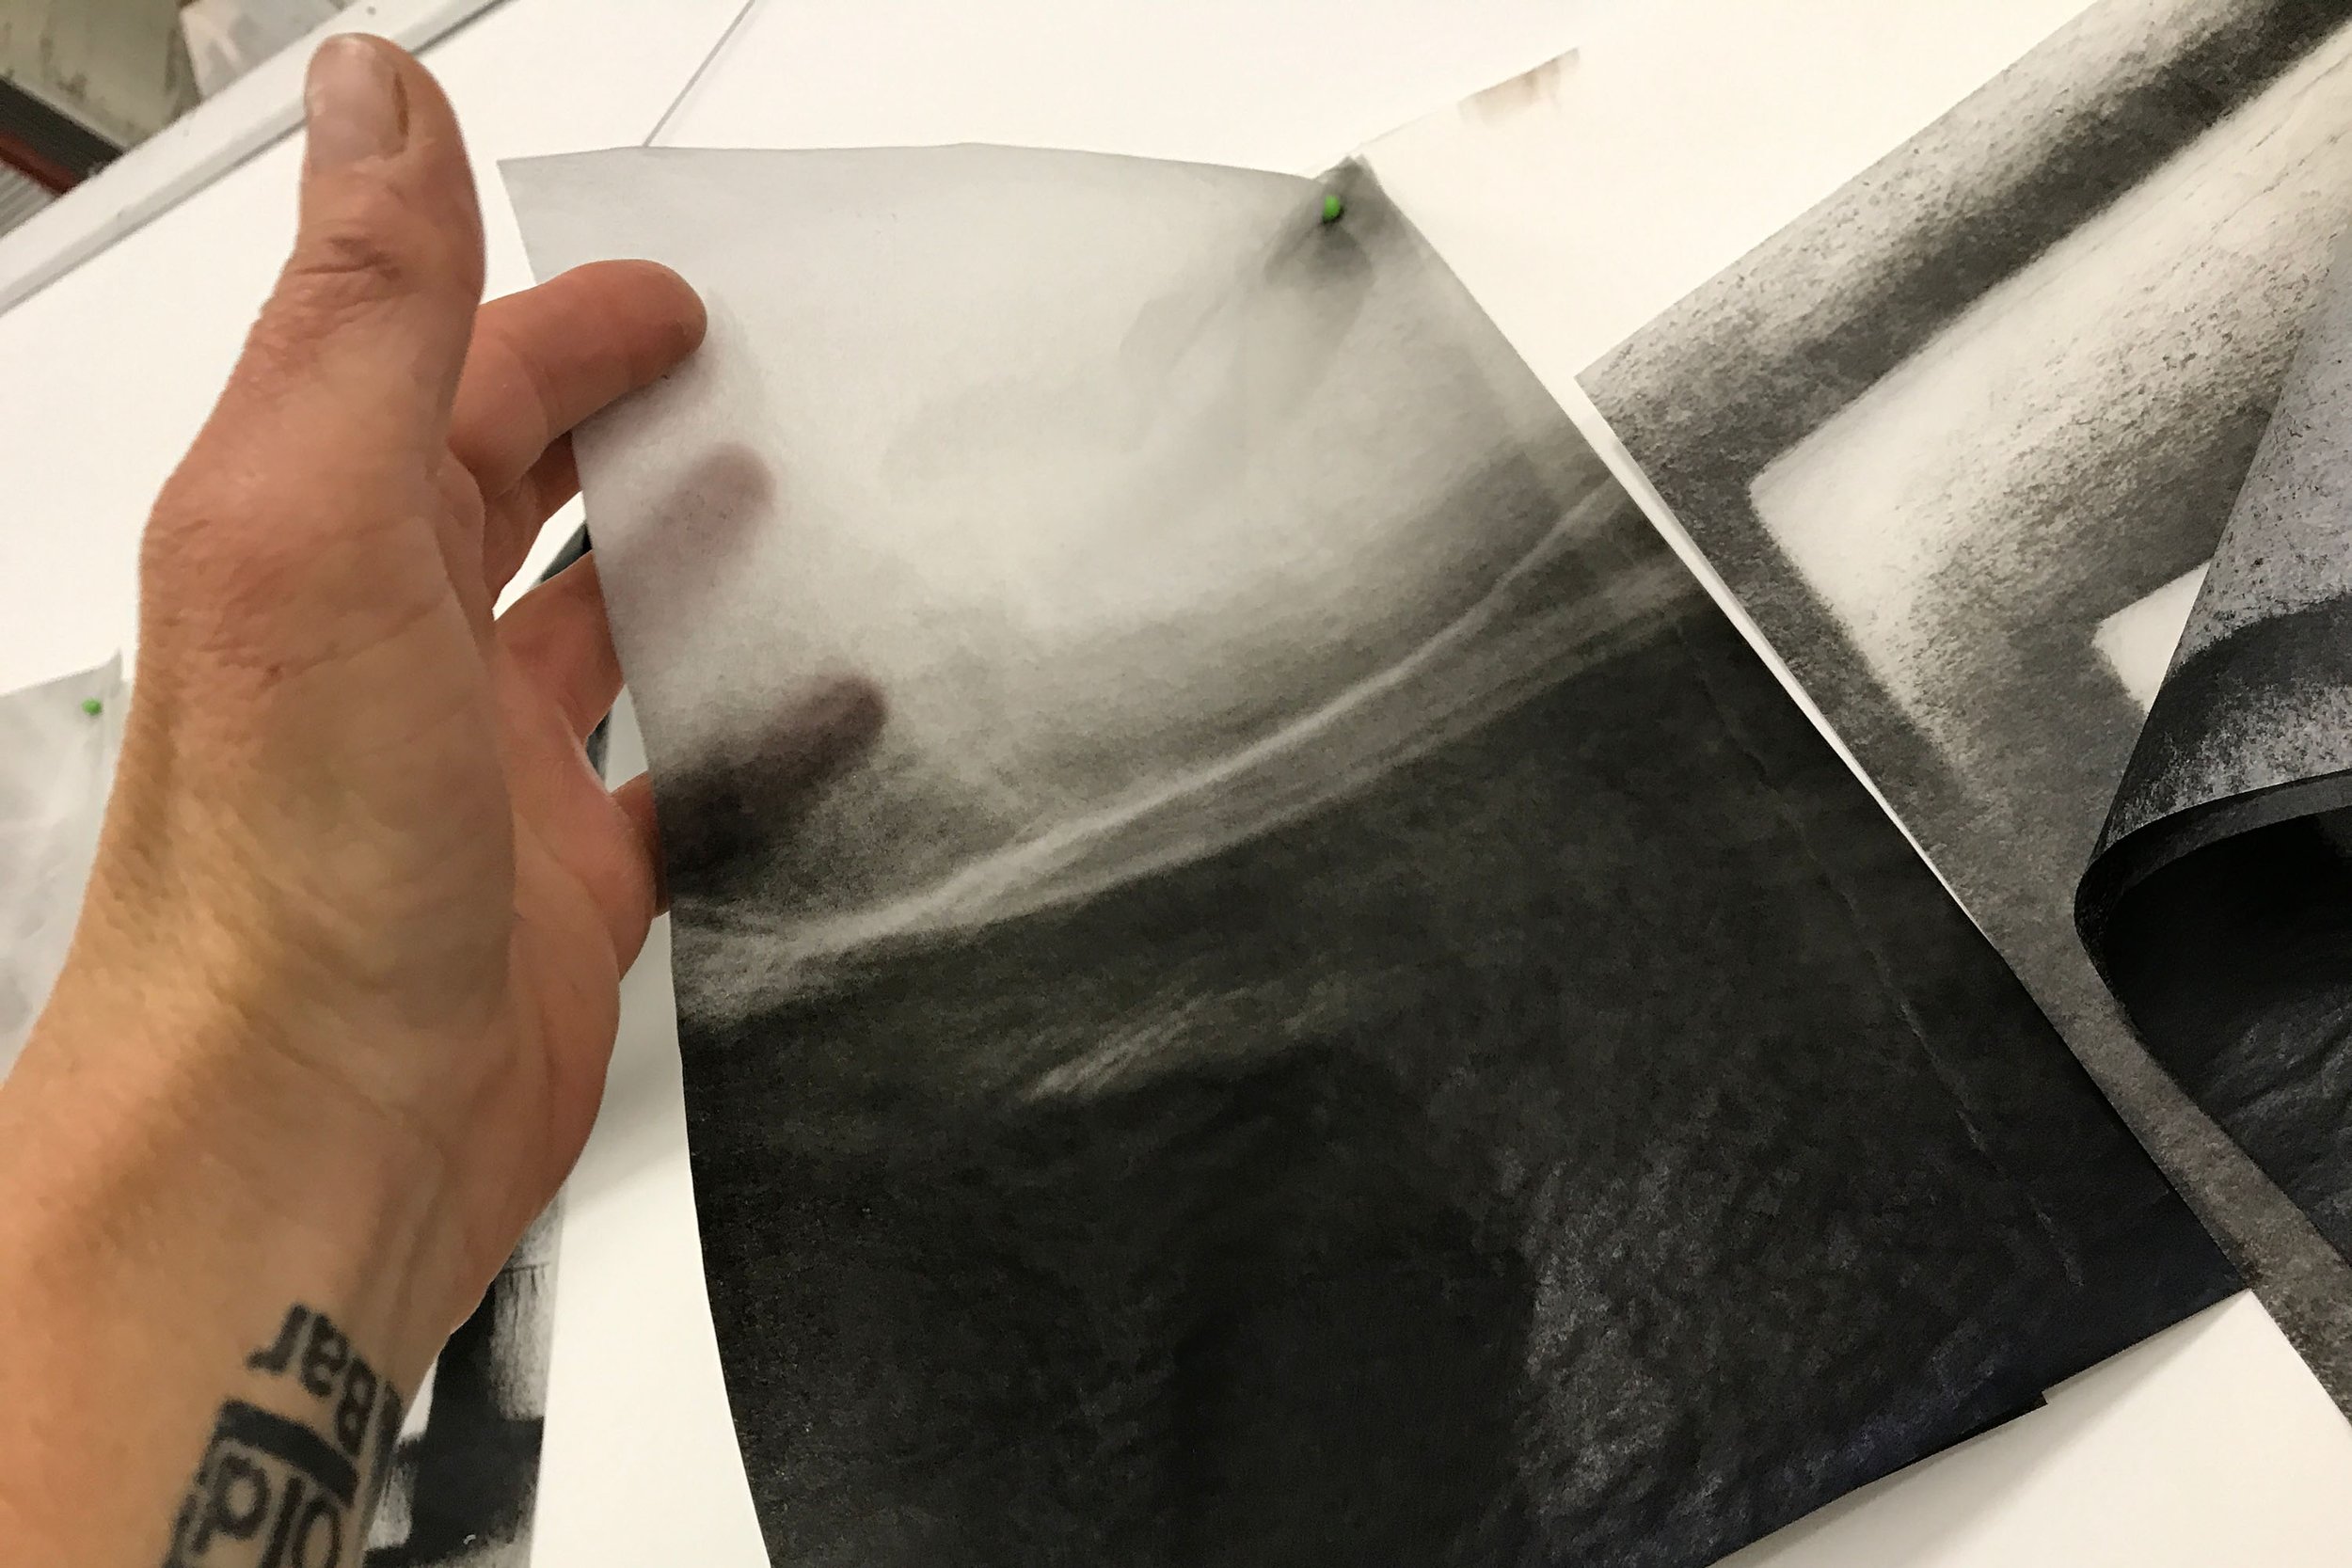
Figure 4. Untitled, 2022, photogravure on tissue paper, plate size 210x297mm
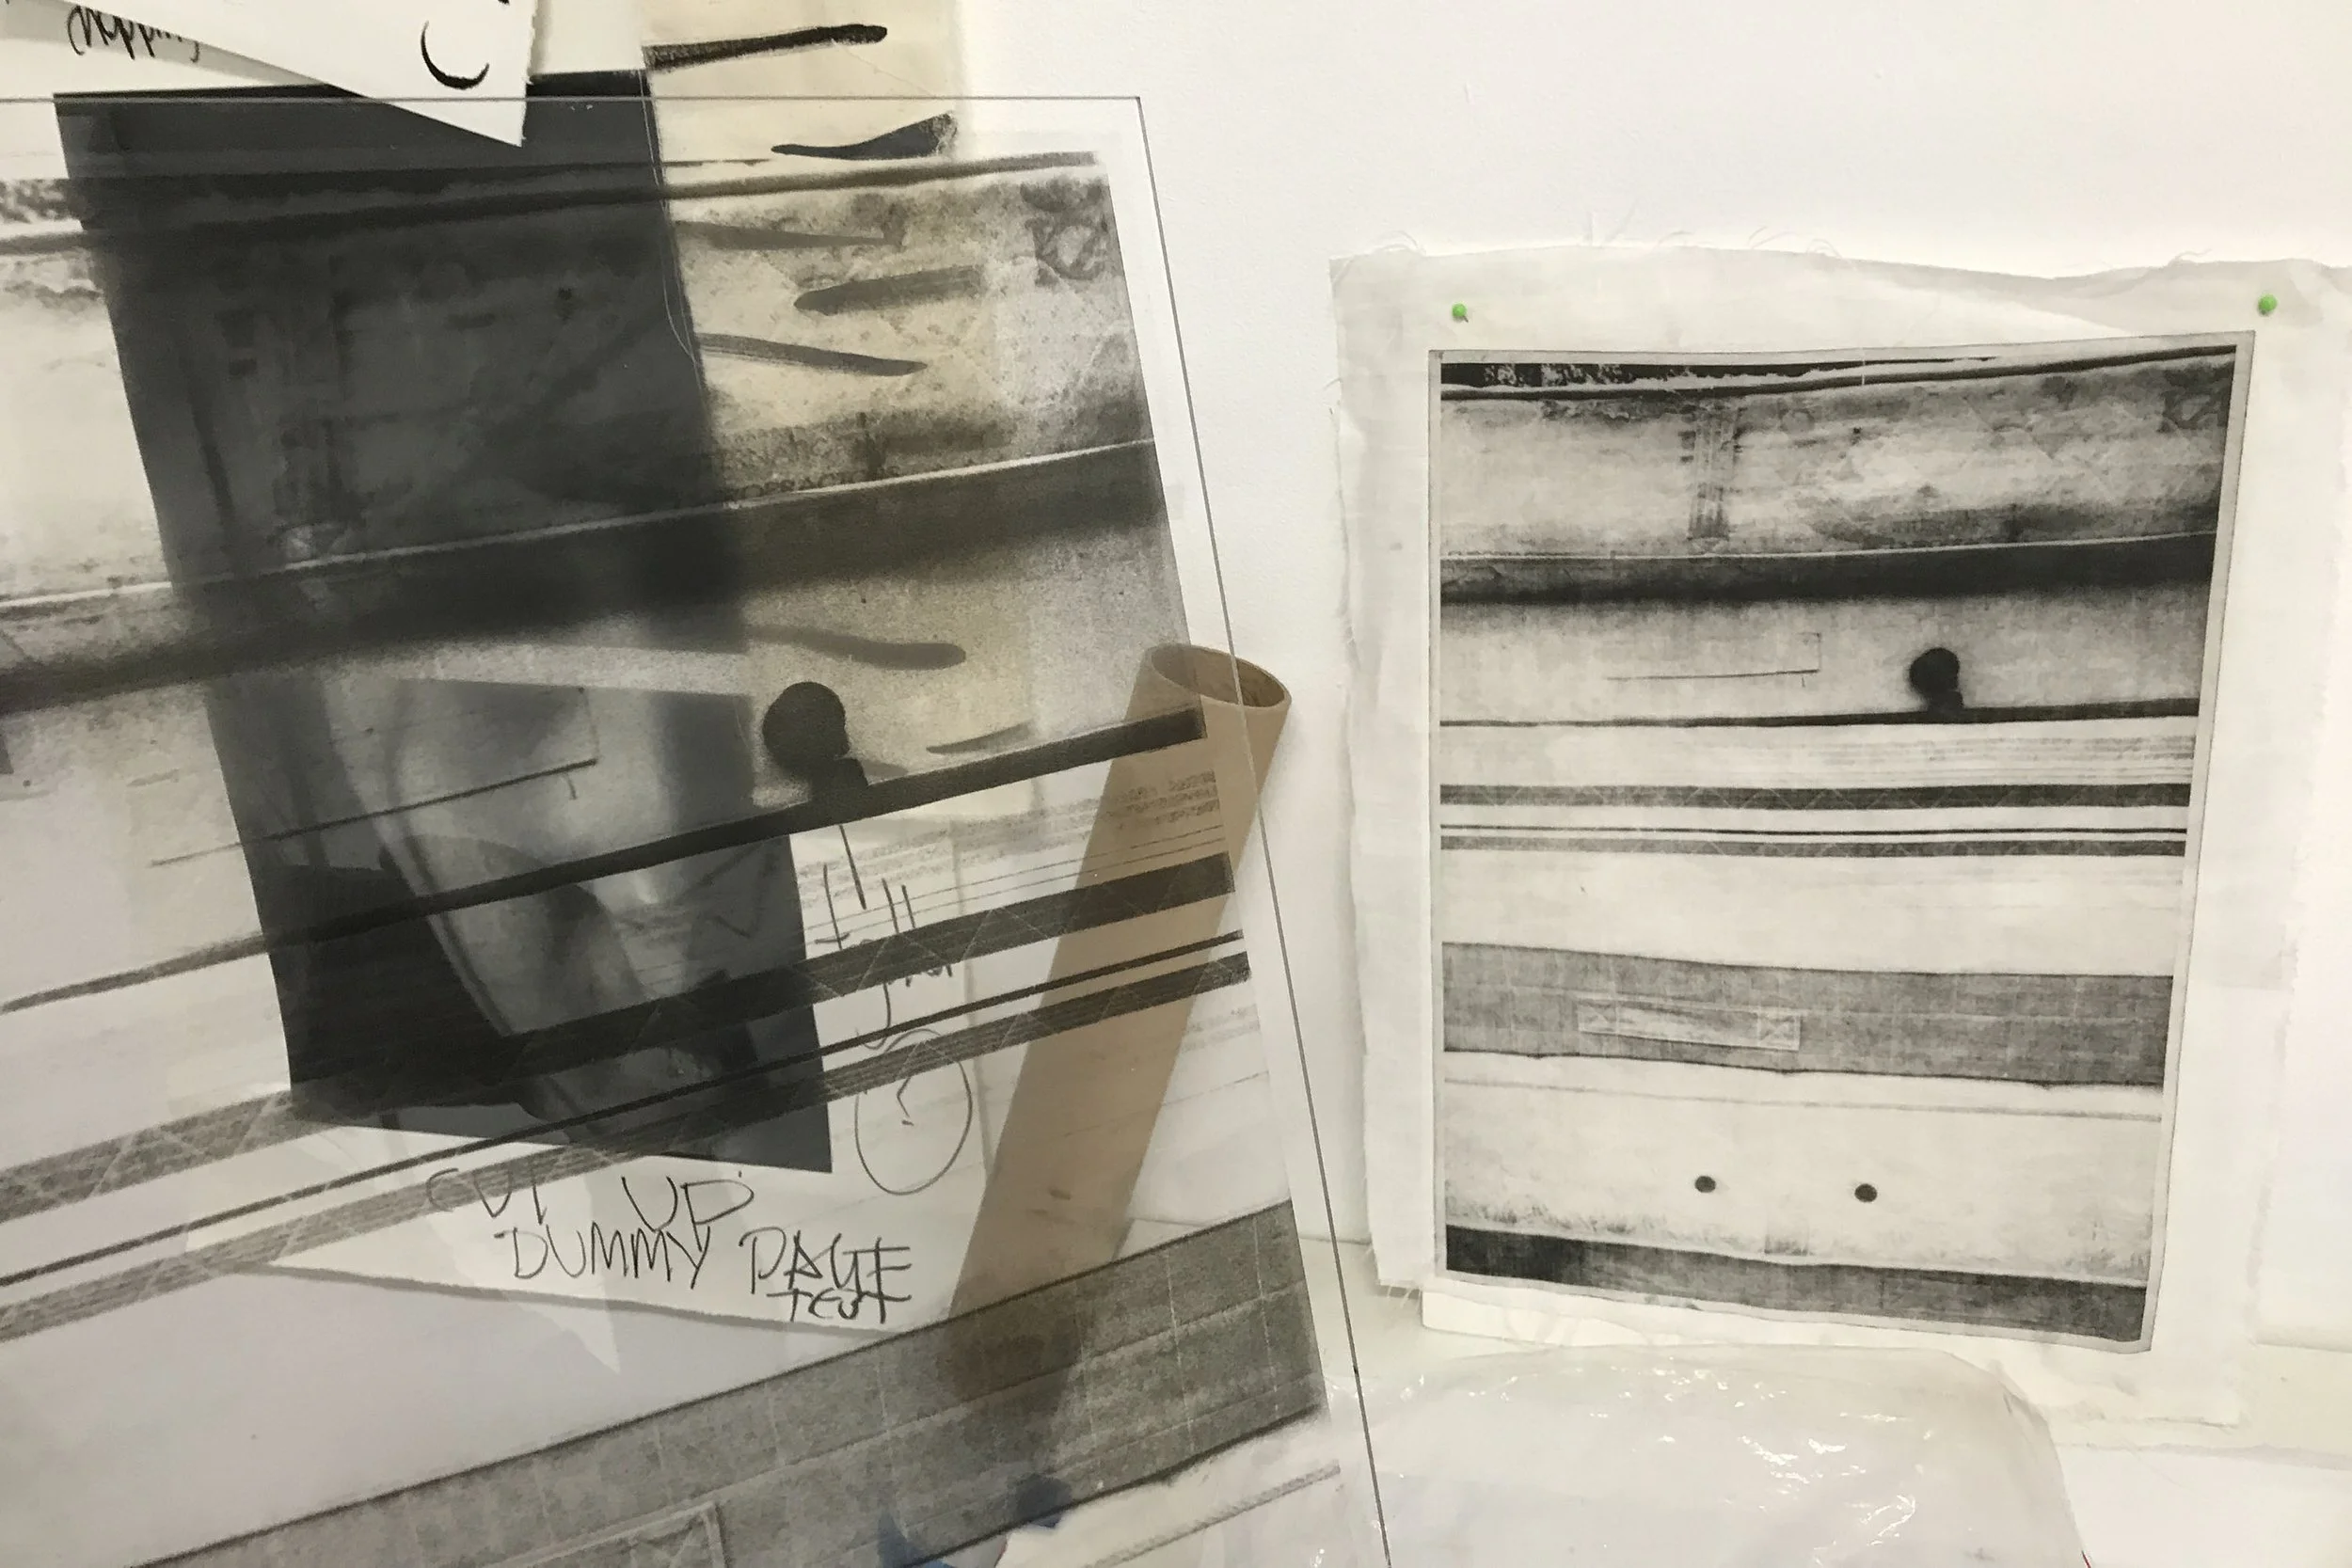
Figure 5. Untitled, 2022, photogravure on 3mm acetate, plate size 297x420mm
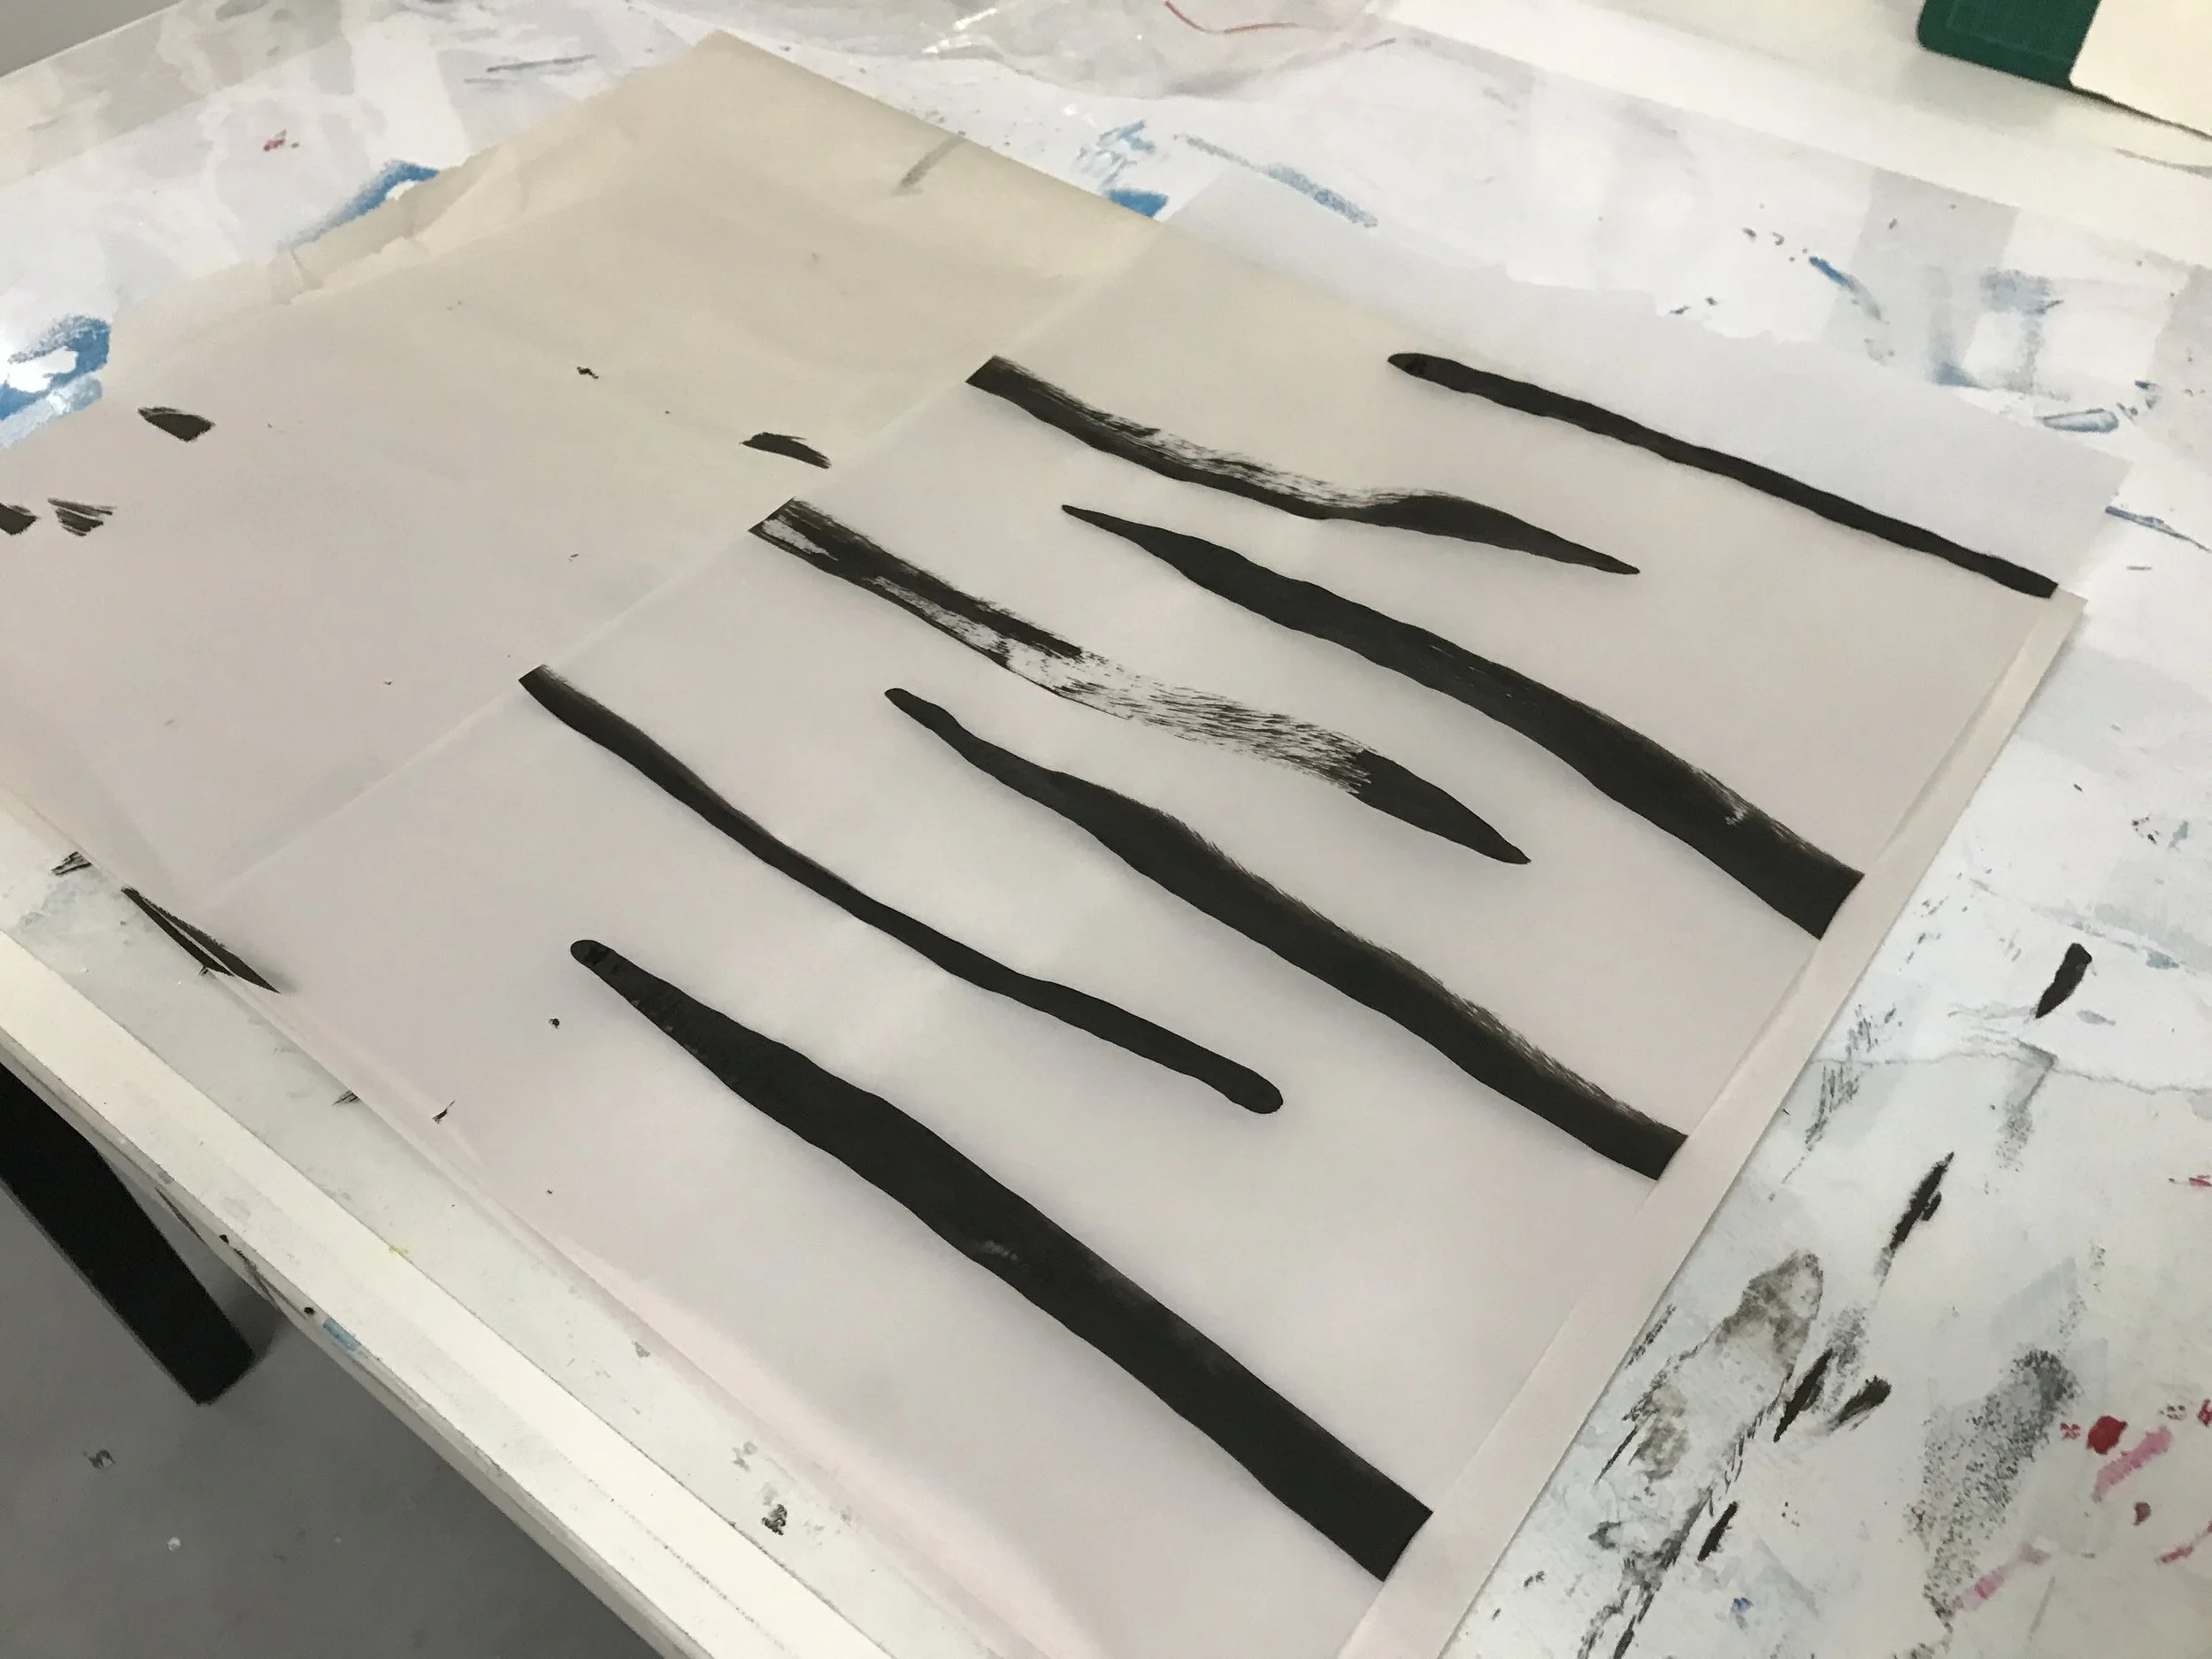
Figure 6. Untitled, 2022, Indian ink on 50gsm tracing paper inspired by basilar membrane ‘hairs’, 297x420mm
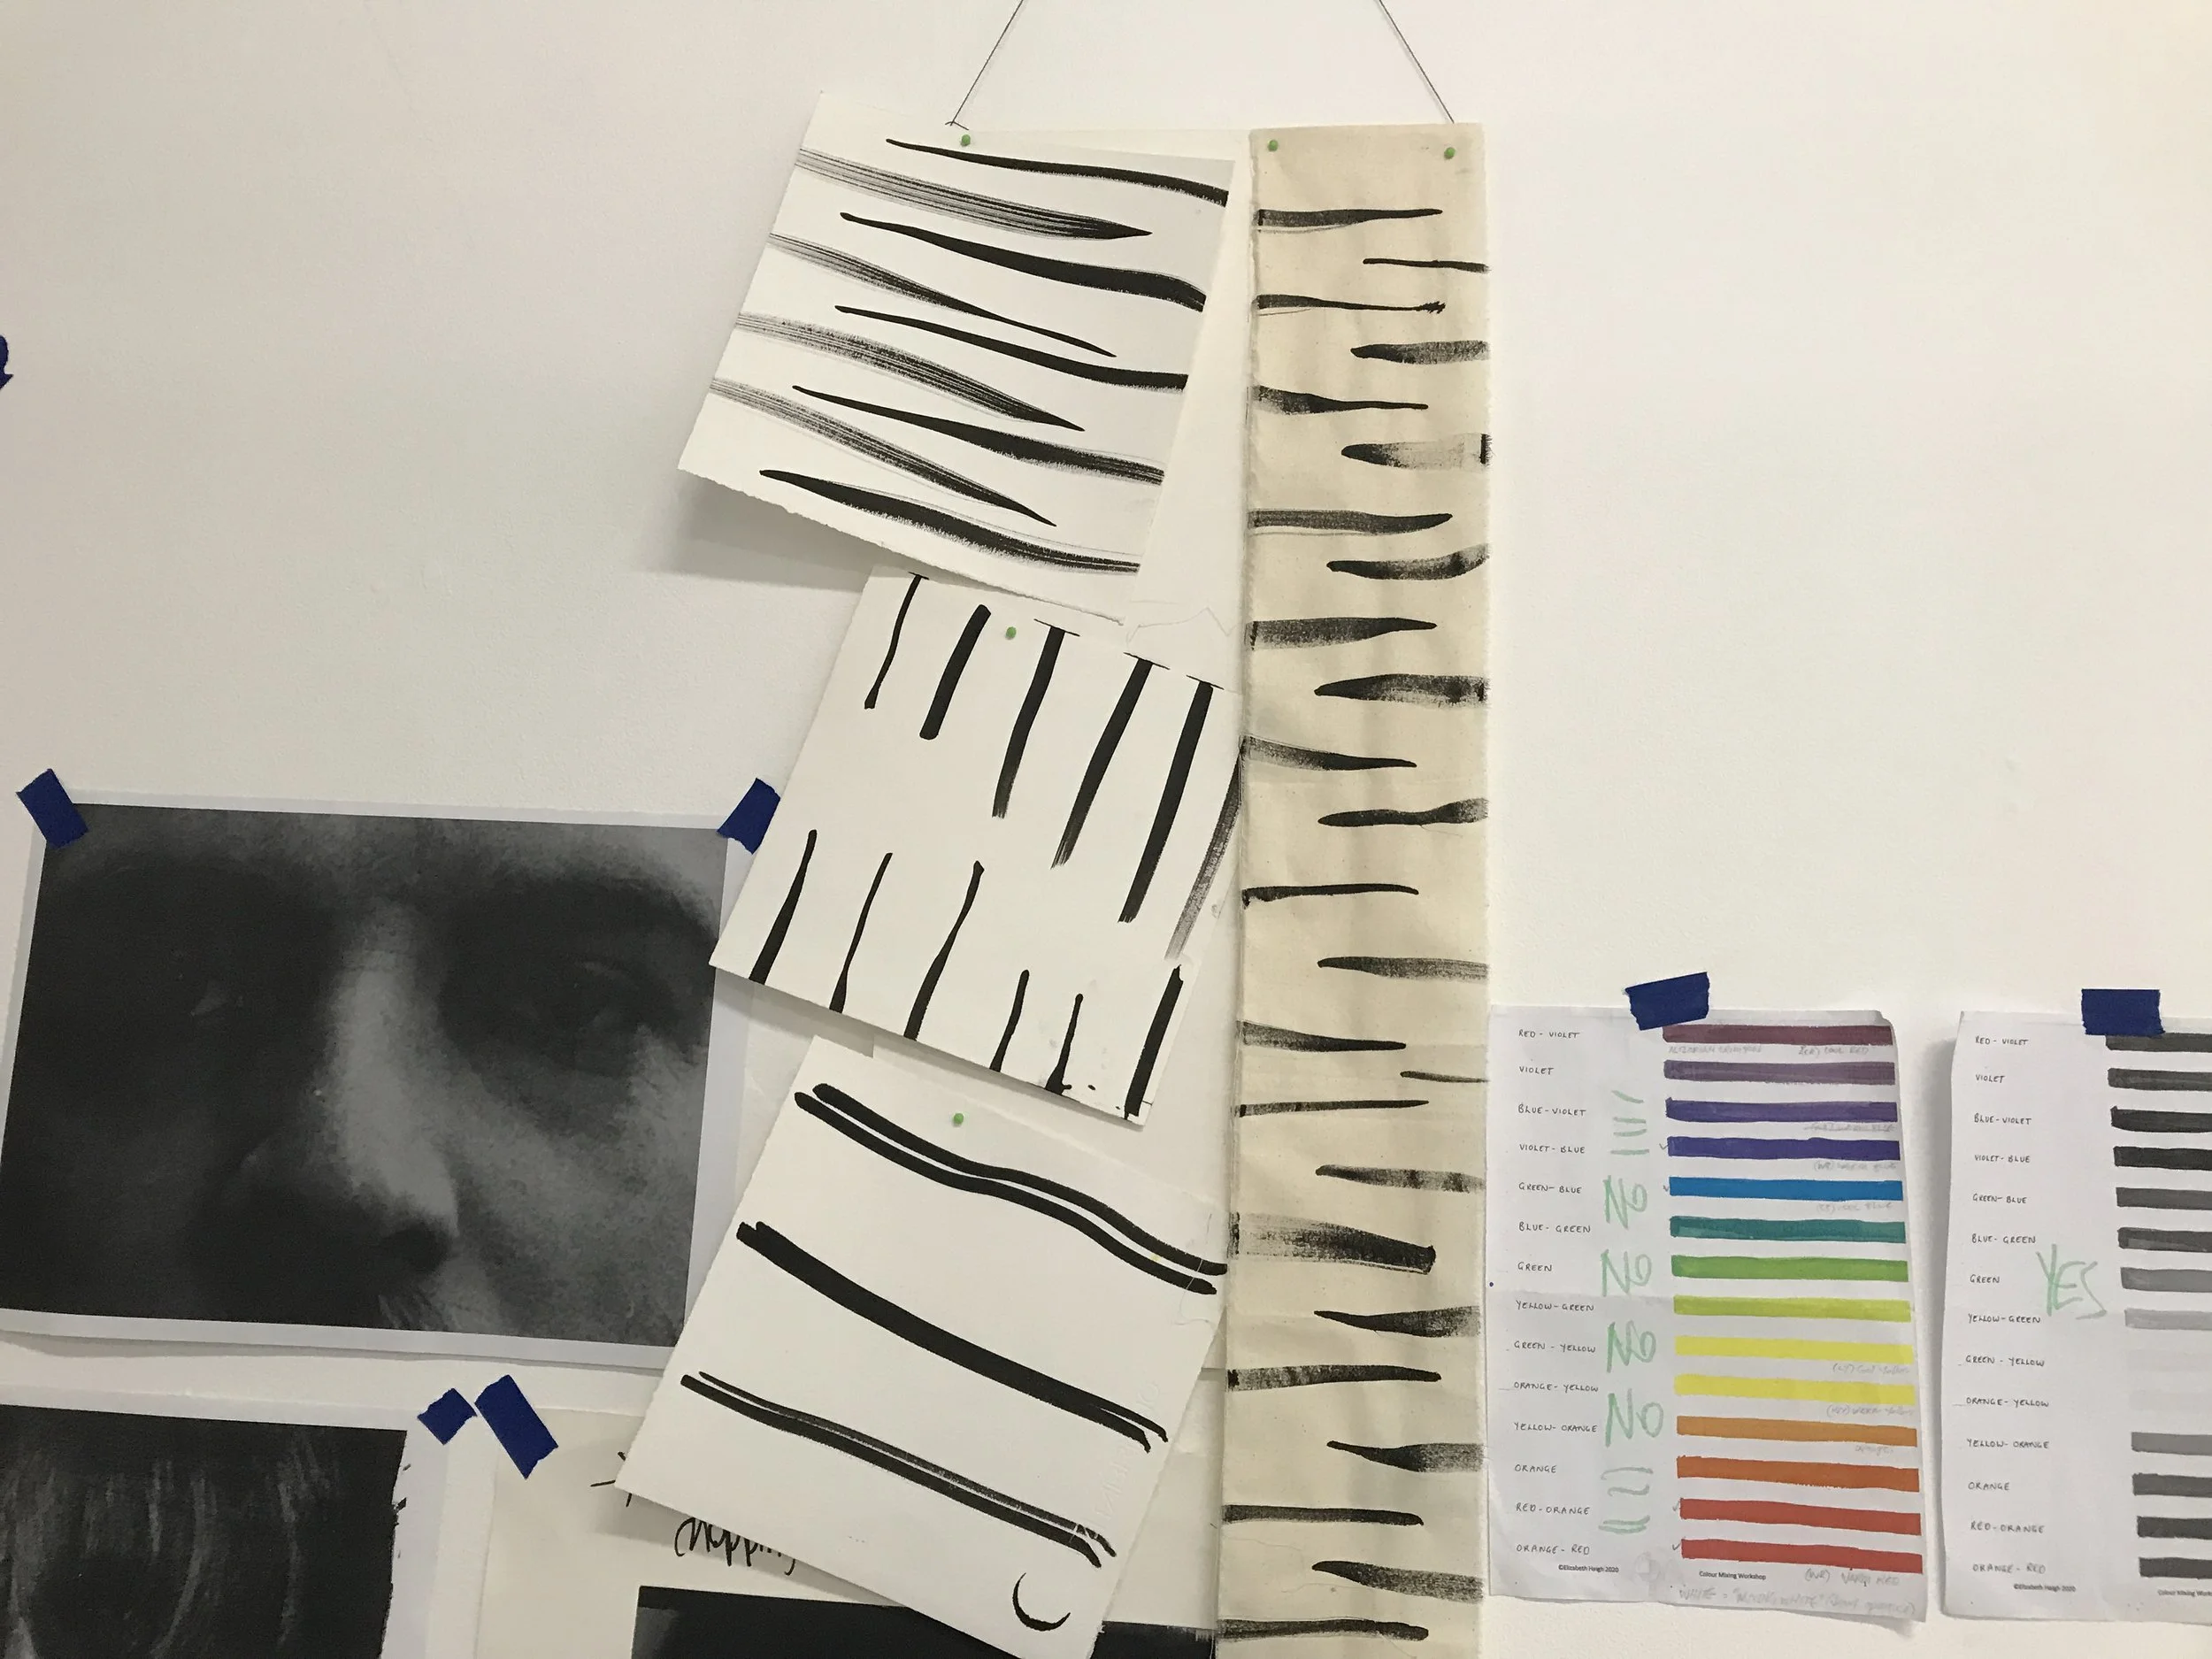
Figure 7. Experiments with Indian ink on printmaking paper (left) and calico (right) inspired by basilar membrane ‘hairs’, 2022
Despite still experimenting with the methods I will use for the project, my initial creative investigations in Studio 1 for the MFA have not produced outcomes worth pursuing. However, the process has reminded me of the adage, “Love what you make and make what you love”, leading me back to photography, where I am photographing my day-to-day life (Figure 8) while continuing to investigate studio-based research. My field of reference includes Modernist and Contemporary artists such as Laszlo Moholy-Nagy, Man Ray, Floris Neusüss, Eileen Quinlan and Mariah Robertson.
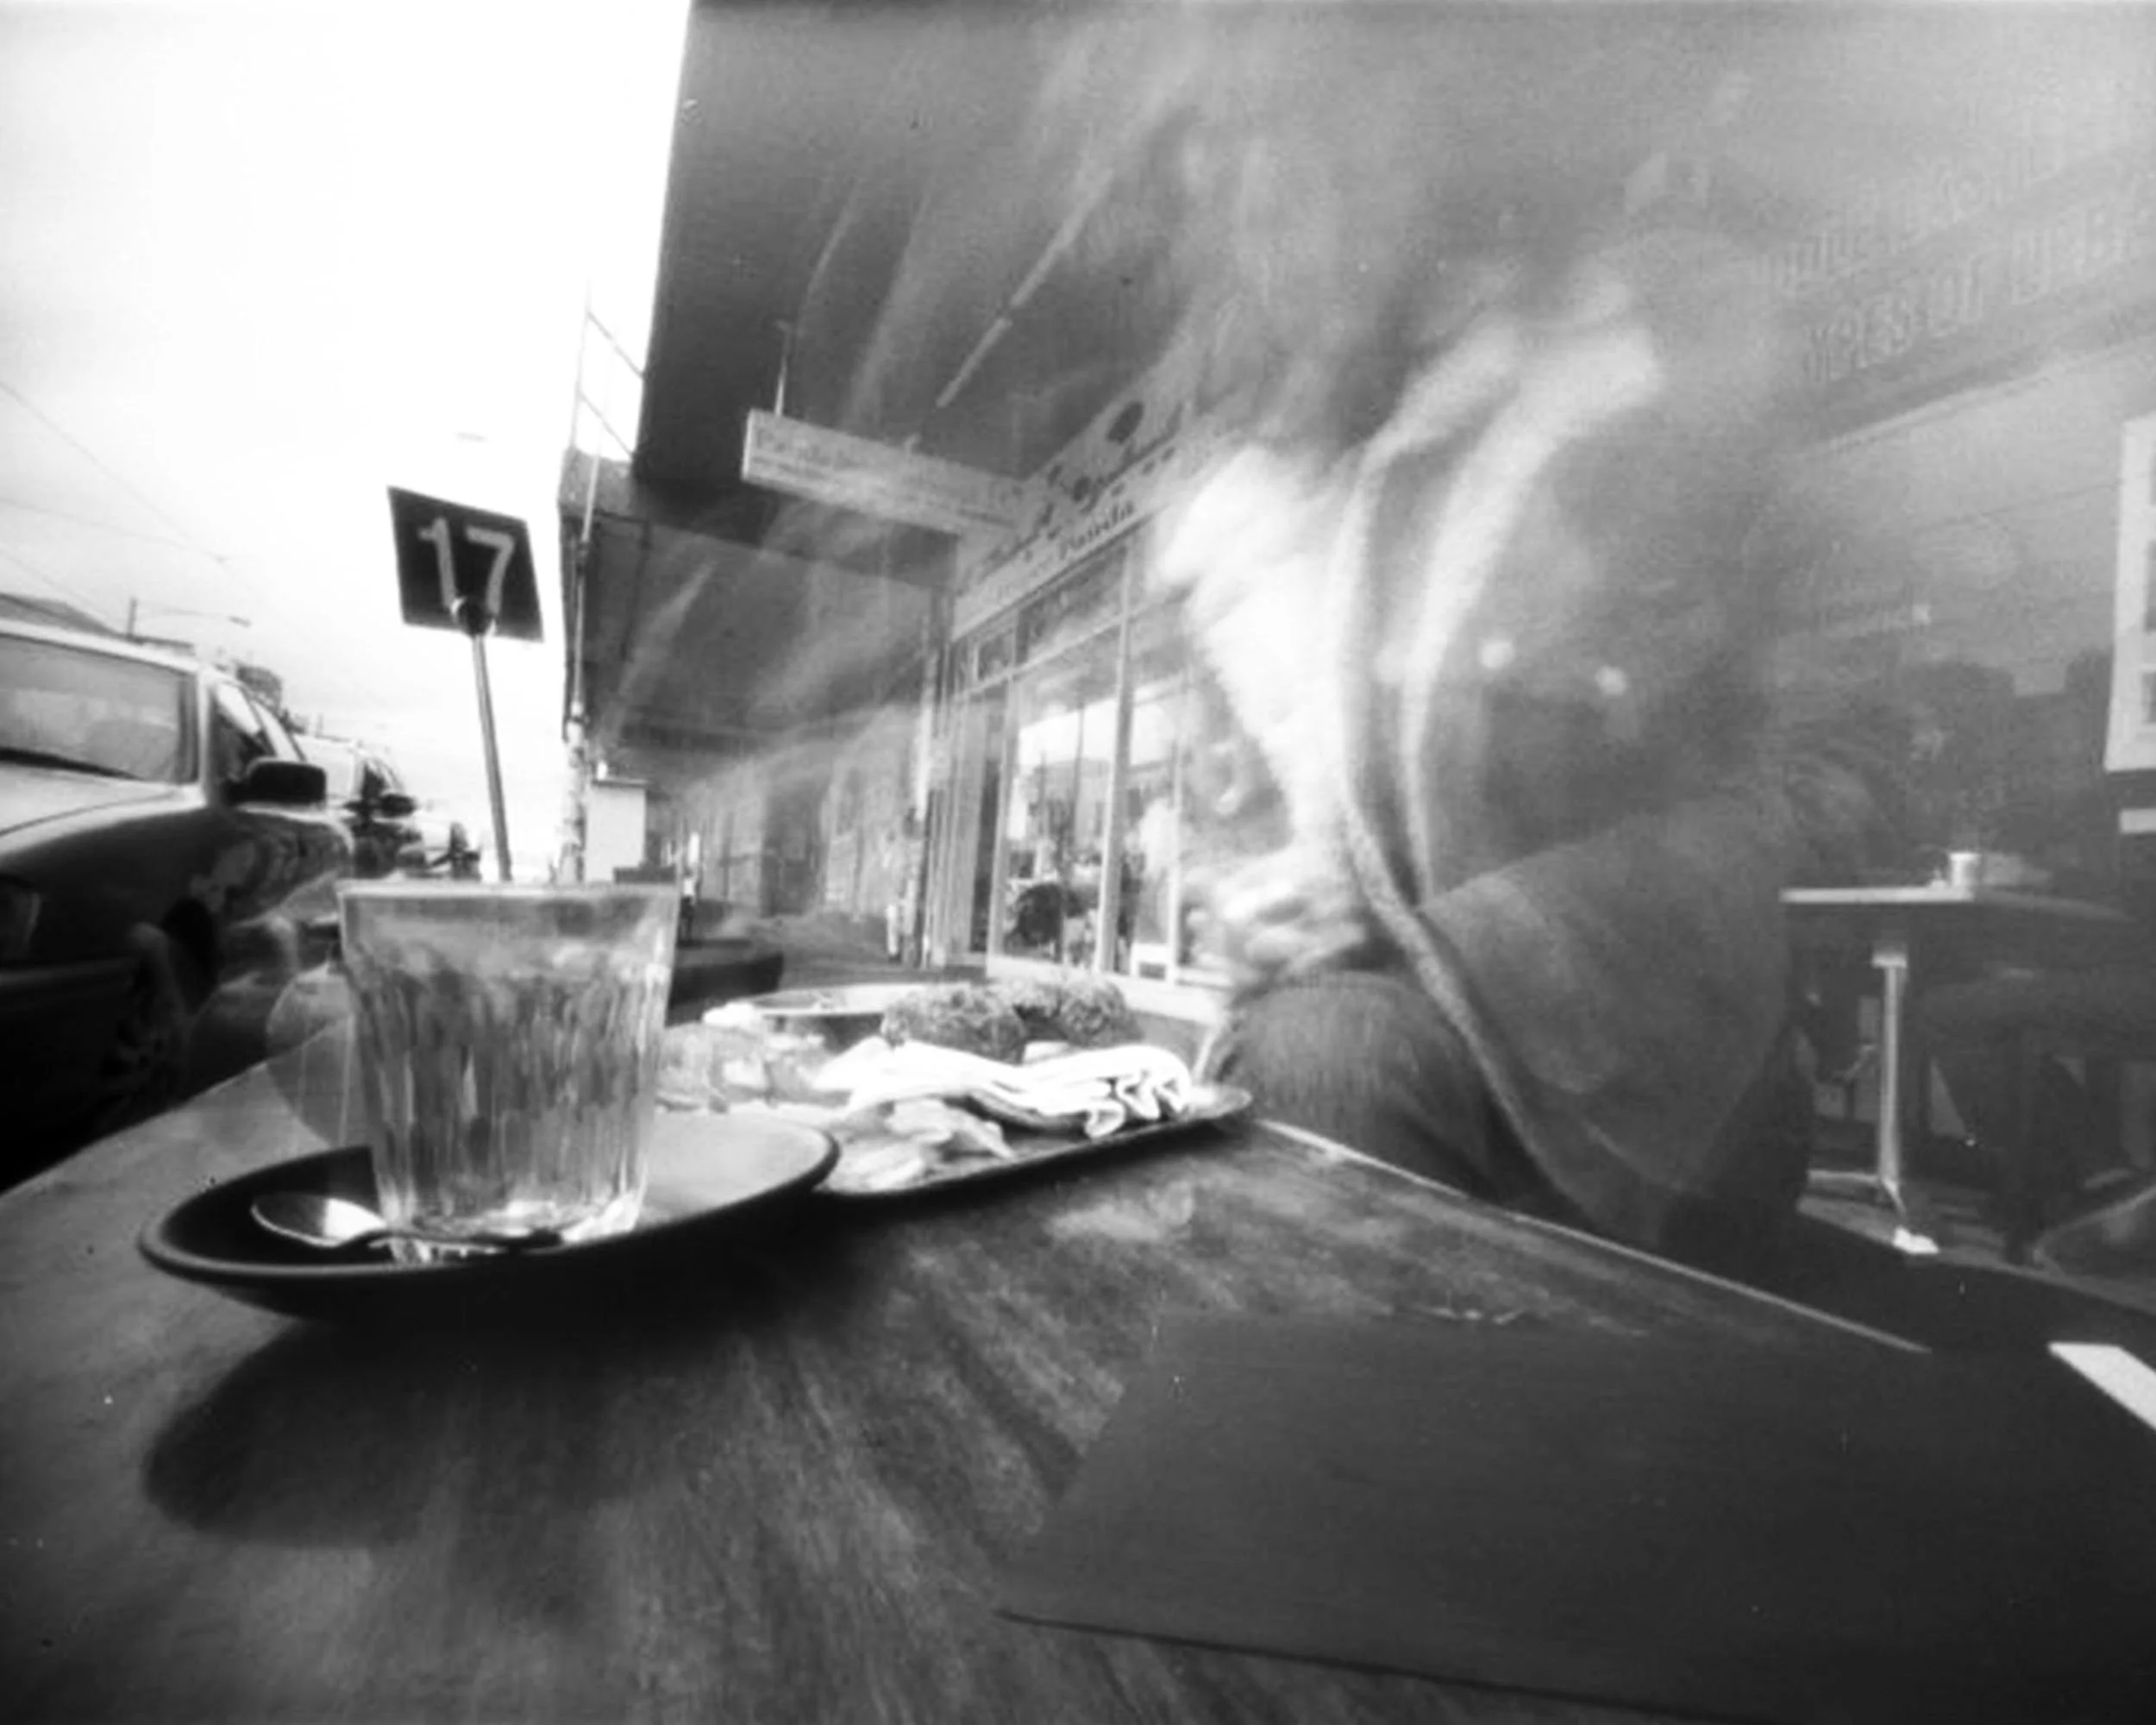
Figure 8
Pinhole photography may be interesting, while another avenue to explore is distortion. All the effects would be achieved in-camera/capture, reflecting, and iterating my own experience. The challenge and the constraints would also serve me well for keeping on an even keel without spinning into a creative hot mess.
It would be fascinating to investigate digital imaging of human responses to visual and auditory stimuli and learn from researchers currently working in the fields of neuroscience and physics.
To share that I have no idea what I am making and am at a complete creative loss is daunting and terrifying. Without a clear plan and outcome to work towards, I flounder without focus. That does not mean I need to know what I will make, but more what I am making for.
Footnotes
[1] Additional creative investigations I have undertaken in the Master of Fine Art program may be viewed online at https://zed-oh.com.
Keywords
Studio 1, Assignment, Reflection
S1 Week 3: Pinhole and Diana
Medium format lomo
Figure 1.
Figure 2.
Long exposure pinhole paper negatives
Figure 3. Scan of paper negative captured with an exposure of four days using my handmade Ilford 5x7” paper box pinhole camera
Figure 4. Digitally inverted scan of paper negative captured with an exposure of four days using my handmade Ilford 5x7” paper box pinhole camera
Figure 5. Scan of paper negative captured with an exposure of four days using my handmade coffee can pinhole camera
Figure 6. Digitally inverted scan of paper negative captured with an exposure of four days using my handmade coffee can pinhole camera
Figure 7. Scan of coffee can pinhole camera solarised paper negative (three day exposure)
Figure 8. Digitally inverted scan of coffee can pinhole camera solarised paper negative (three day exposure)
4x5 pinhole paper positives
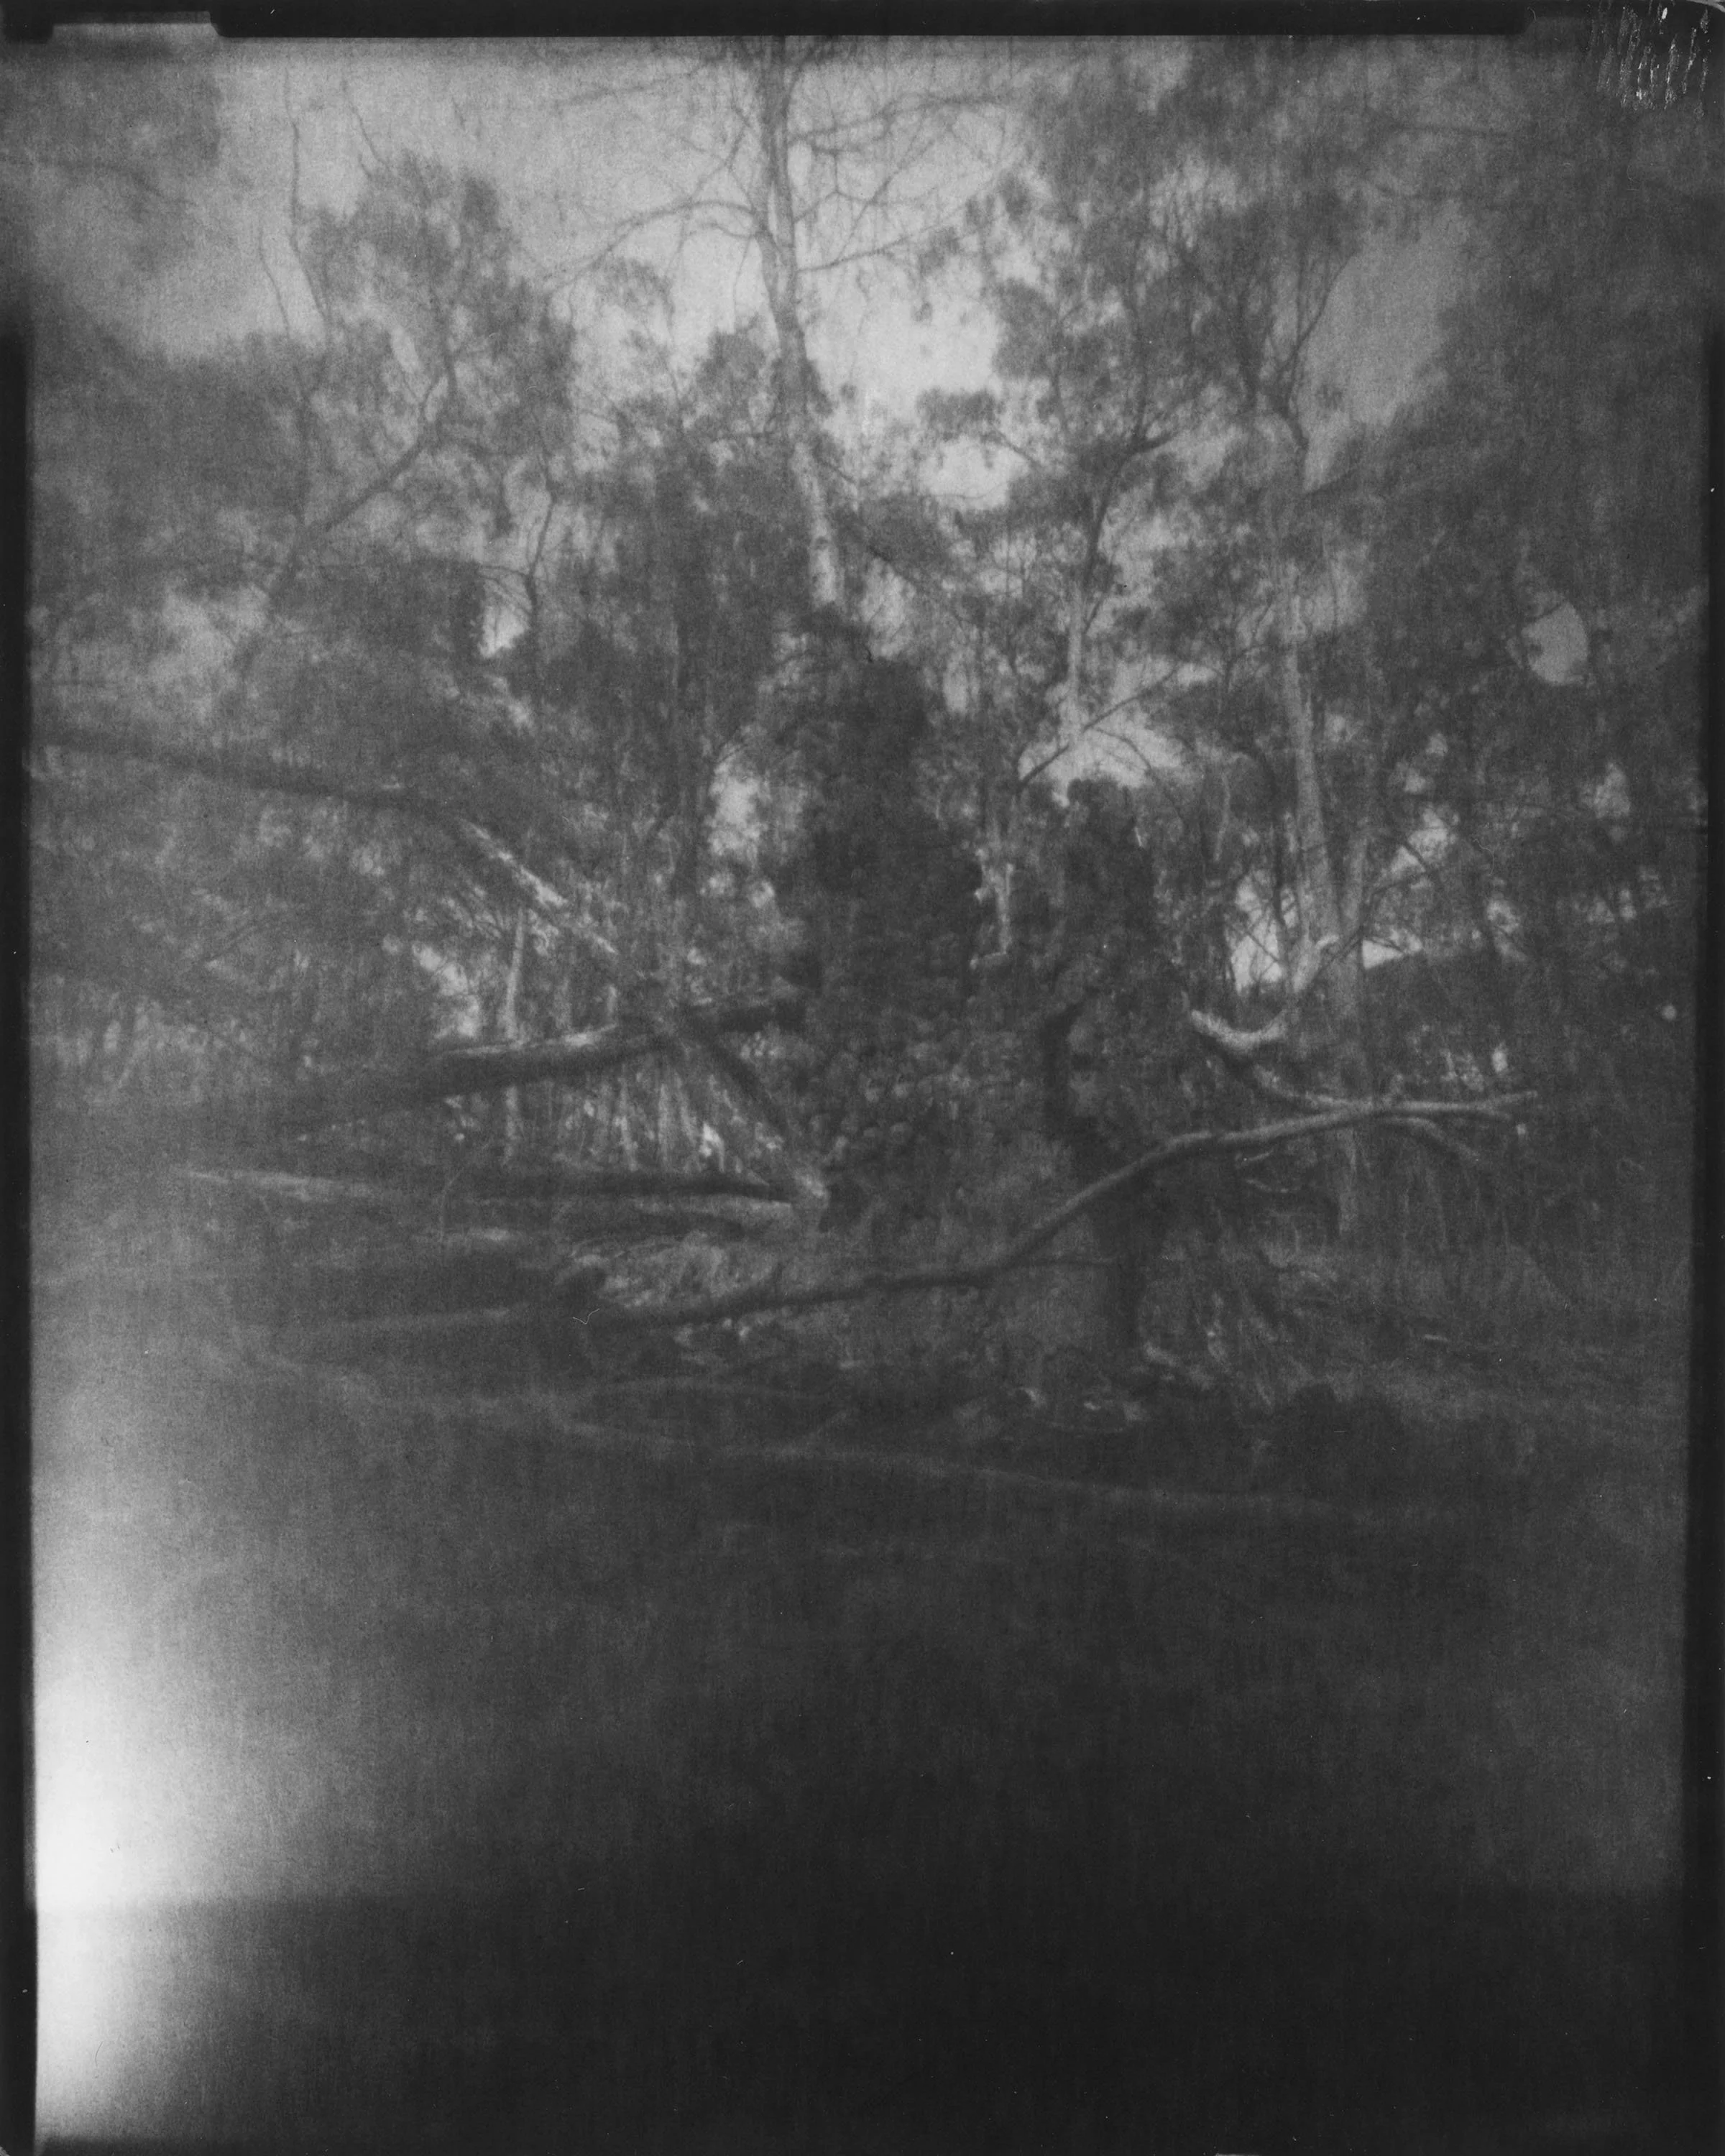
Figure 9.
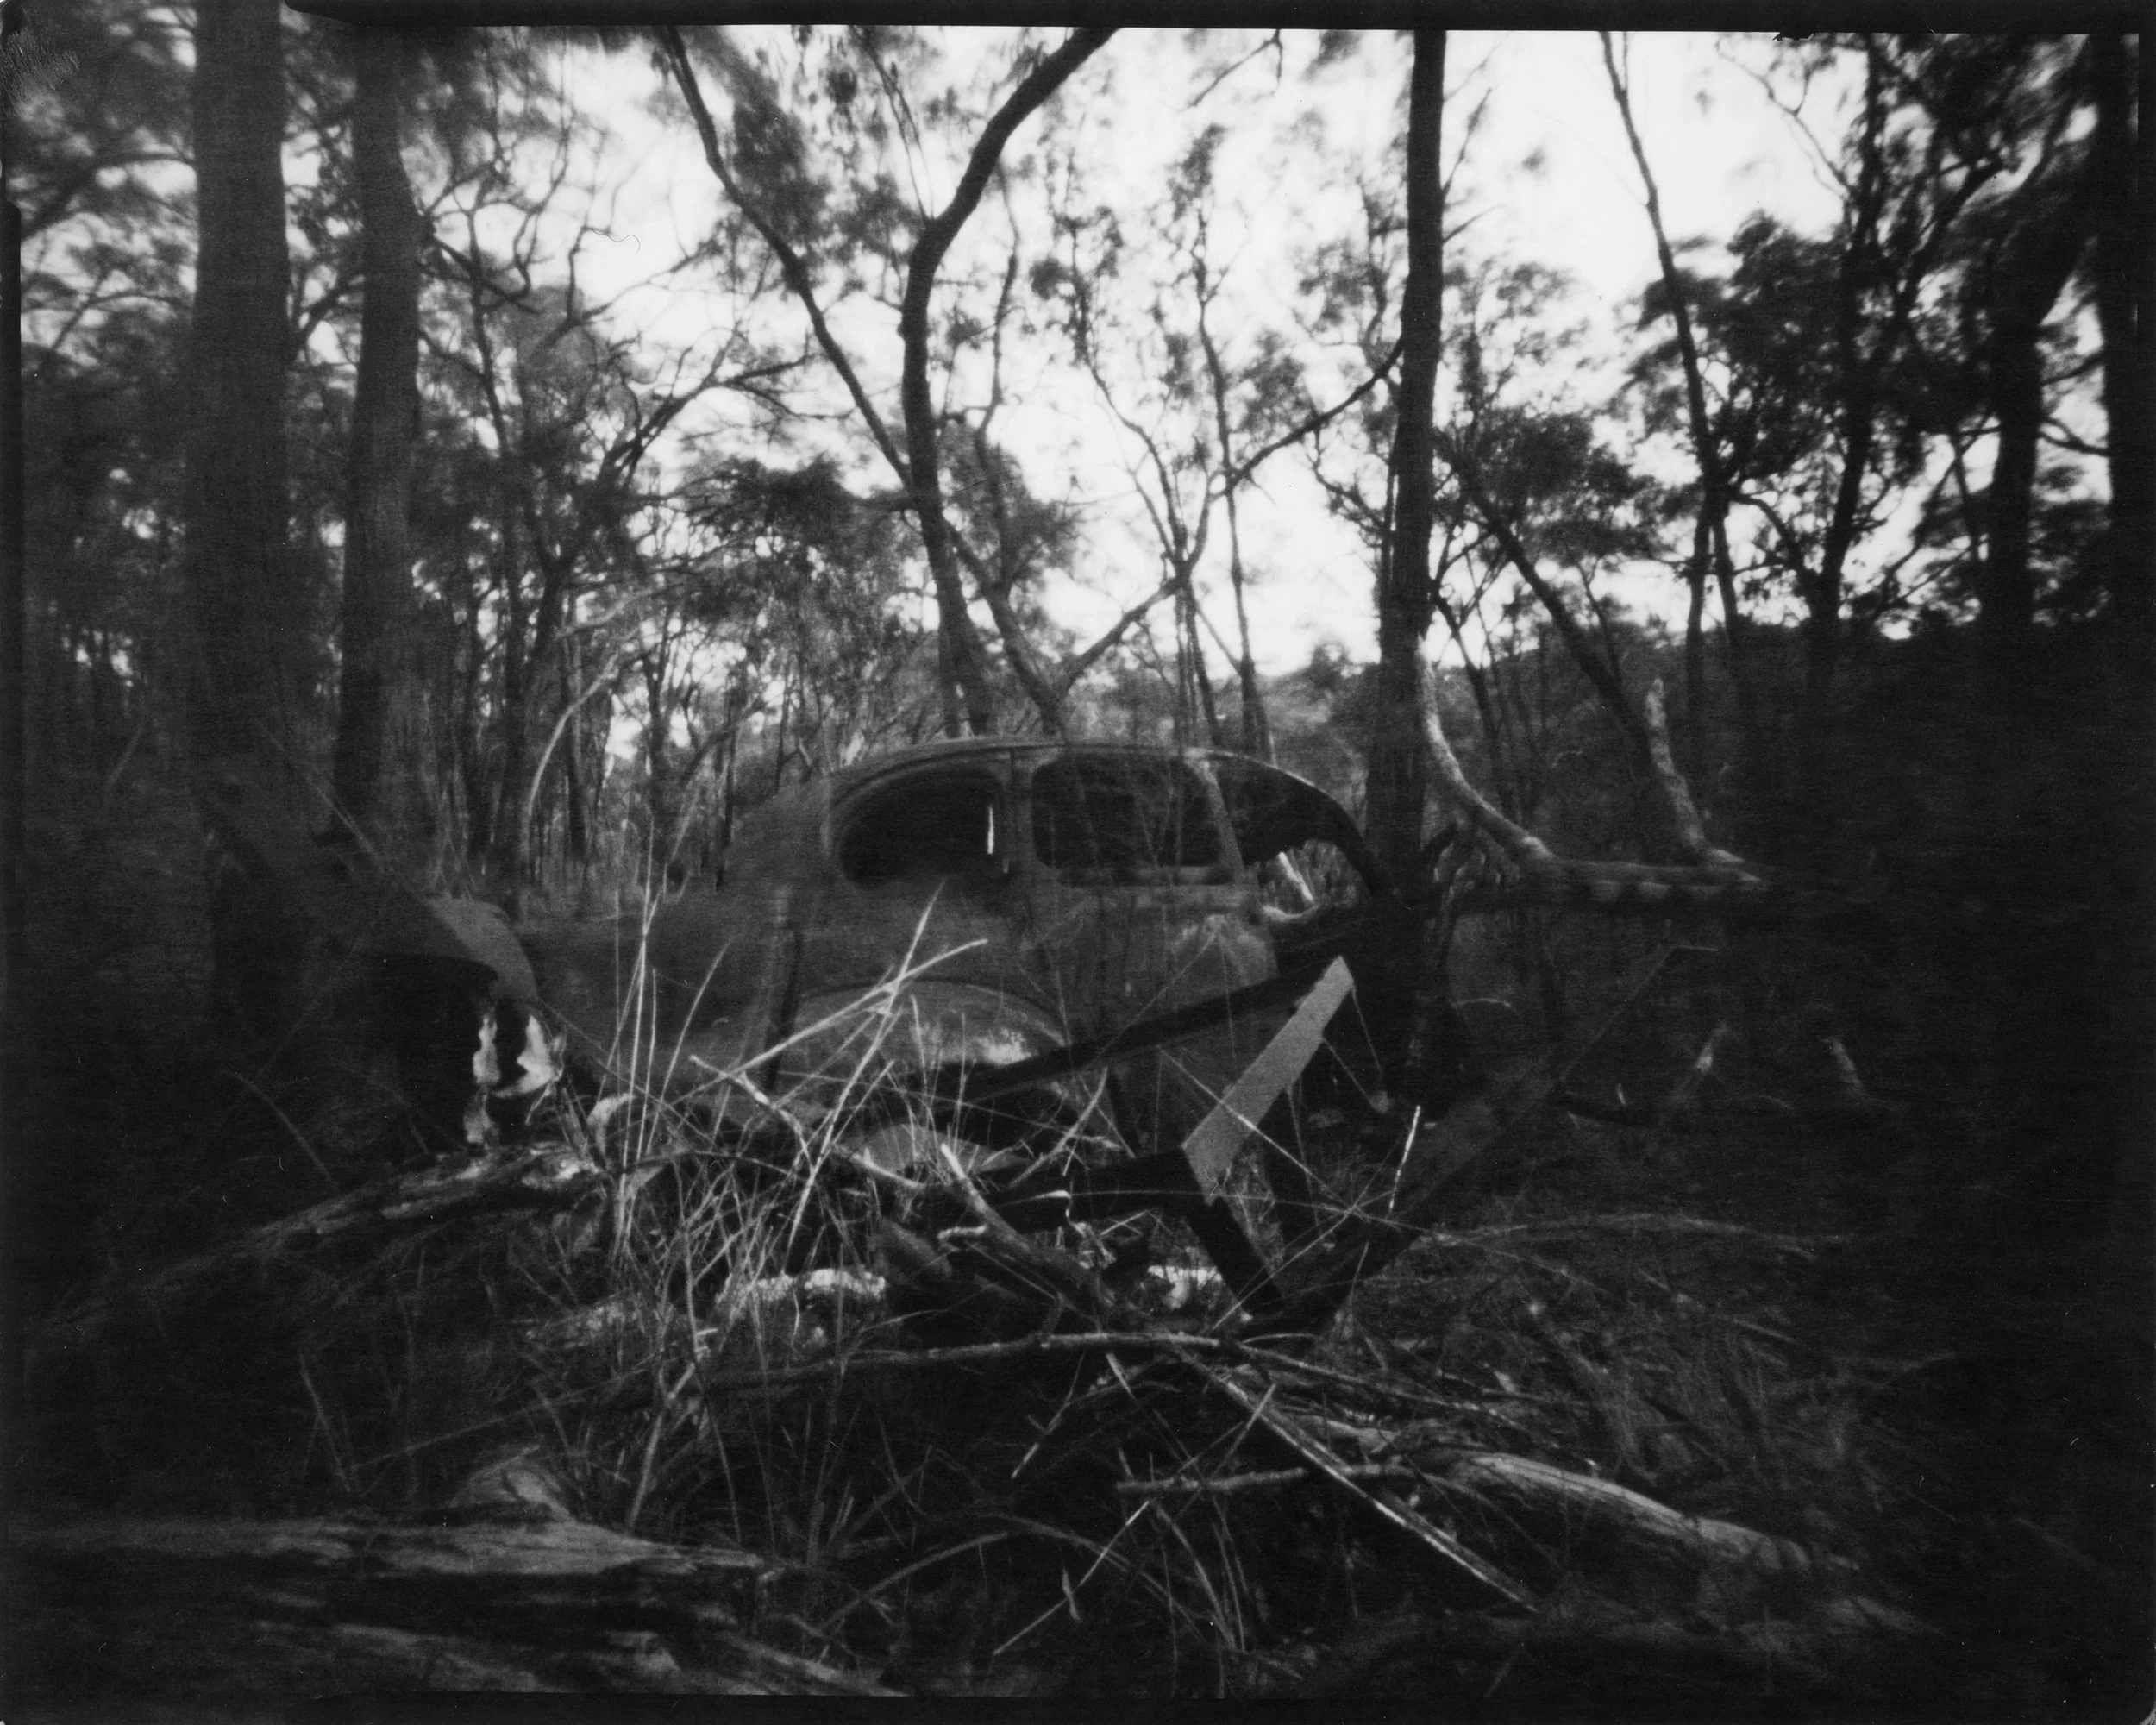
Figure 10.
Figure 11. Scan of paper negative captured with Ilford 5x7” paper box pinhole camera
Figure 12. Digitally inverted scan of paper negative captured with Ilford 5x7” paper box pinhole camera
Keywords
Studio 1, Week 3, Pinhole photography, Lomography, 120mm, 35mm, Paper negative, Solarising, Darkroom
Bibliography
PLASTICPOPSICLE. 2013. "Lomography - 6 Must-Try Tips For The Diana F+". Lomography. https://www.lomography.com/magazine/252635-6-must-try-tips-for-the-diana-f-plus.
S1 Week 2: 120mm lomo, 35mm and making cameras
Making pinhole cameras
Figure 1. Pinhole camera made from cardboard gift box
Figure 2. Pinhole camera made from Ilford 5x7” MGIV paper box
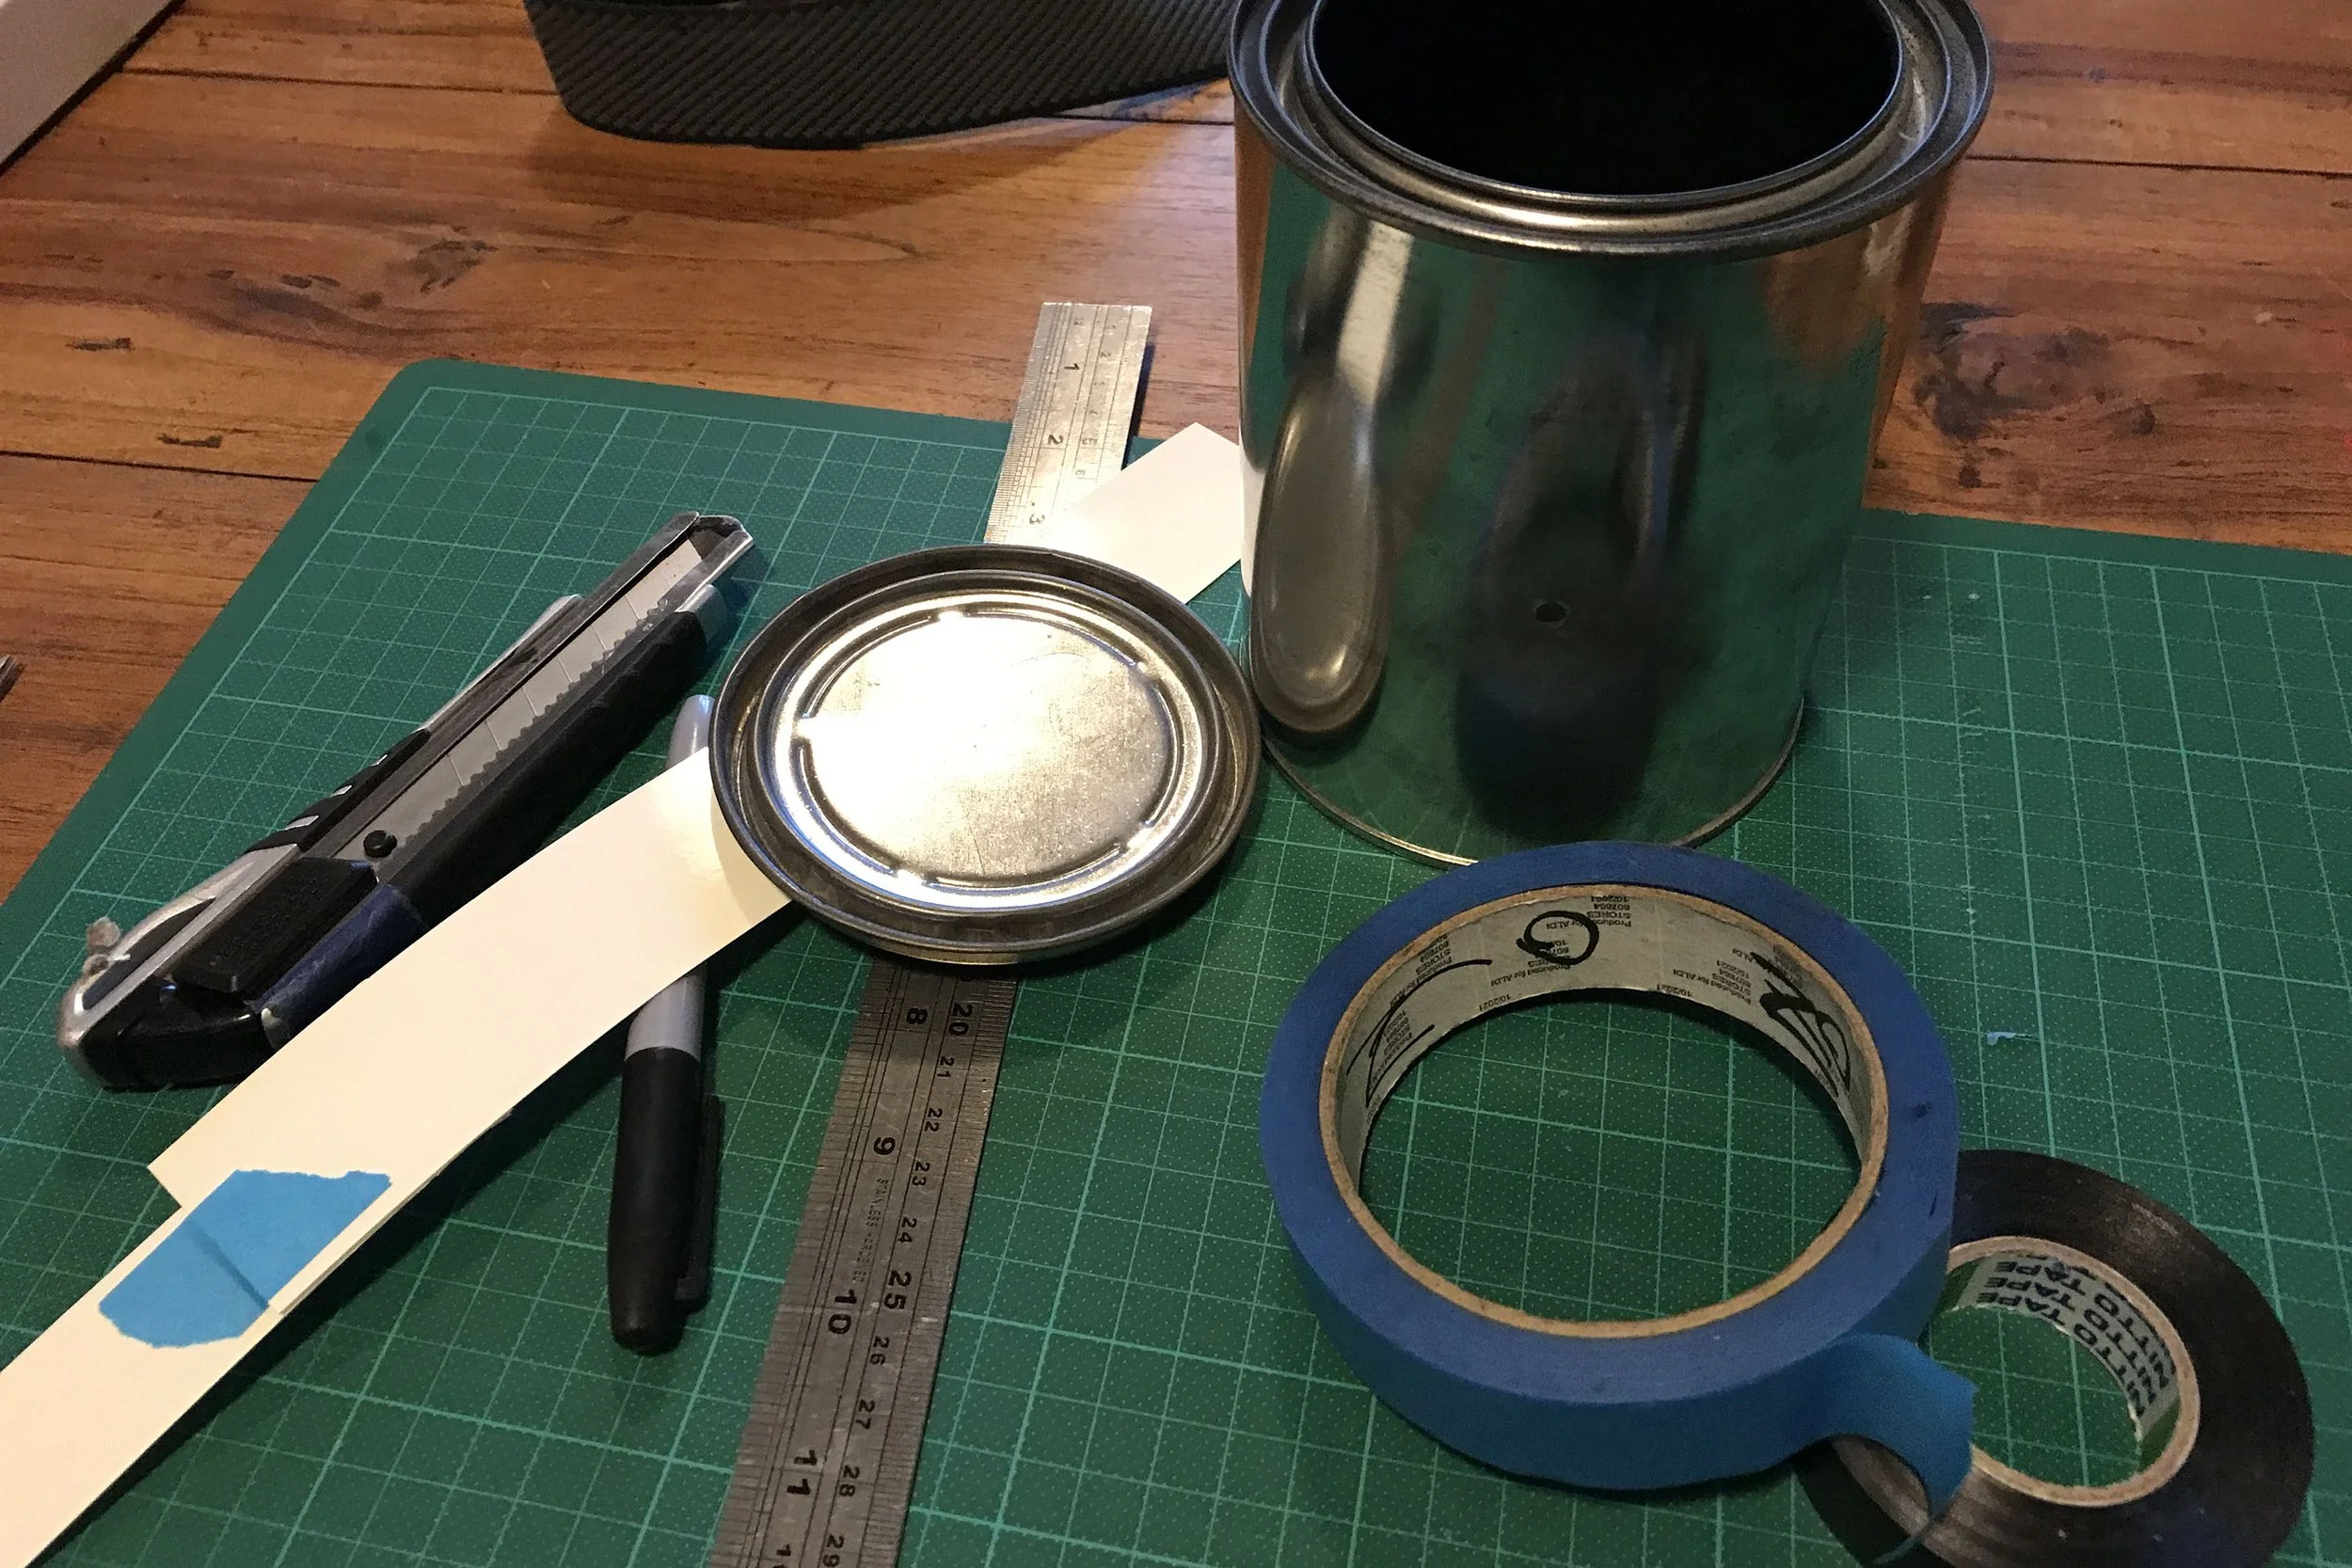
Figure 3. Pinhole camera made from coffee can
Figure 4. Scanned paper negative from test exposure captured with Ilford box pinhole camera (Figure 2)
Figure 5. Scanned paper negative from test exposure captured with Ilford box pinhole camera (Figure 2)
Figure 6. Digitally inverted scan of paper negative from test exposure captured with Ilford box pinhole camera (Figure 2)
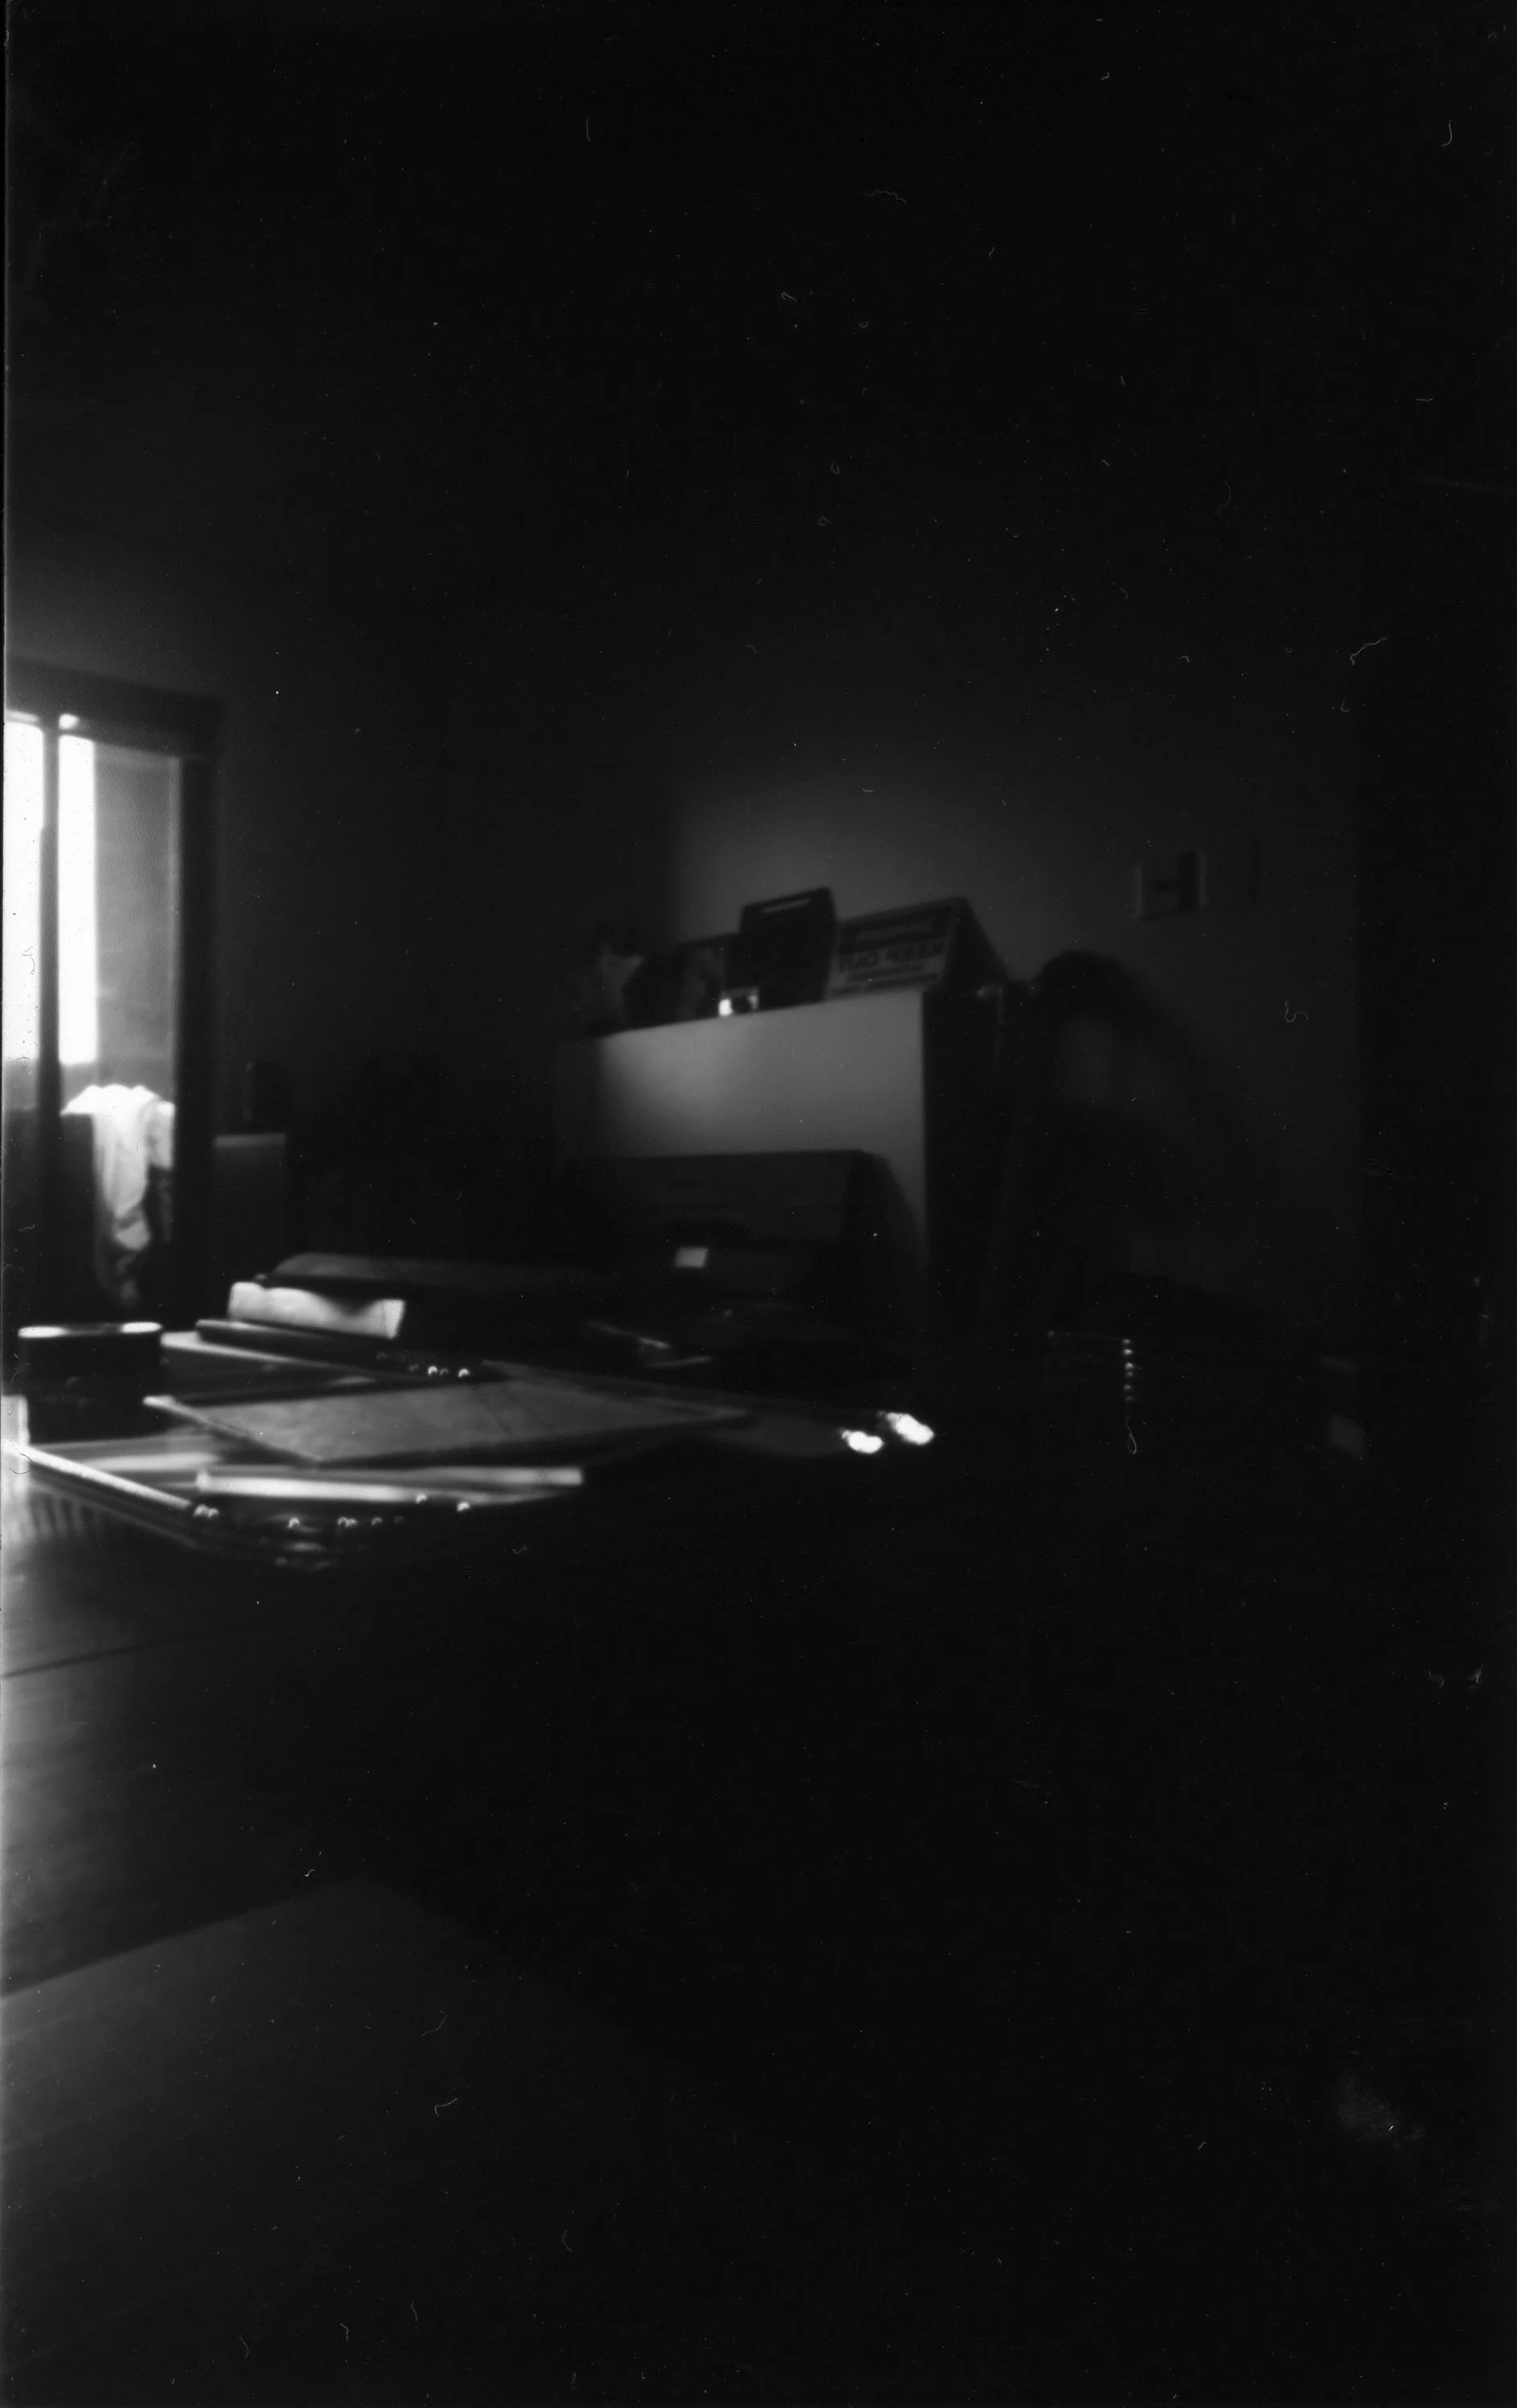
Figure 7. Digitally inverted scan of paper negative from test exposure captured with Ilford box pinhole camera (Figure 2)
4x5” pinhole paper negatives
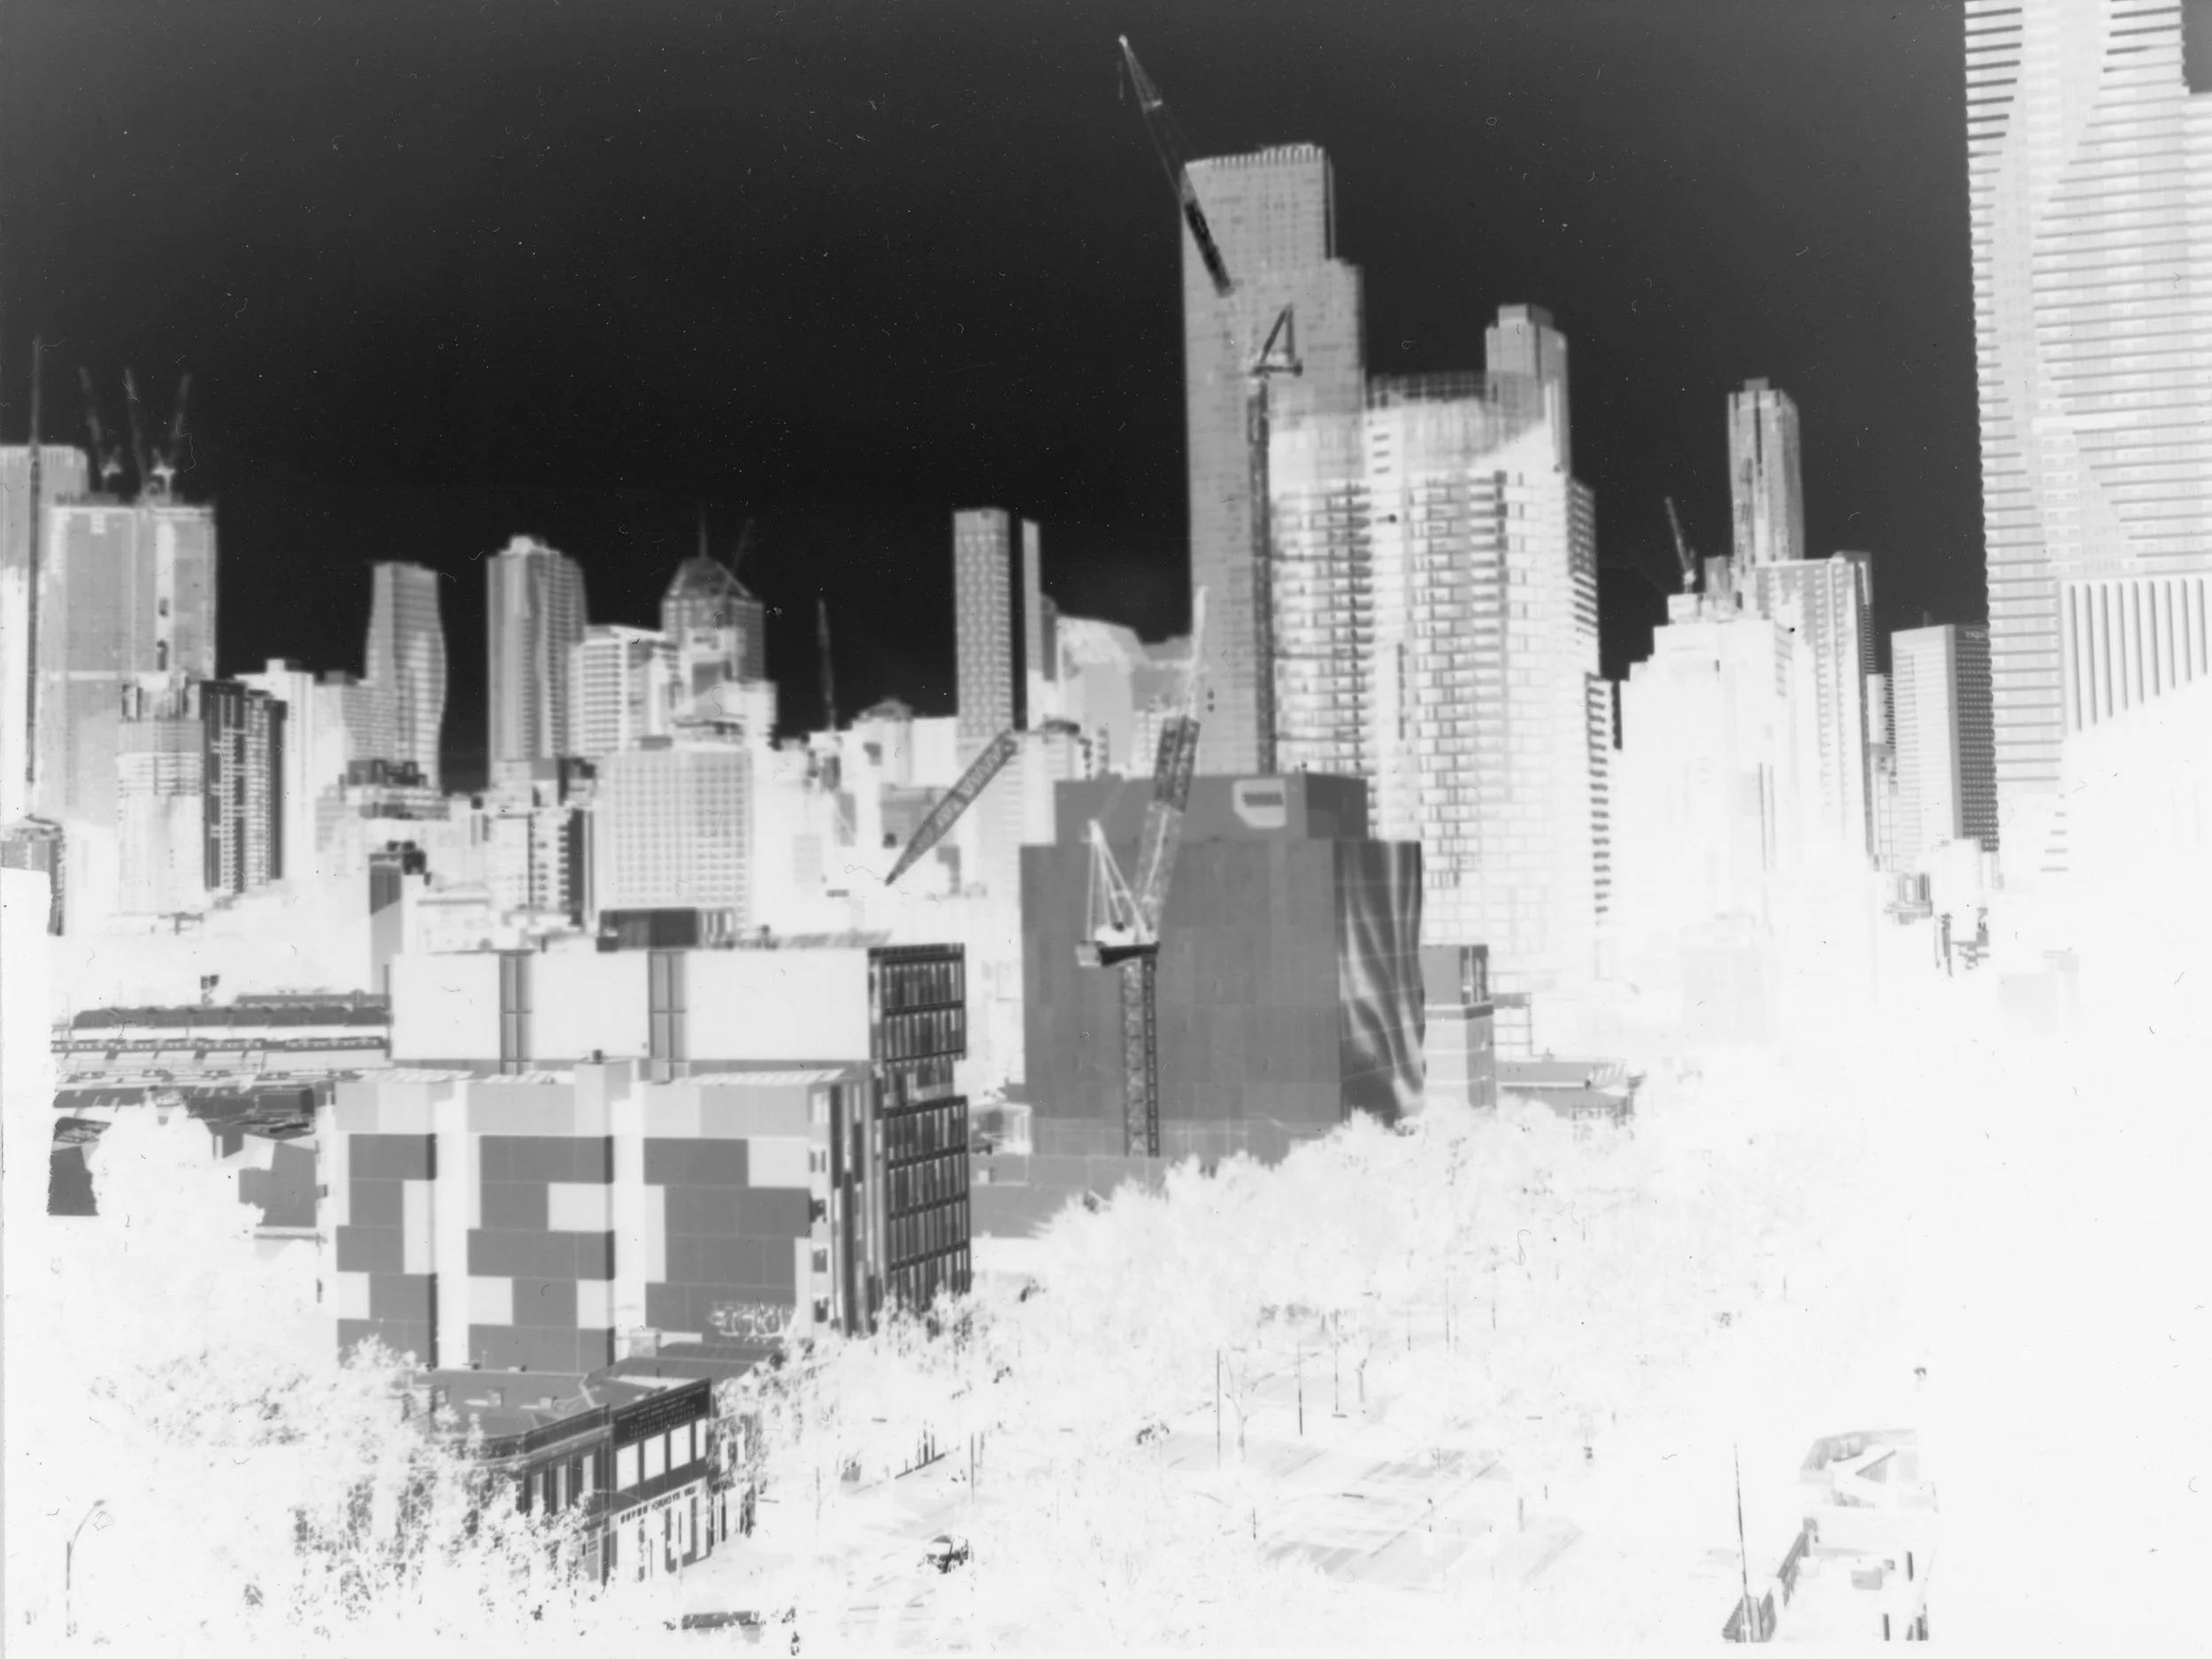
Figure 8. Scanned paper negative captured with 4x5” large format camera
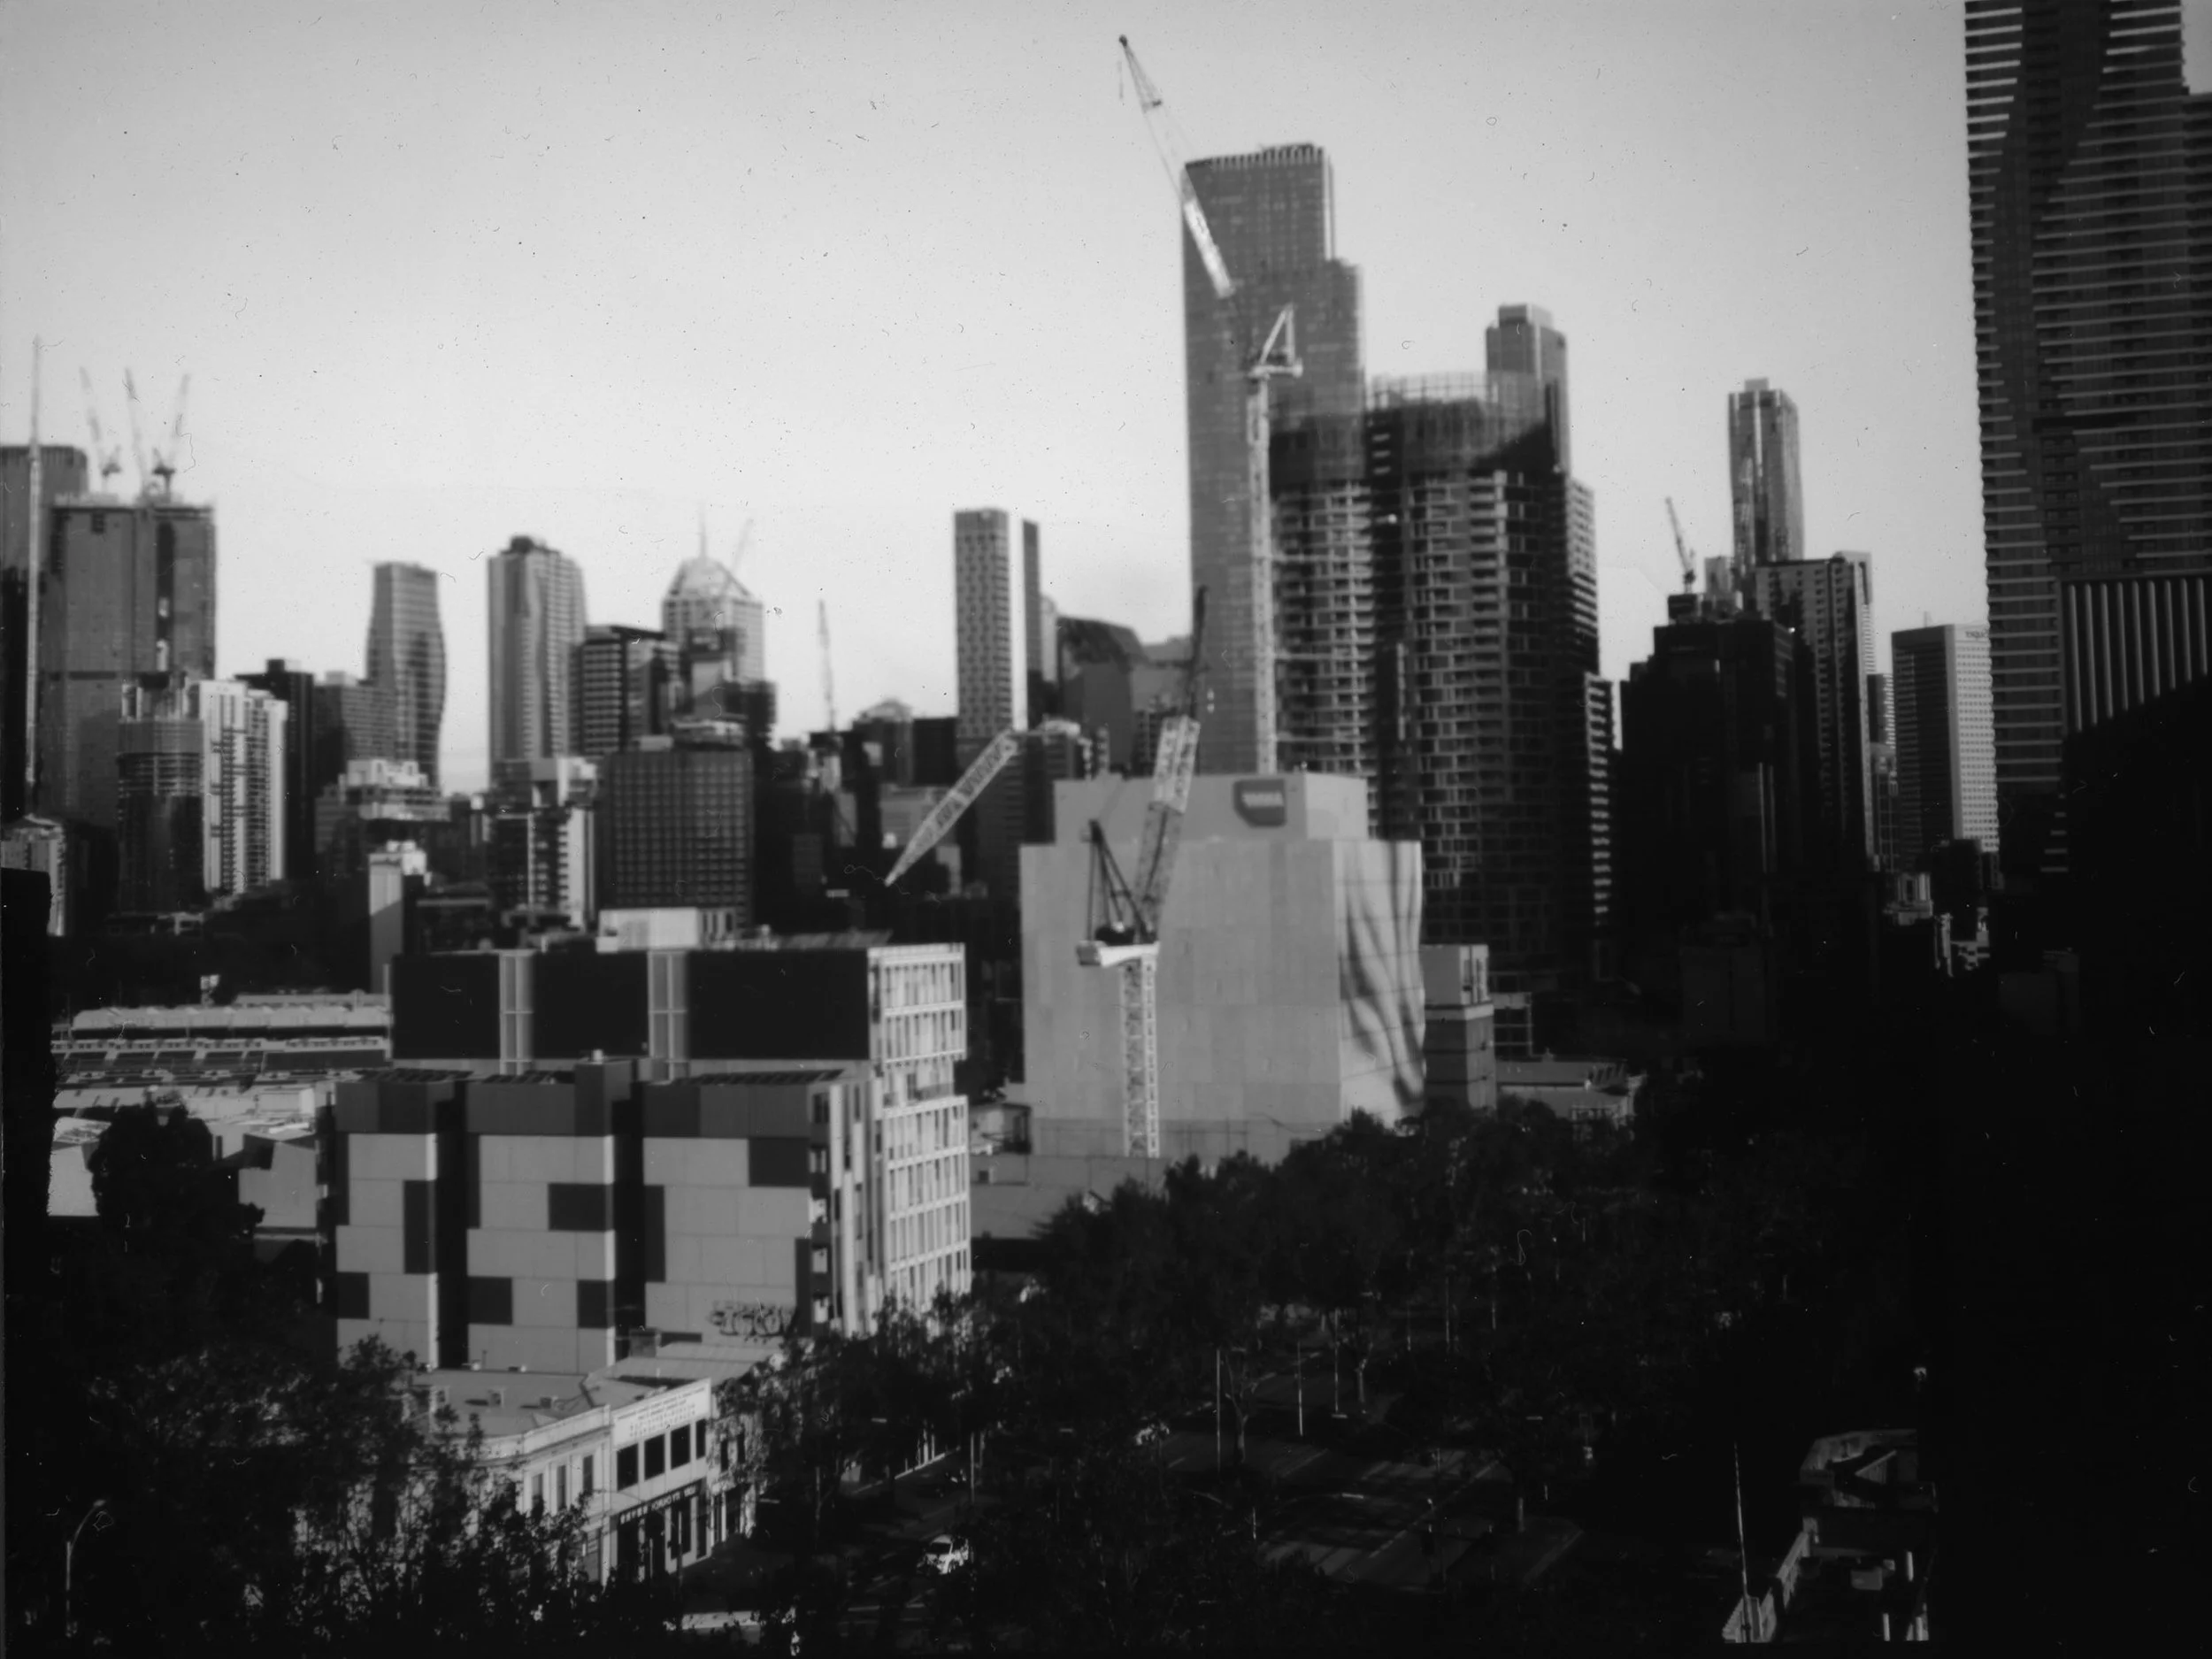
Figure 9. Digitally inverted scan of paper negative captured with 4x5” large format camera
35mm photography
To alleviate the frustration of developing my practice in pinhole photography and with the Diana F+, I shot a roll of 35mm film with the EOS3 riding home from work along the Merri Creek Trail through Thomastown and the Upfield Shared Path through Coburg and Brunswick. Frankly, I needed a reminder that I do know how to use a film camera and take a photograph and get loose myself in developing 35mm negatives.
Figure 10. Sharp left, 2022, scan of original 35mm negative
Figure 11. Mohawk Merri, 2022, scan of original 35mm negative
Figure 12. Pearville, 2022, scan of original 35mm negative
Figure 13. Charred, 2022, scan of original 35mm negative
Figure 14. Hard right … harsh reality, 2022, scan of original 35mm negative
Figure 15. All aboard, 2022, scan of original 35mm negative
Keywords
Studio 1, Week 2, 35mm, Pinhole cameras, Paper negatives, Experimental photography
Making pinhole cameras
I am preparing several boxes in various sizes to make my first pinhole cameras, including purchased gift boxes and recycled darkroom paper boxes. Given that pinhole photography is one of the oldest pre-digital forms of the craft and will also use iPhone and Beats packaging. Sealing the units to prevent light leaks will be most challenging.
The juxtaposition of old tech using new tech is amusing and questions the longevity of methods. Although today’s technology allows for multiple backup systems, this has not always been the case. Notably, many of my backup drives and DVDs from the late 1990s to 2000s have corrupted, with the files now irretrievable. Double backups have proven futile over this period, while my negatives are perfectly intact.
Gift boxes and iPhone box pinhole camera preparation
Figure 1. Applying undercoat of gesso to box interiors before painting black to aid light proofing of pinhole cameras
Figure 2. Once the gesso is dry, the box interiors are painted black for additional light proofing
Figure 3. Once the gesso is dry, the box interiors are painted black for additional light proofing
Figure 4. Second and final coat of black paint to aid light proofing of boxes for pinhole cameras
Photo paper box pinhole camera preparation
A photo paper box is lightproof and makes good pinhole cameras, particularly for exposing on paper (making paper negatives). I am experimenting with making a housing to keep the paper stable in the box during exposure (Figures 5–7).
Figure 5. Making paper negative housing prototype for pinhole camera
Figure 6. Making paper negative housing prototype for pinhole camera
Figure 7. Paper negative housing prototype for pinhole camera (I have no idea if this will work)
Panorama
I am also exploring making a wide-angle pinhole camera (Figure 8), prompted by researching how to make a panorama pinhole for 35mm and 120mm film. A wine box could work well with its solid construction. Although the depth and width of the box ‘should’ be adequate, it could be adjusted by cutting down or extending the sides.
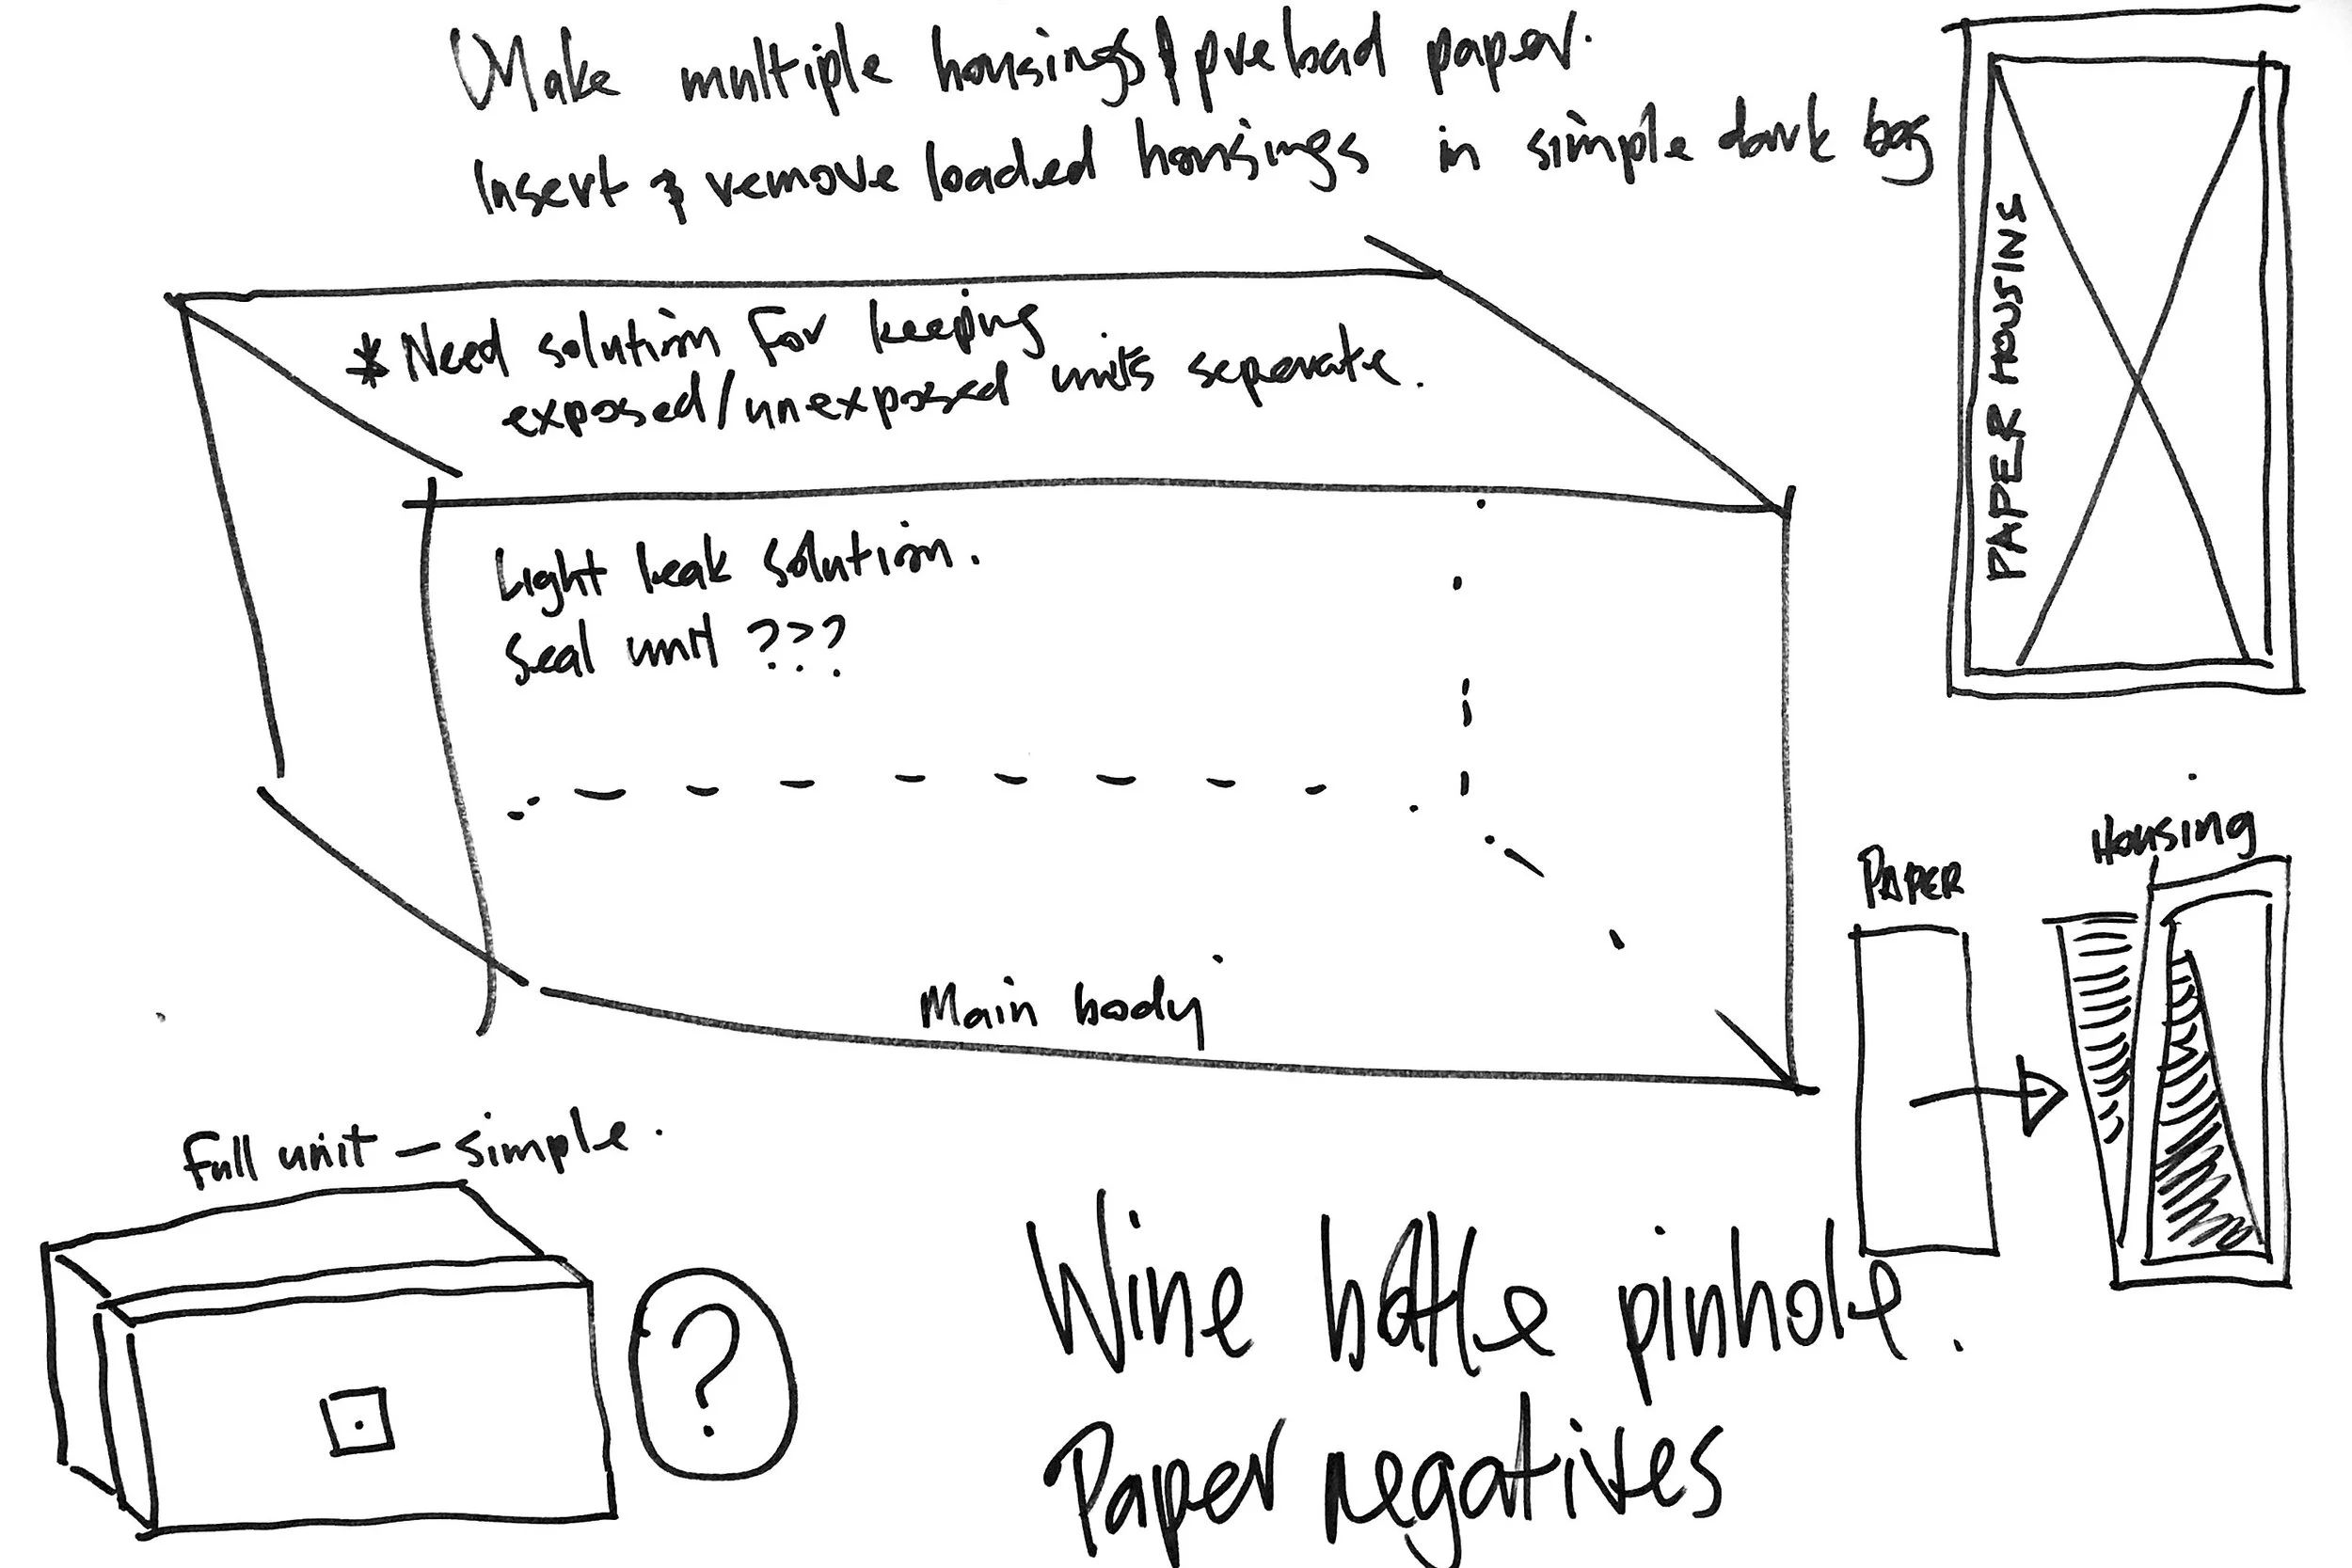
Figure 8. Design rough for panorama pinhole camera using wine box
S1 Week 1: Diana and AE1
Figure 1a. Untitled (Docklands – full sequence), 2022, scan of 120mm negative — Photographed 15 April 2022, Week 01
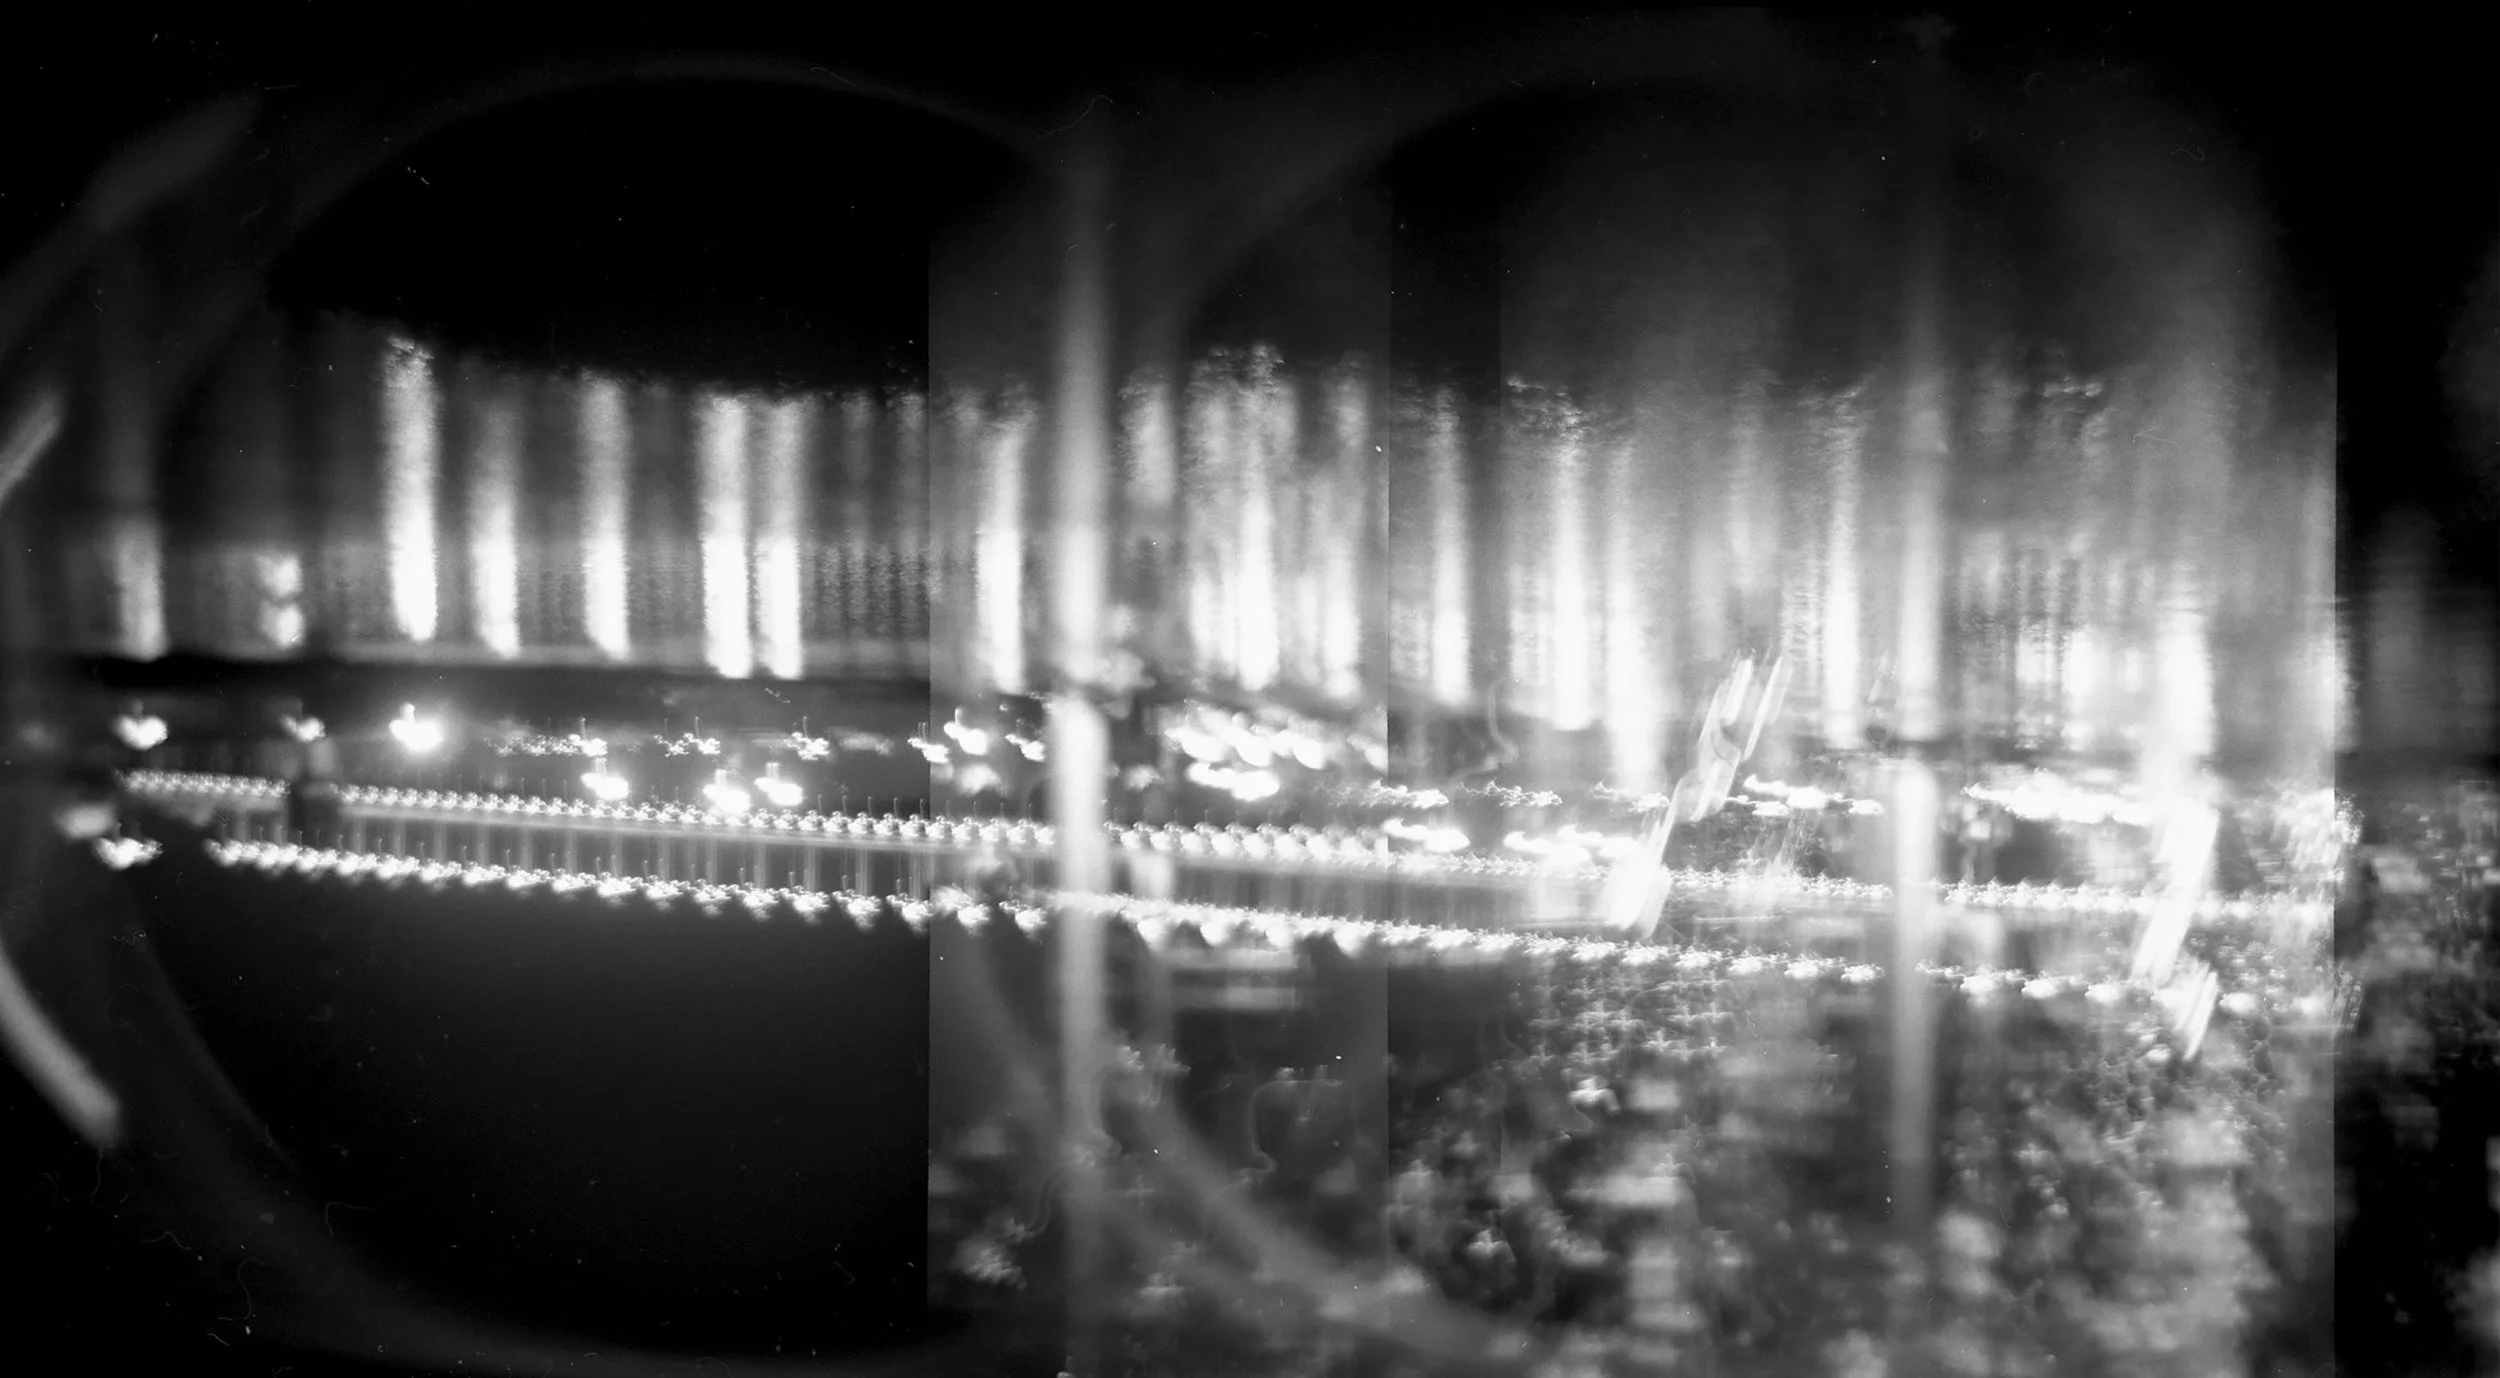
Figure 1b. Untitled (Docklands – partial sequence 1), 2022, scan of 120mm negative — Photographed 15 April 2022, Week 01
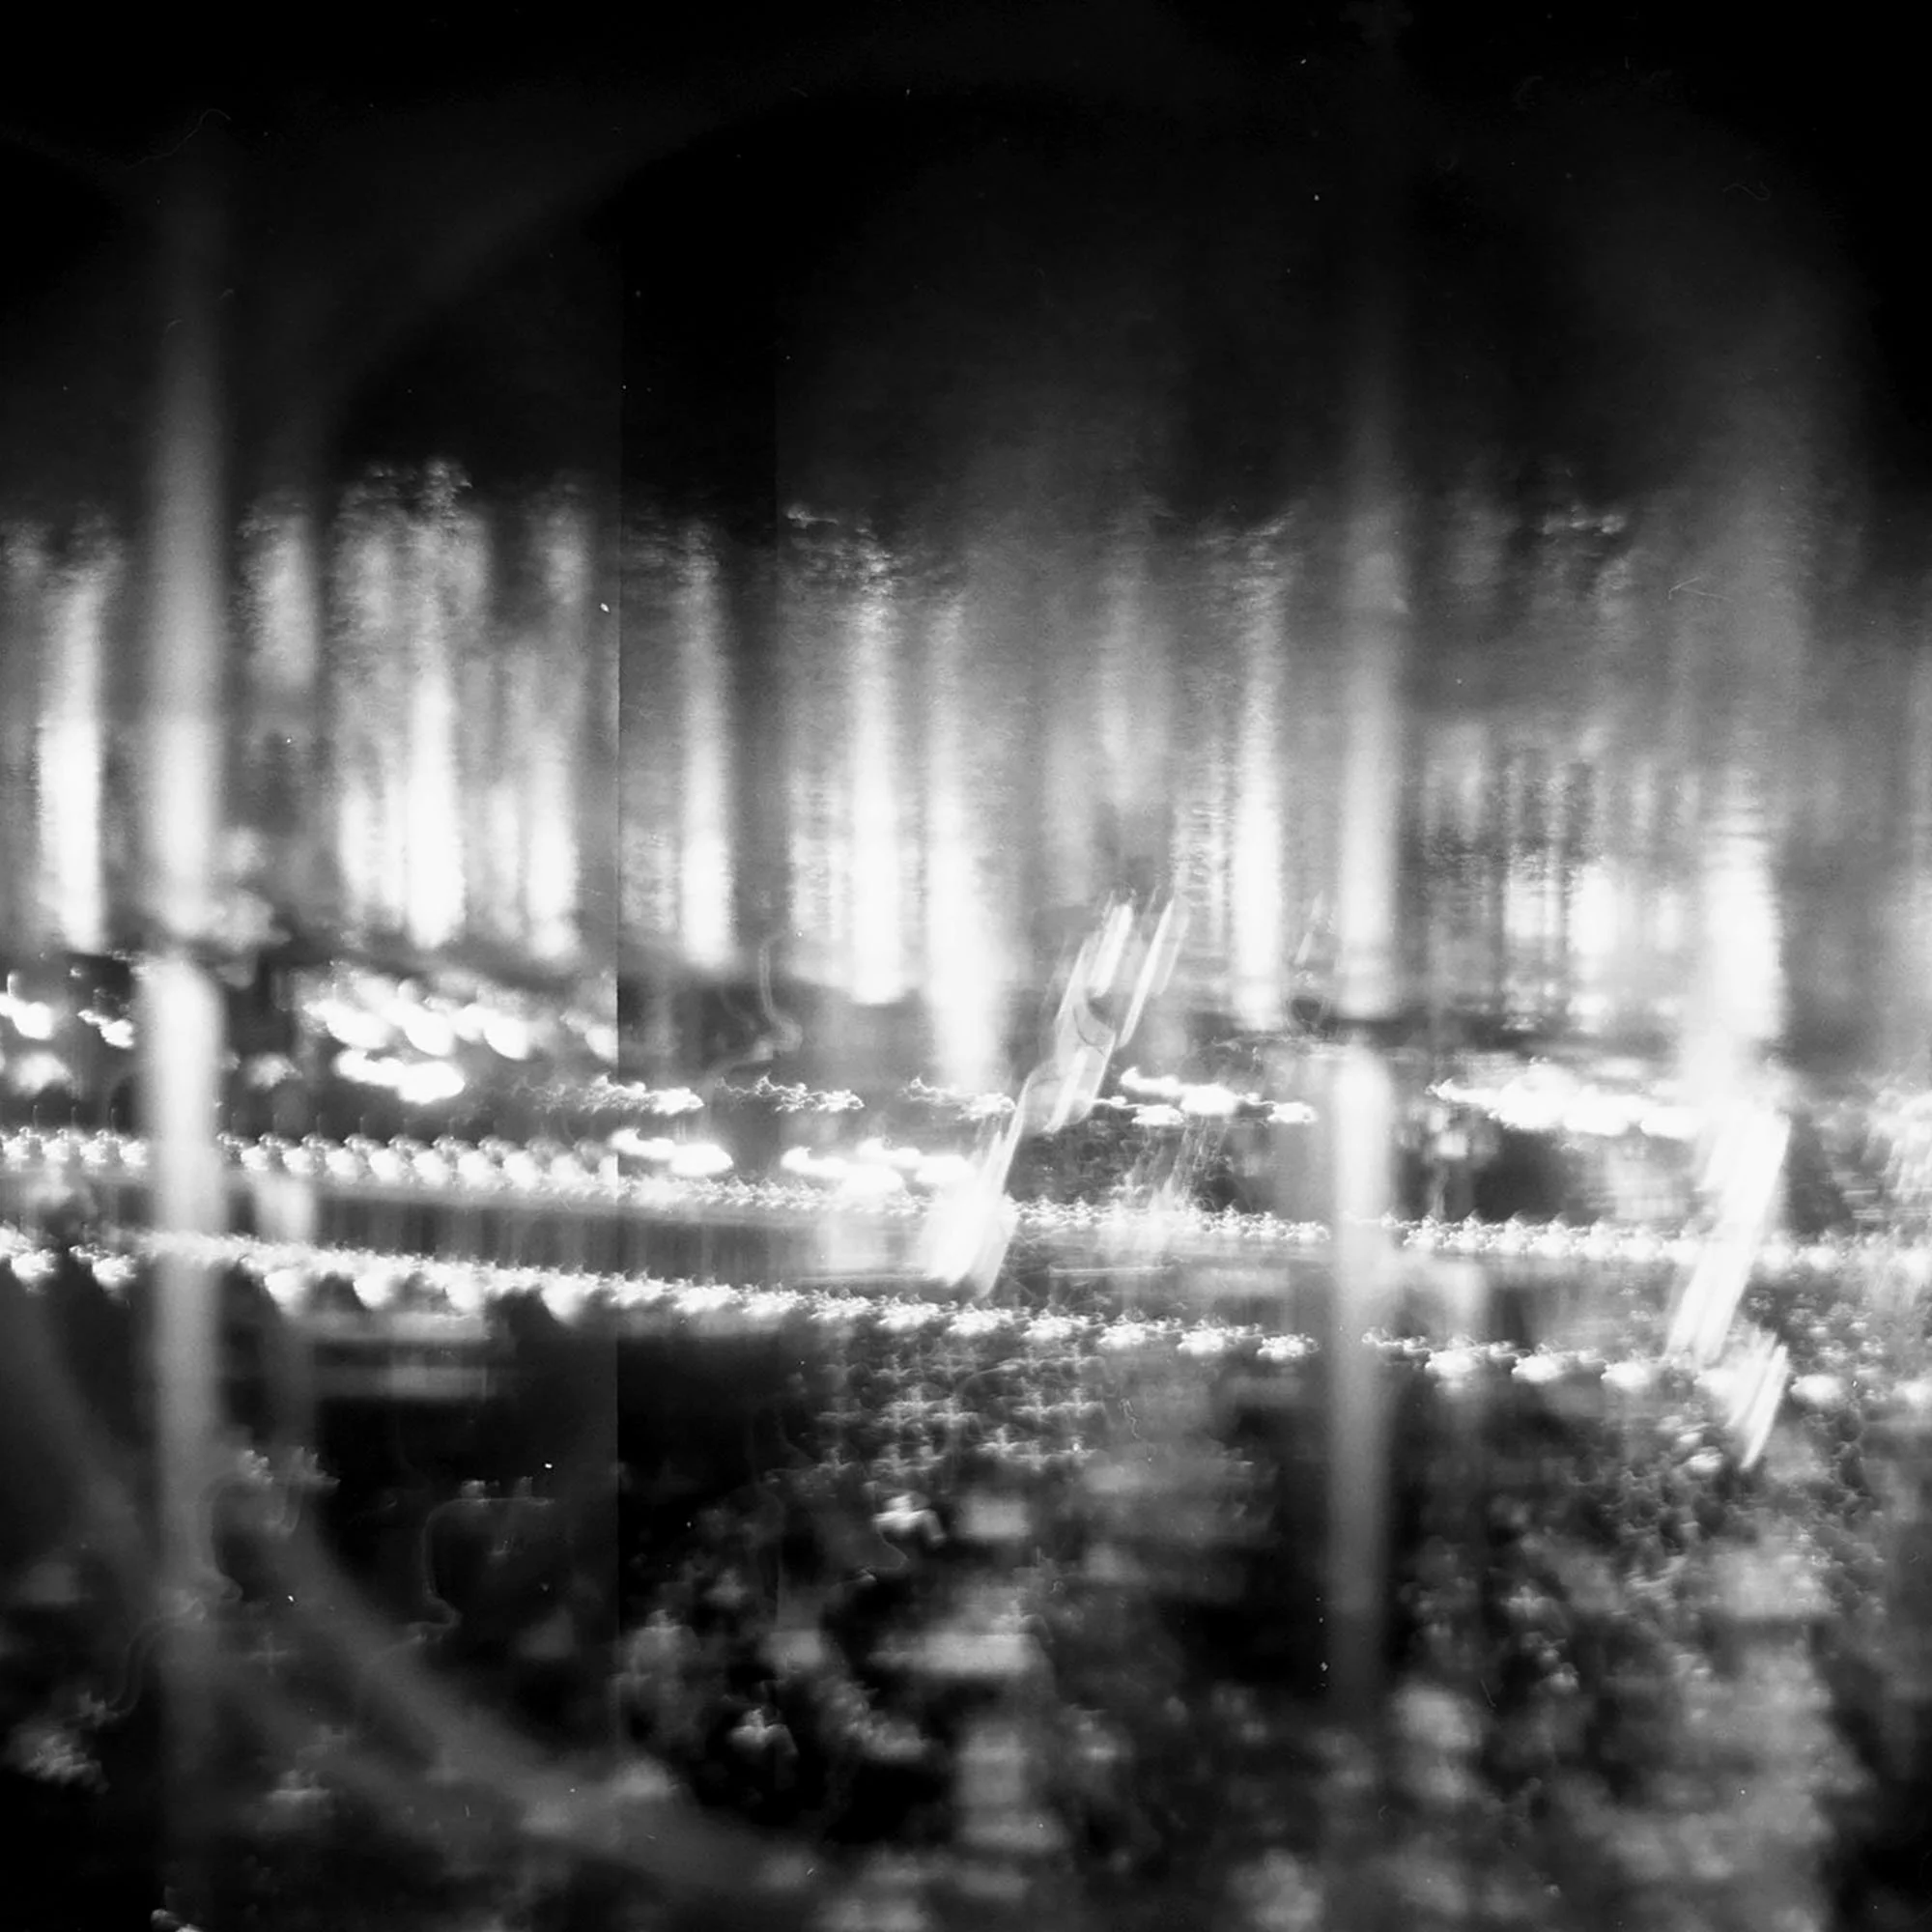
Figure 1c. Untitled (Docklands – partial sequence 2), 2022, scan of 120mm negative — Photographed 15 April 2022, Week 01
Figure 2. Untitled (Docklands), 2022, scan of 120mm negative — Photographed 15 April 2022, Week 01
Figure 3. Untitled (Arts House), 2022, scan of 120mm negative — Photographed 15 April 2022, Week 01
Figure 4. Untitled (Arts House), 2022, scan of 35mm negative — Photographed 17 April 2022, Week 01
Figure 5. Untitled (CBD), 2022, scan of 35mm negative — Photographed 17 April 2022, Week 01
Figure 6. Untitled (CBD), 2022, scan of 35mm negative — Photographed 17 April 2022, Week 01
Figure 7. Untitled (CBD), 2022, scan of 35mm negative — Photographed 17 April 2022, Week 01
Keywords
Homework, Week 01, Lomography
S1 Week 0: AE1 and Pinhole
Figure 2. Untitled (Brunswick), 2022, scan of 35mm negative — Photographed 9 April 2022, Week 00
Figure 1. Untitled (Brunswick), 2022, scan of 35mm negative — Photographed 9 April 2022, Week 00
Figure 3. Untitled (Chimney), 2022, scan of 35mm negative — Photographed 9 April 2022, Week 00
Figure 4. Untitled (freeway), 2022, scan of 35mm negative — Photographed 9 April 2022, Week 00
Figure 5. Untitled (Arts House), 2022, scan of 4x5” negative — Photographed 10 April 2022, Week 00
Paper negative exposure
ISO
As a rule, paper ISO is 3. In a post on the Large Format Photography Forum blog (the best large format blog I have found) “A brief flashing (2 sec. I think at f22, 10 in height on the enlarger w/#0 vc filter) prior to loading” (jamesaz 2017). With preflash, the paper rating increases to approximately ISO 12.
Blue wavelengths
Photo paper is “sensitive to the blue wavelengths of light so any subject reflecting or emitting blue light”, such as blue sky. Pre-flash paper under the enlarger before loading into the camera to control contrast “to add some exposure to your paper but not enough to alter the pure base white” (Tweedie 2009).
Pre-flash
Tweedie states that a pre-flash of “2 seconds at f16 with the enlarger head set at approx 65cm from the base board”, advising that to experiment as the formula will vary depending on the paper type and enlarger.
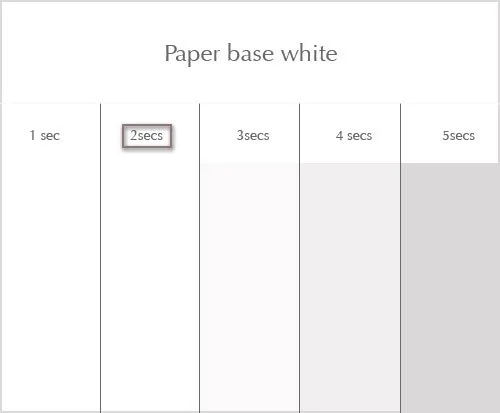
Figure 1. Mark Tweedie, Pre-flash exposure chart, 2009
Keywords
Paper negative, Exposure times
Bibliography
jamesaz. 2017. "Exposure Time For Ilford RC Pearl Used As Paper Negative". Blog. Large Format Photography Forum. https://www.largeformatphotography.info/forum/showthread.php?140900-Exposure-time-for-Ilford-RC-pearl-used-as-a-paper-negative.
Tweedie, Mark. 2009. "Paper Negative – The Underestimated Medium". Mark Tweedie. https://www.marktweedie.co.uk/paper-negative-the-underestimated-medium/.
Pinhole photography
Expand on notes for Contemporary pinhole photography; What is pinhole photography; Making a pinhole camera; Film or paper; Field of view workaround; Light metering formulas; Contemporary pinhole and zone plate photography exhibition
While it can be very time consuming to find online photography resources, it is worth the investment. Pinhole cameras do not have a viewfinder. As such, one of the biggest issues of image capture with a pinhole camera is composition. The formula for estimating the field of view of a pinhole camera provides a reliable estimation (Henson 2020, 06:09).
Calculating field of view for pinhole camera
First measure from the inside left of the film gate to the outside left of the camera and transfer the measurement marking with a small dot on the top of the camera. Repeat for the right side. Next measure from the centre of the pinhole to the outer edge of one (left OR right) side of the camera body and make a small dot. As the pinhole in many cameras is not at the ‘true centre’ is it best to measure one side only. Using a ruler, join the measurement marks to make a ‘V-shape’ (Figure 1). Repeat the steps above on side of the camera to determine the height of the field of view.
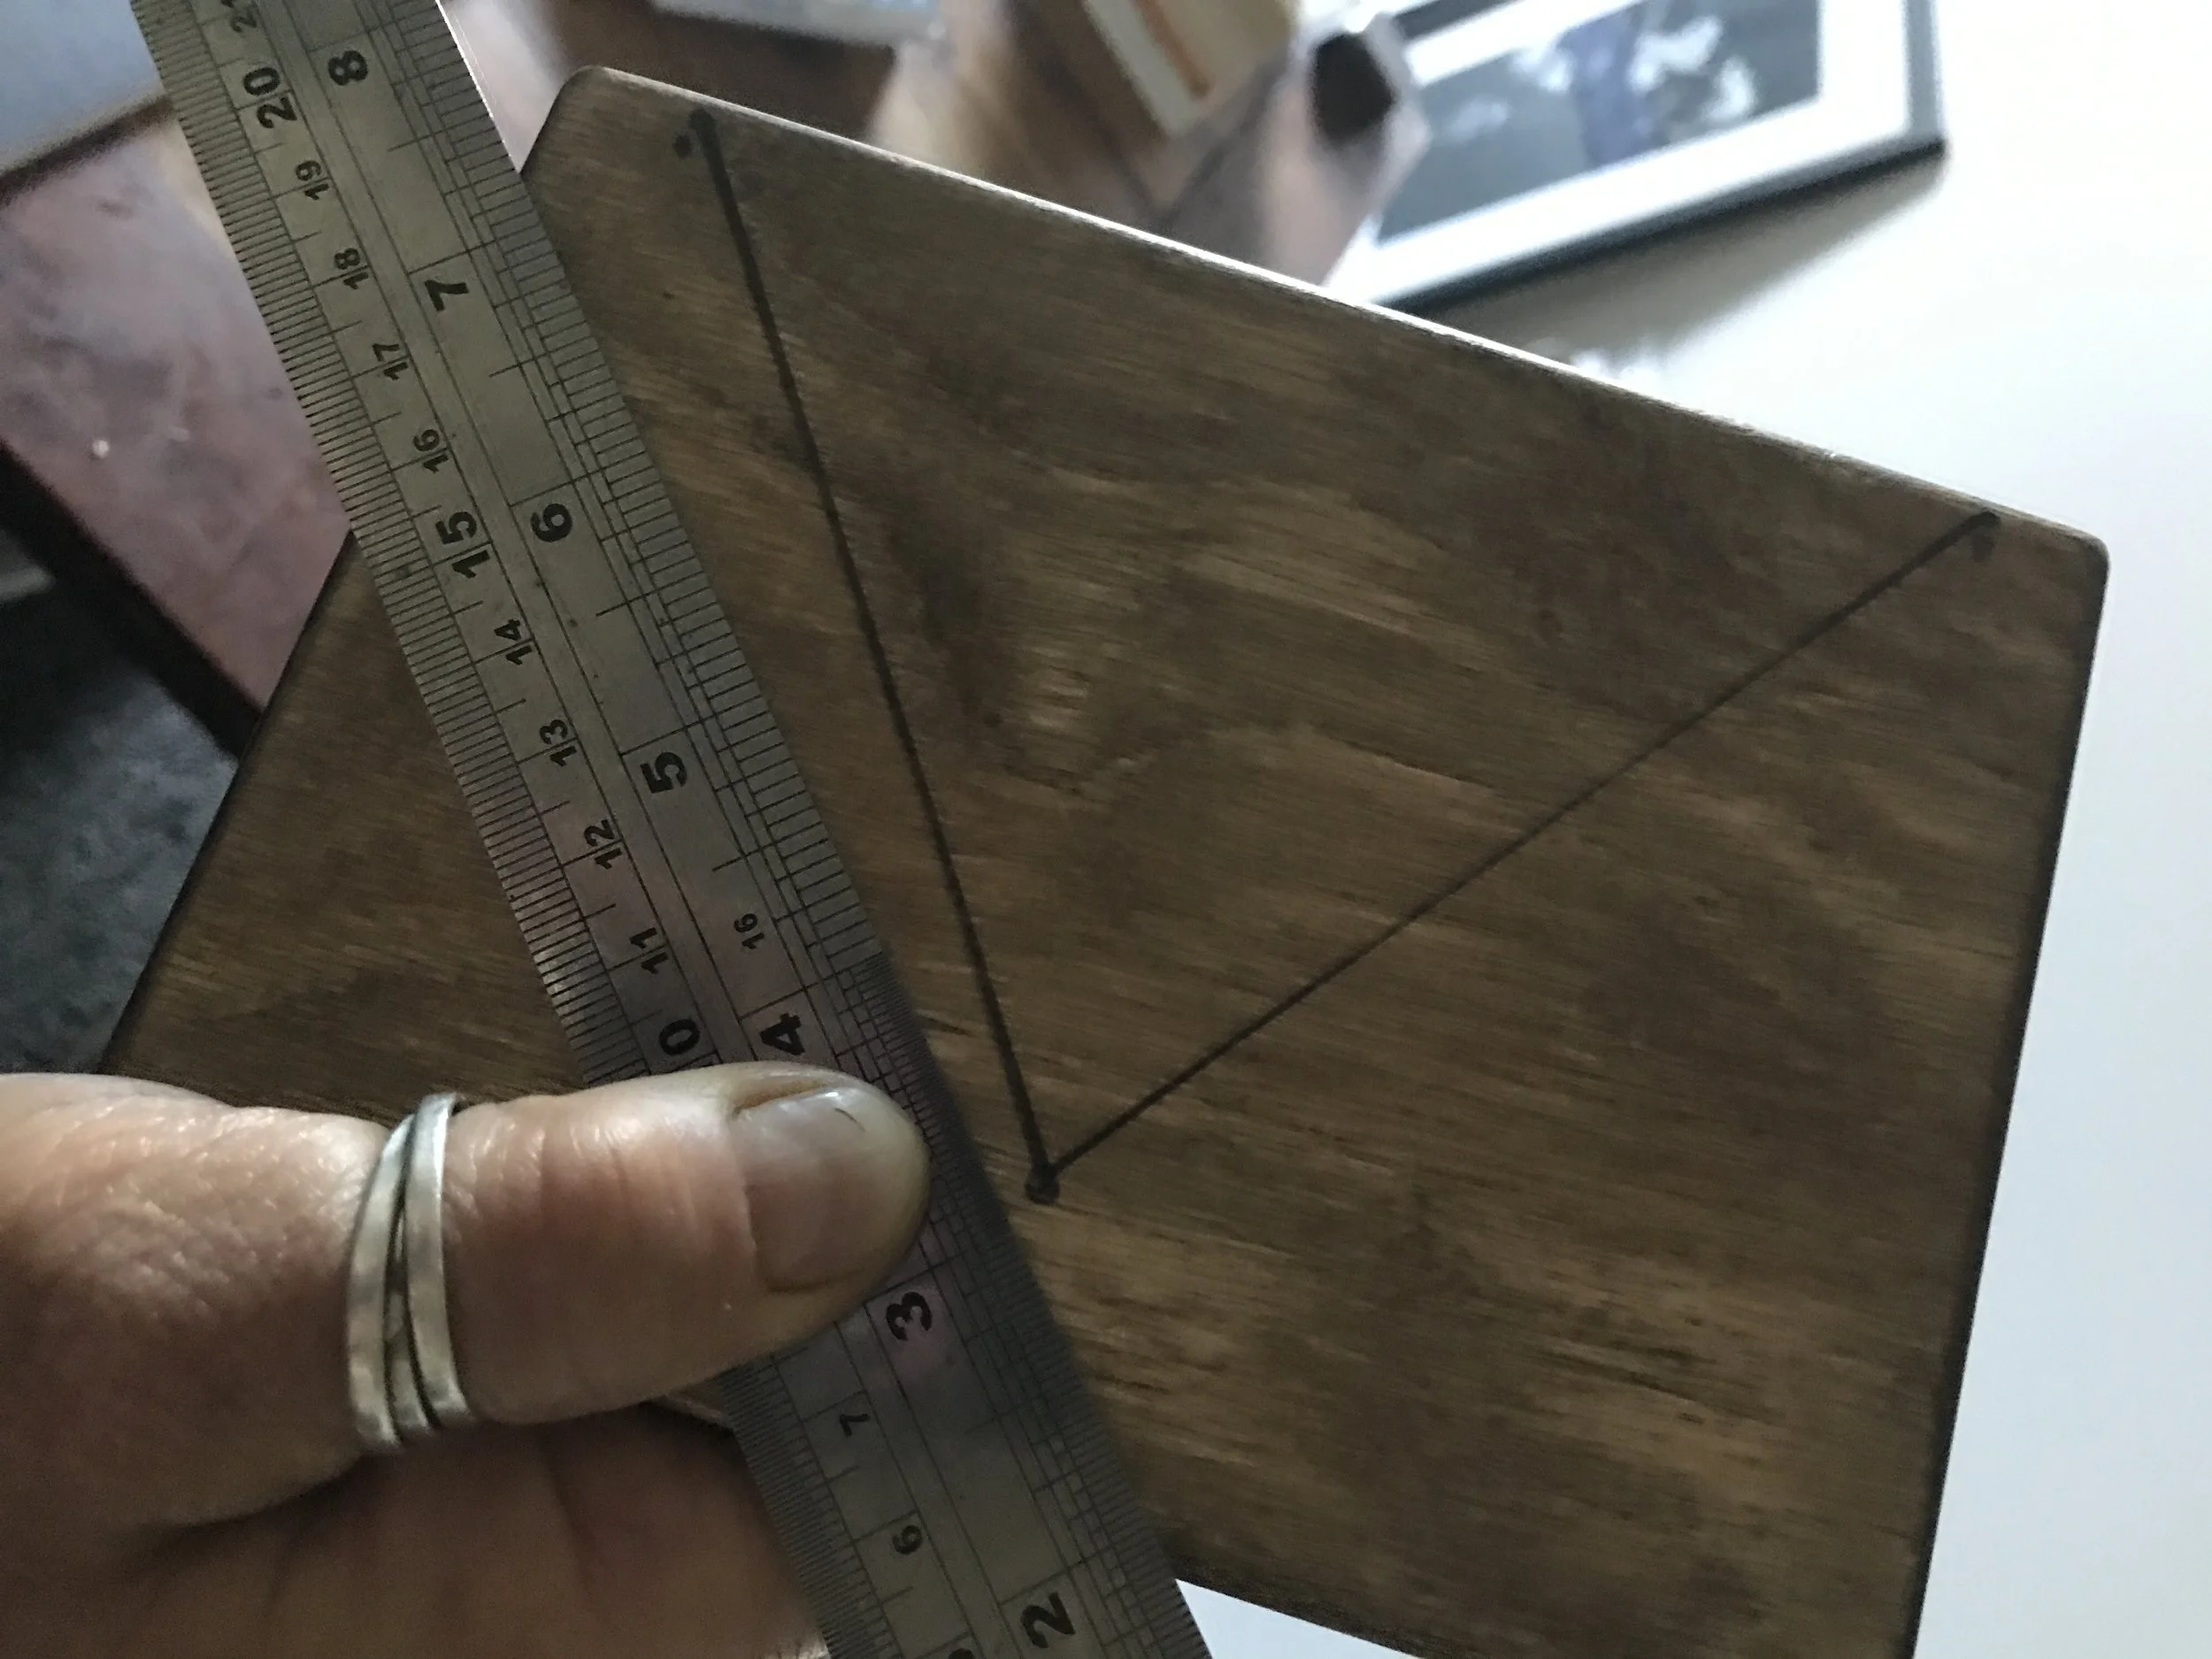
Figure 1. Marking field of view guides on 4x5 pinhole camera
Exposure times (general)
https://www.alternativephotography.com/determining-exposures-for-the-pinhole-camera/
http://www.martinwinfield.co.uk/pinholetech.html
https://www.lomography.com/magazine/69260-holga-wide-pinhole-camera-wpc-user-review-exposure-table-and-more
https://www.lomography.com/magazine/10960-applied-mathematics-to-holga-cameras
Exposure times
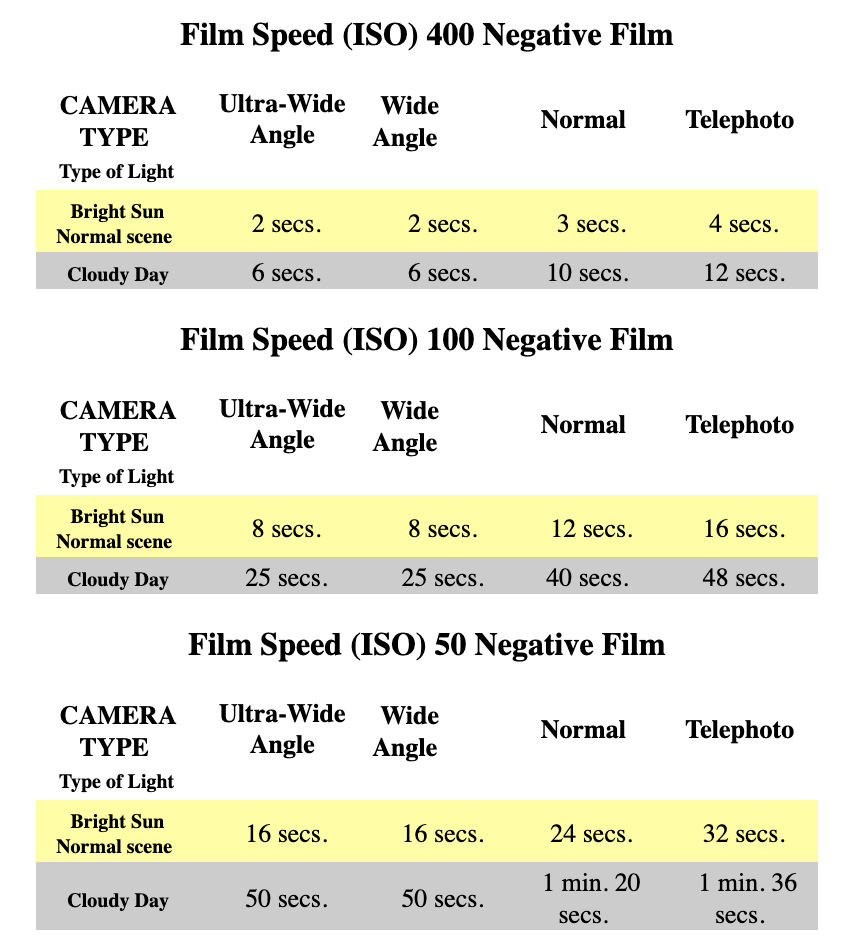
Figure 1. Pinhole exposure times (PinholeCamera n.d.)
Keywords
Pinhole, Field of view, MFA, Studio 1
Bibliography
“Pinhole exposure times”. pinholecamera.com. Accessed April 10, 2022. http://www.pinholecamera.com/exposure.html.
Hammond, Mary Sayer. 1986. "THE CAMERA OBSCURA: A CHAPTER IN THE PRE-HISTORY OF PHOTOGRAPHY (PINHOLE PHOTOGRAPHY, ASTRONOMY, DRAWING MACHINES, KEPLER, PERSPECTIVE)." Order No. 8703552, The Ohio State University. https://login.ezproxy.lib.rmit.edu.au/login?url=https://www.proquest.com/dissertations-theses/camera-obscura-chapter-pre-history-photography/docview/303482885/se-2?accountid=13552.
Henson, Martin. 2020. “Pinhole photography, all about” Martin Henson. May 22, 2020. YouTube video, 09:51. https://youtu.be/nuI5l0t9PHg.
Hymer, Karen. 2021. "Layered Light: Contemporary Pinhole And Zone Plate Photography". Light Art Space. https://lightartspace.com/exhibition/layered-light-contemporary-pinhole-and-zone-plate-photography/.
Madison, James. 2020. "Shooting 8x10 On A Homemade Pinhole Camera With F/264? Why Not?". Fstoppers. https://fstoppers.com/film/shooting-8x10-homemade-pinhole-camera-f264-why-not-508286.
Broadening practice
Following the Master of Photography program, I am determined to broaden my analogue photographic practice and am at a complete creative loss. Dom has provided me with exercises that aim to prompt creative focus and direction, leading me to explore lumen printing and zone plate photography. I am also deepening my study of photograms and pinhole photography.
Recent works include a photogram of a vintage threadbare denim jacket (Figures 1–2) and a series of self-portraits captured using a 4x5" large format pinhole camera (Figure 3). Planning to capture lumen prints of the jacket to compare how the colours and tones in the final images correspond with the photograms and researching pinhole cameras, including how to make them, is inspiring.
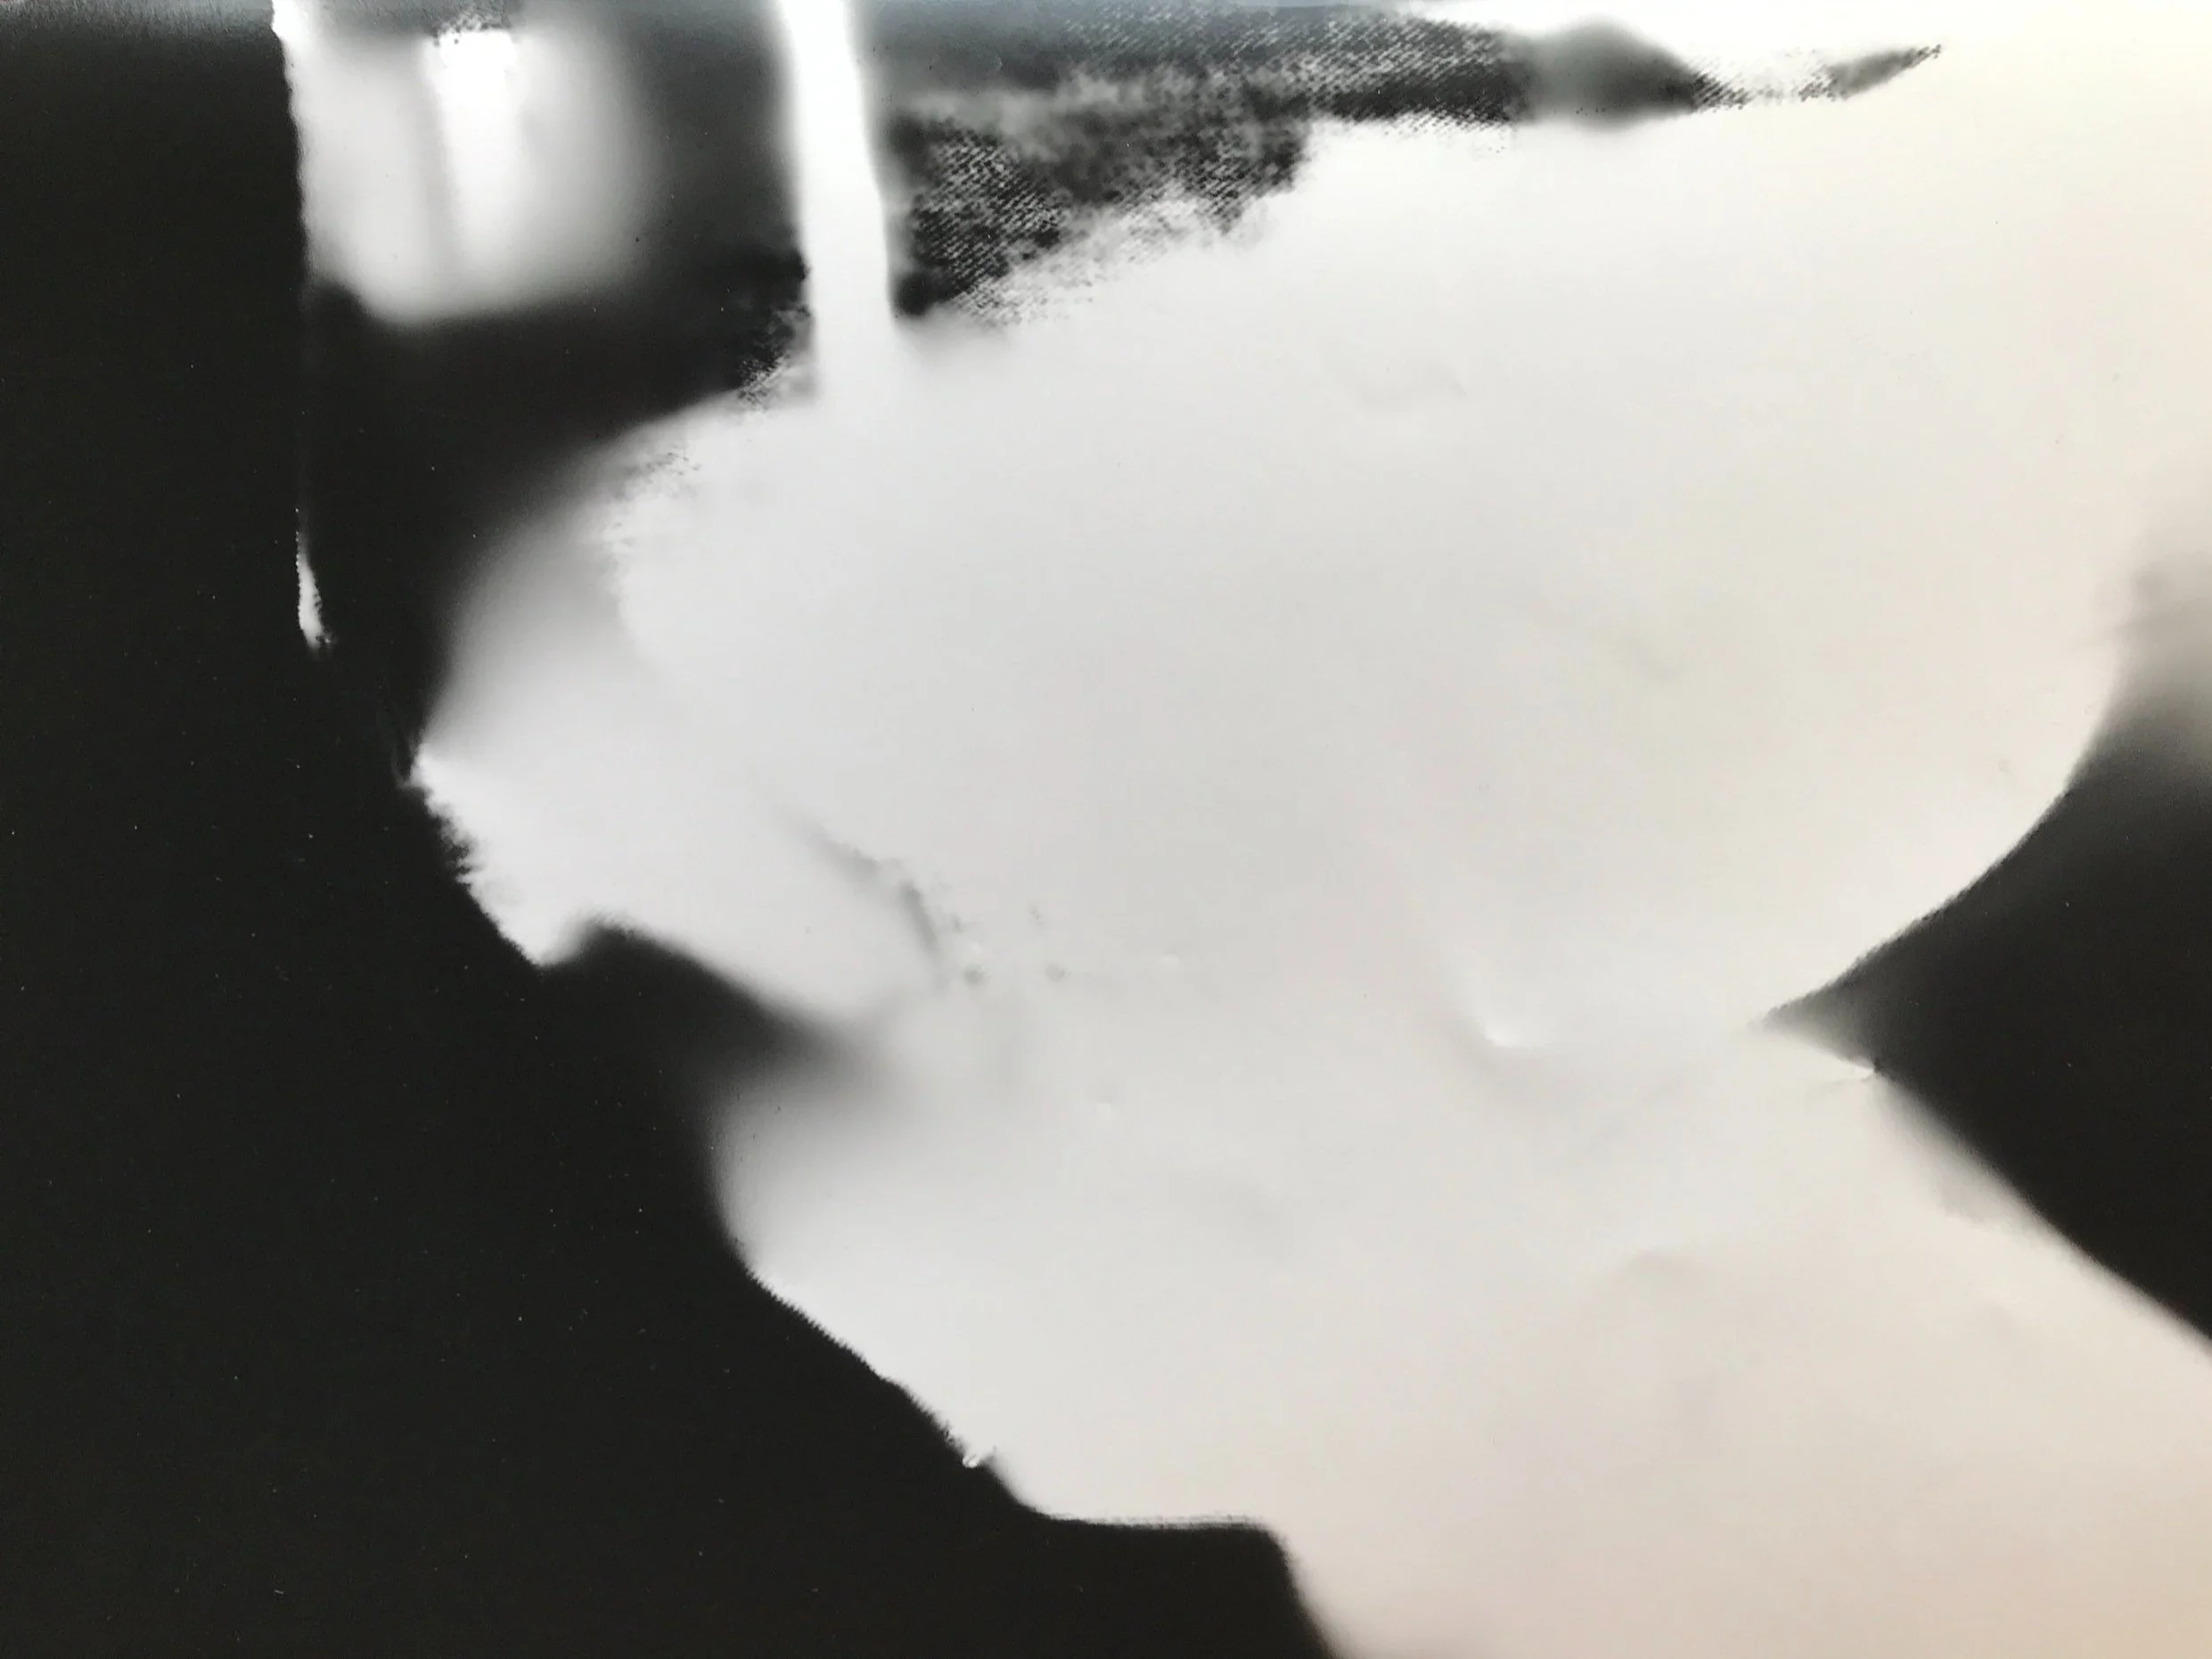
Figure 1. Untitled photogram, 2022
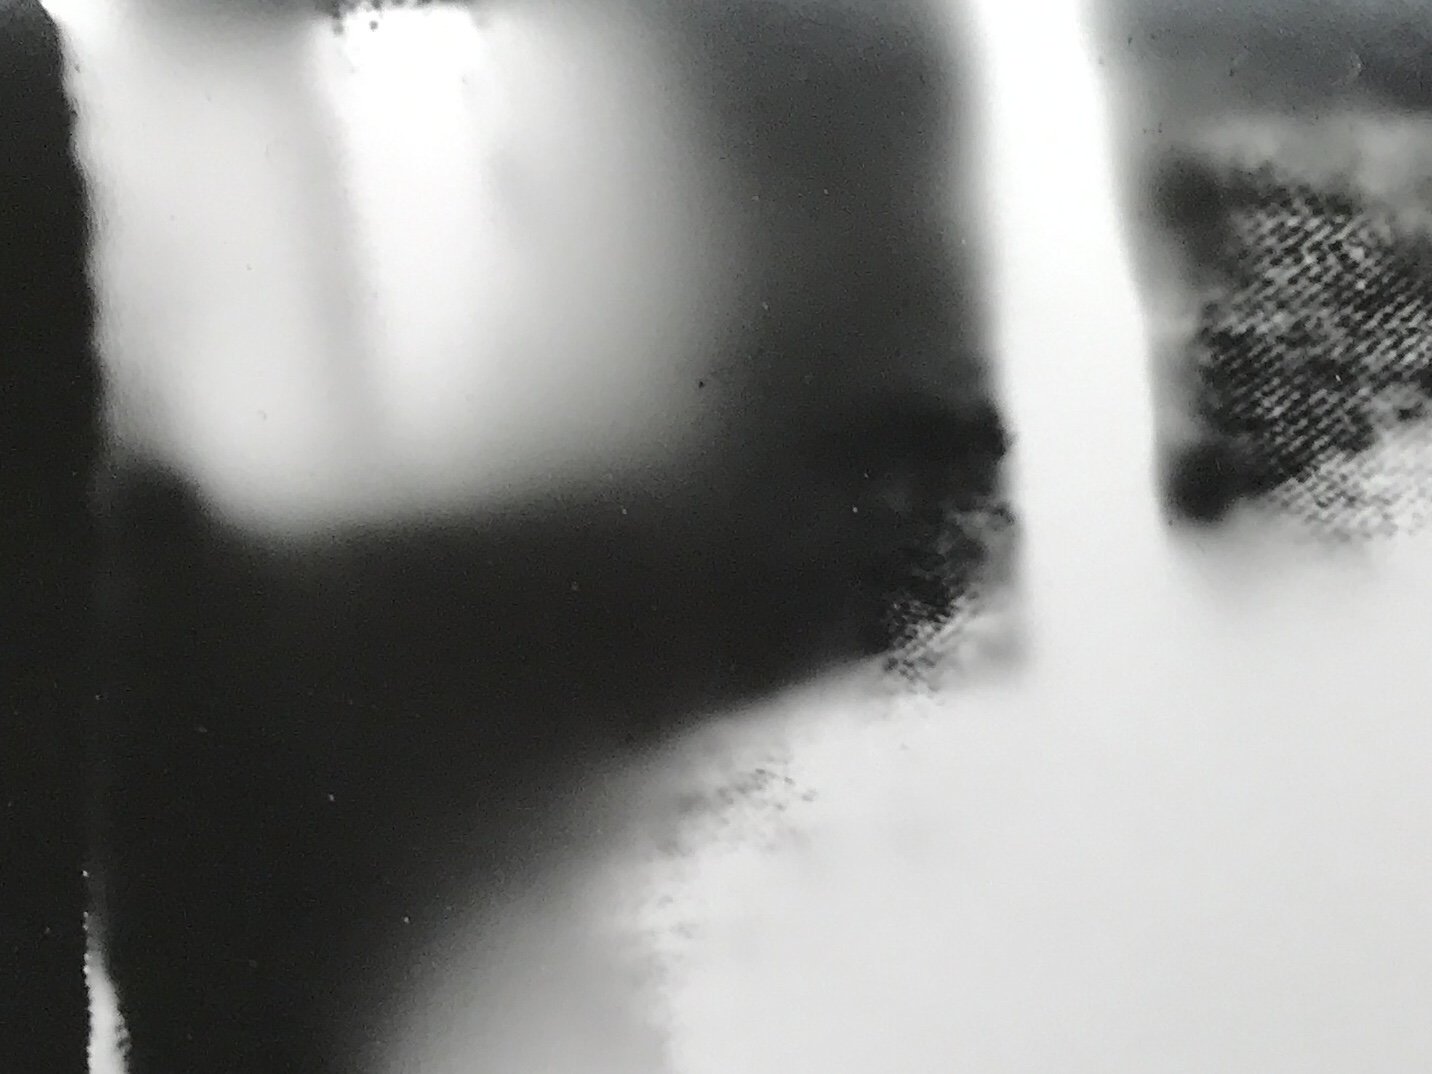
Figure 2. Untitled photogram (detail), 2022
Although creating artworks from items and events (Figure 3) that are part of my everyday life is engaging, it is also confronting, leading me to reflect on Dom frequently asking, "Yeah, but what do you want to make?" prompting me to reflect on past work and motivations. What do 'I' want to make indeed.
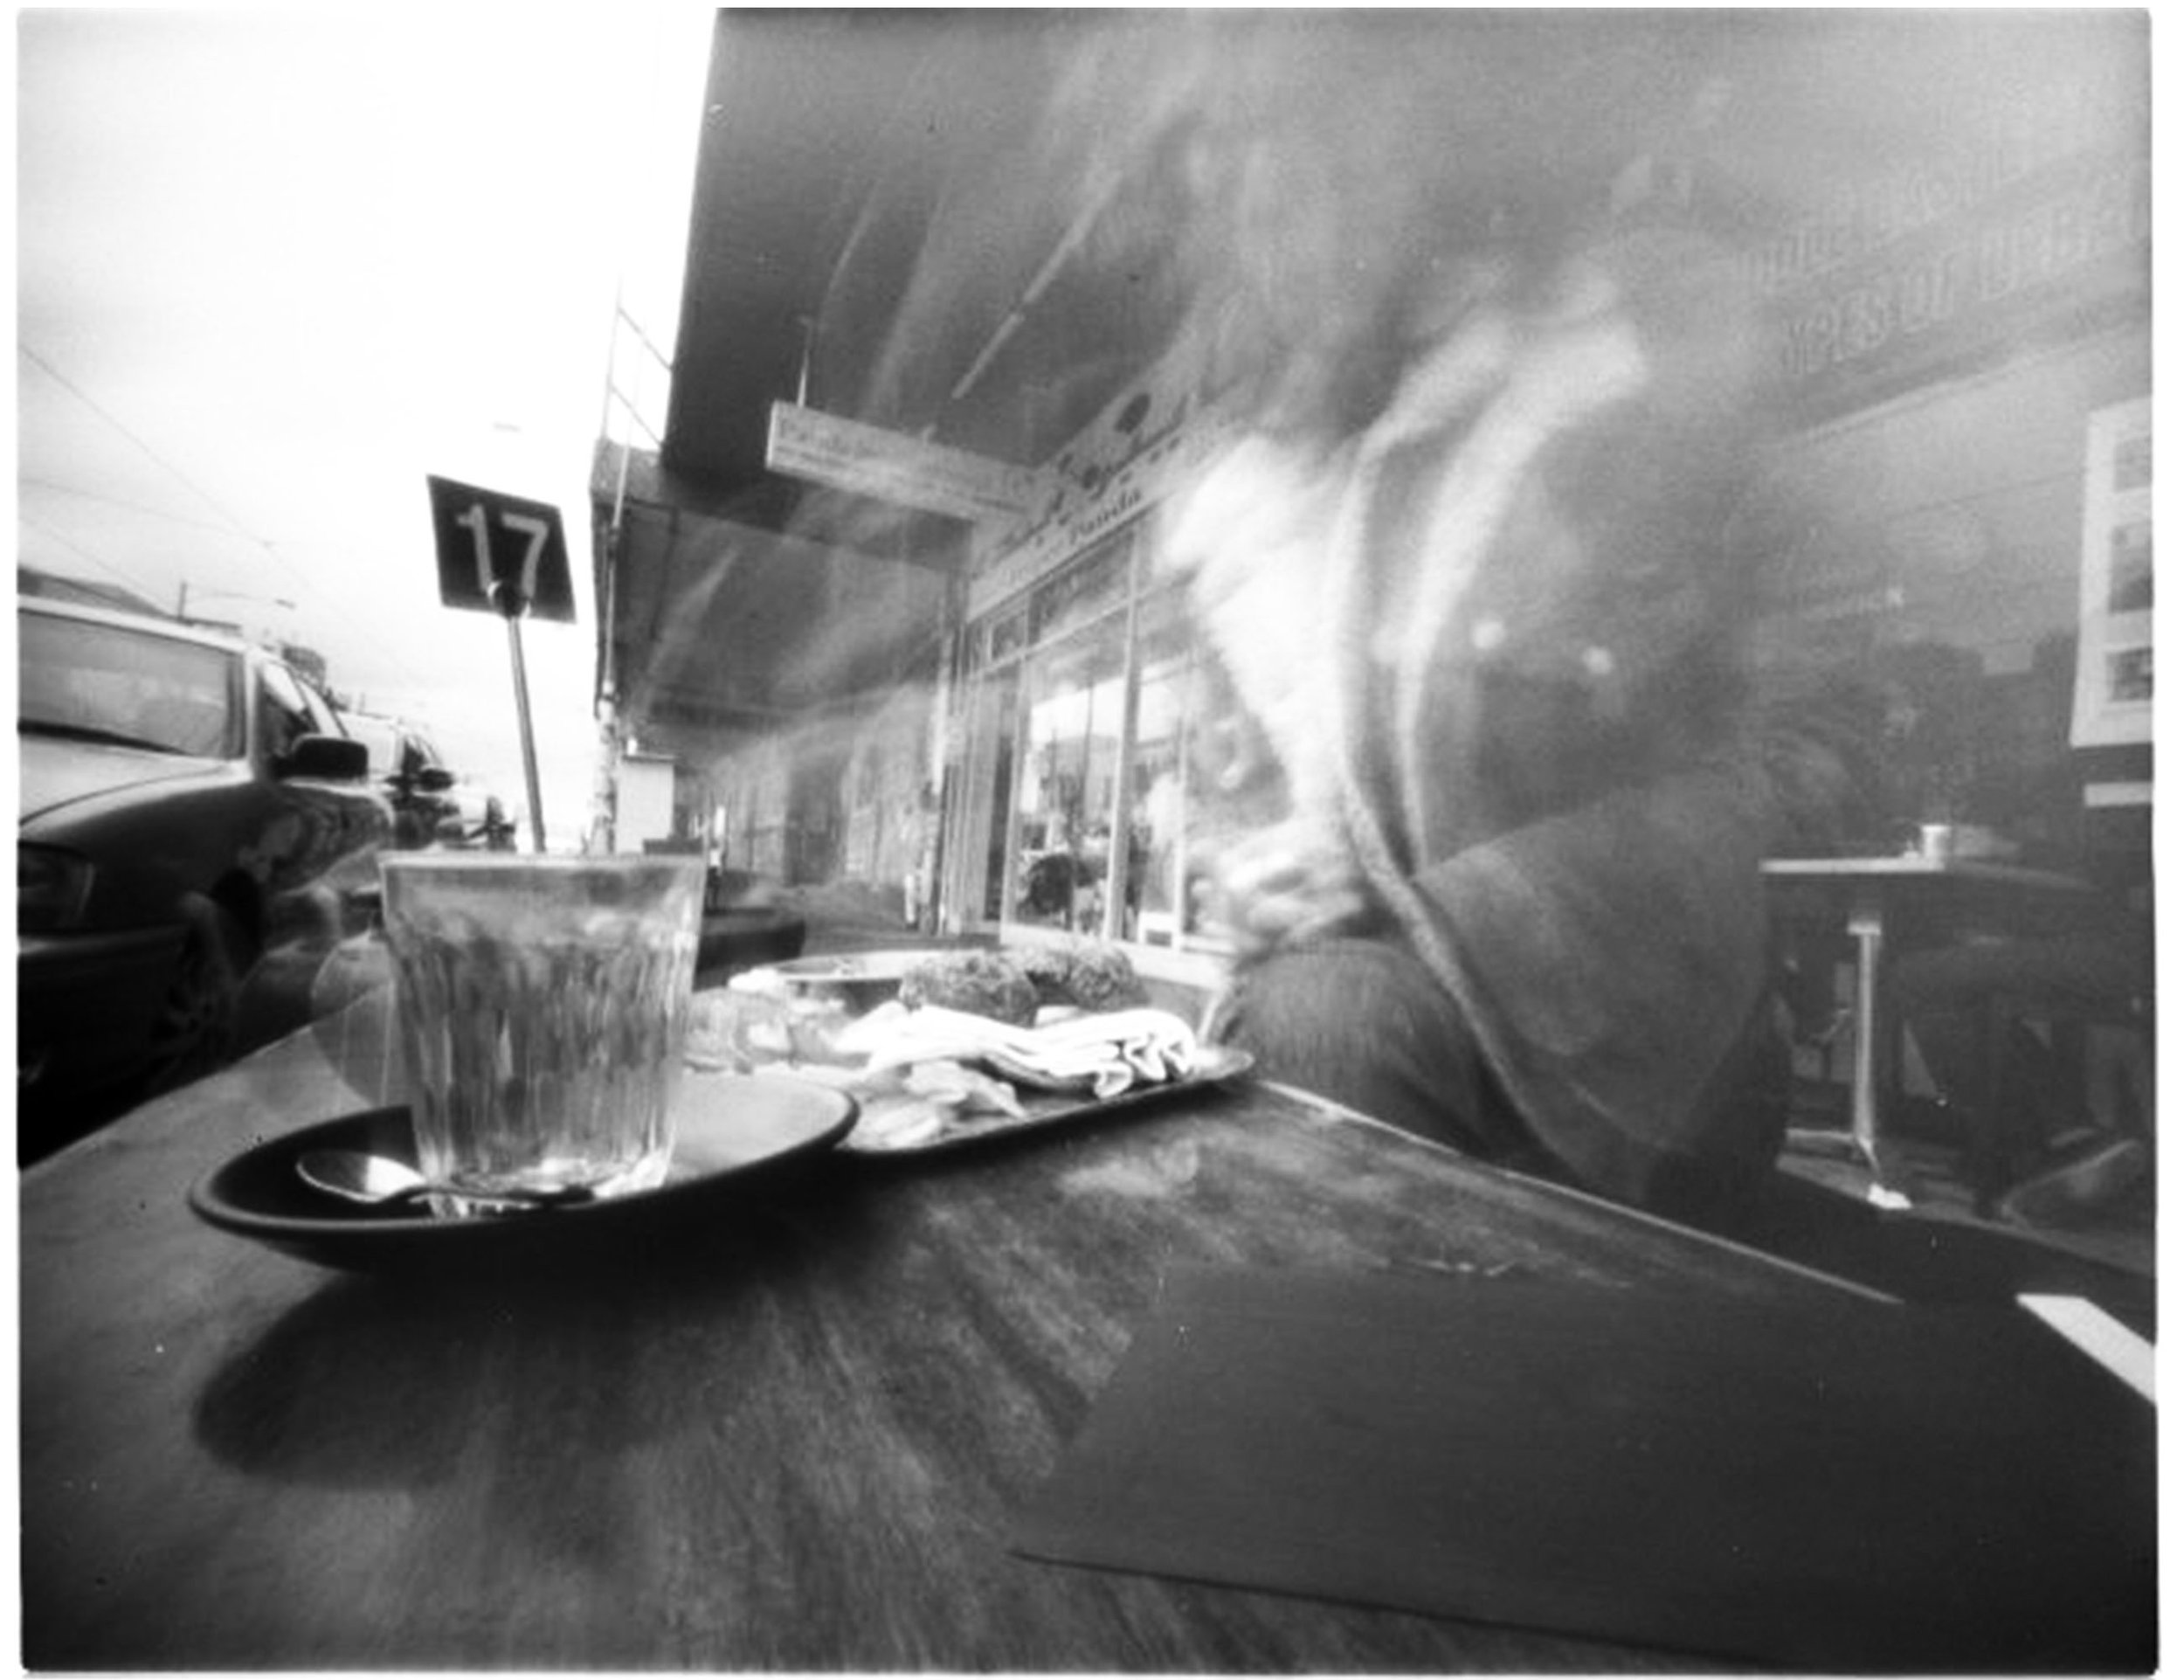
Figure 3. Zo Damage, Tea and falafel (self-portrait), 2022
Keywords
MFA, Studio 1, Photogram, Lumen, Pinhole, Cameraless photography, Film photography
Lumen printing
Lumen prints are photographic contact prints. As with a photogram, objects are placed on photographic paper and then exposed to direct sunlight for approximately one hour. Using translucent materials results in broader tonal ranges in the image. The paper is then rinsed in water (Figure 1). The print may then be treated in fixer for a permanent image (Figure 2). The lumen process dispenses with traditional darkroom materials, including an enlarger and a developing bath. Expired and vintage gelatin silver photographic paper is frequently used to create lumen prints. As with photograms, the lumen process produces unique one-of-a-kind photographic prints.
Figure 1. Bob St Cyr, Print before processing in fixer, 2020
Figure 2. Bob St Cyr, A dry print ready to matt, and frame and hand on the wall, 2020
Keywords
Cameraless photography, Lumen, Photogram, Colour, BW
Bibliography
Brough, Des. 2016. "How To Make Lumen Prints". Lomography. https://www.lomography.com/magazine/321837-how-to-make-lumen-prints.
St Cyr, Bob. 2020. A Dry Print Ready To Matt, Frame And Hang On A Wall. Image. https://www.ilfordphoto.com/making-lumen-prints-an-isolation-project/.8 aprilimagelumen print.
———. 2020. Print before processing in fixer. Image. https://www.ilfordphoto.com/making-lumen-prints-an-isolation-project/.
———. 2020. "Making Lumen Prints - An Isolation Project". Ilford Photo. https://www.ilfordphoto.com/making-lumen-prints-an-isolation-project.
Vintage gelatin silver paper
I have a significant amount of expired vintage gelatin silver paper (Figures 1–3) that may work well for making lumen prints. The paper stock includes Tura, Kodak, Ilford and Agfa. Some of the boxes are torn. Used for lumen printing, the age of the paper and light leaks from cracks in the boxes should produce colour hues of pink, purple, brown and blue in the final images. Using the expired stock as paper negatives in large format cameras could also result in interesting results. Although each package is stamped with a batch number, researching the history of the paper is proving to be more challenging than I expected.
Figure 1. Expired vintage gelatin silver paper
Figure 2. Expired vintage gelatin silver paper
Figure 3. Expired vintage gelatin silver paper
Keywords
Vintage paper, Expired paper, Photography, Agfa, Kodak, Ilford, Tura
Biotextiles
Exploring visual iterations of “networks” I have been researching biotextiles, particularly mycelium structures, grown for artistic creative practice (Snoad 2020), although there are the ethics of manipulating organic form to consider. In reference to fungi, it has been suggested that I research psychedelic philosopher Terrance McKenna (Lamb 2021). First, I do not drink alcohol or take mind or mood-altering drugs (prescribed or otherwise). Second, after a precursory look into McKenna, I believe it is fair to state that even if I did use drugs and alcohol, his writing appears (at first glance) to be drug-addled nonsense and another conversation that I am not willing to be part of. My brief research into biotextiles applied methods in creative practice has led to two topics that have no interest to me and have decided to let go of the concept entirely.
Mycelium Lace, Design & Living Systems Lab, Carole Collet, 2015 (Ræbild et al. 2018)
Faber Futures | Void, Natsai Audrey Chieza in collaboration with Ginkgo Bioworks, exhibited at Hubweek, Boston, 2017 (Ræbild et al. 2018)
Keywords
Development of practice, DOP, MFA, Studio 1, Biotextiles, Biotechnology, Posthumanism, Transhumanism, Terrance McKenna, Mycelium, Fungi
Bibliography
Collet, Carole. 2021. "Biotextiles: Making Textiles In A Context Of Climate And Biodiversity Emergency". Materials Experience 2, 207-226. doi:10.1016/b978-0-12-819244-3.00029-6.
Lamb, Robert. 2021. "The Stoned Ape Hypothesis: Did Magic Mushrooms Influence Human Evolution?". Howstuffworks. https://science.howstuffworks.com/life/evolution/stoned-ape-hypothesis.htm.
Ræbild, Ulla & Piper, Anna & Nimkulrat, Nithikul. 2018. Soft Landing.
Snoad, Laura. 2022. "8 Makers Using Biodesign To Grow Their Work". Crafts Council. https://www.craftscouncil.org.uk/stories/8-makers-using-biodesign-grow-their-work.
Thacker, Eugene. 2003. “Data Made Flesh: Biotechnology and the Discourse of the Posthuman.” Cultural Critique, no. 53: 72–97. http://www.jstor.org/stable/1354625.
Painting
I have been experimenting with paint. In the process of a said experiment, I painted on one of my archival pigment prints, hated it, tore it up, then salvaged a section (it was a huge print) and stuck it to some cardboard I had lying around my uni studio. Stepping back I thought, “that's better”. Painting does not in any way shape or form come naturally to me, and I don't know how I feel about sharing this piece. But that is exactly the point.
Fragile, 2022
Acrylic on archival pigment print and cardboard
594x841mm (approx)
Keywords
Painting, Development of practice, Fragile, Studio 1, MFA
Textures and colour
Preparing and making photogravure [1] plates, inspired by and repurposing printmaking artefacts.
Artefacts
Photogravure (photopolymer) printing plates are placed on a magnetic sheet taped to the workbench, stabilising the plate and preventing it from slipping during the inking process. A sheet of newsprint is placed between the magnet and plate to help keep the workstation clean and enable lifting the plate off the magnet post-inking. The black marks on the paper in Figures 1 and 2 clearly show the position of the photopolymer plates and the rub-over of ink from the buffing or polishing in preparation to print. The “under-sheets” are then discarded after two or three uses. The traces of ink are captivating, beautiful and immersive.
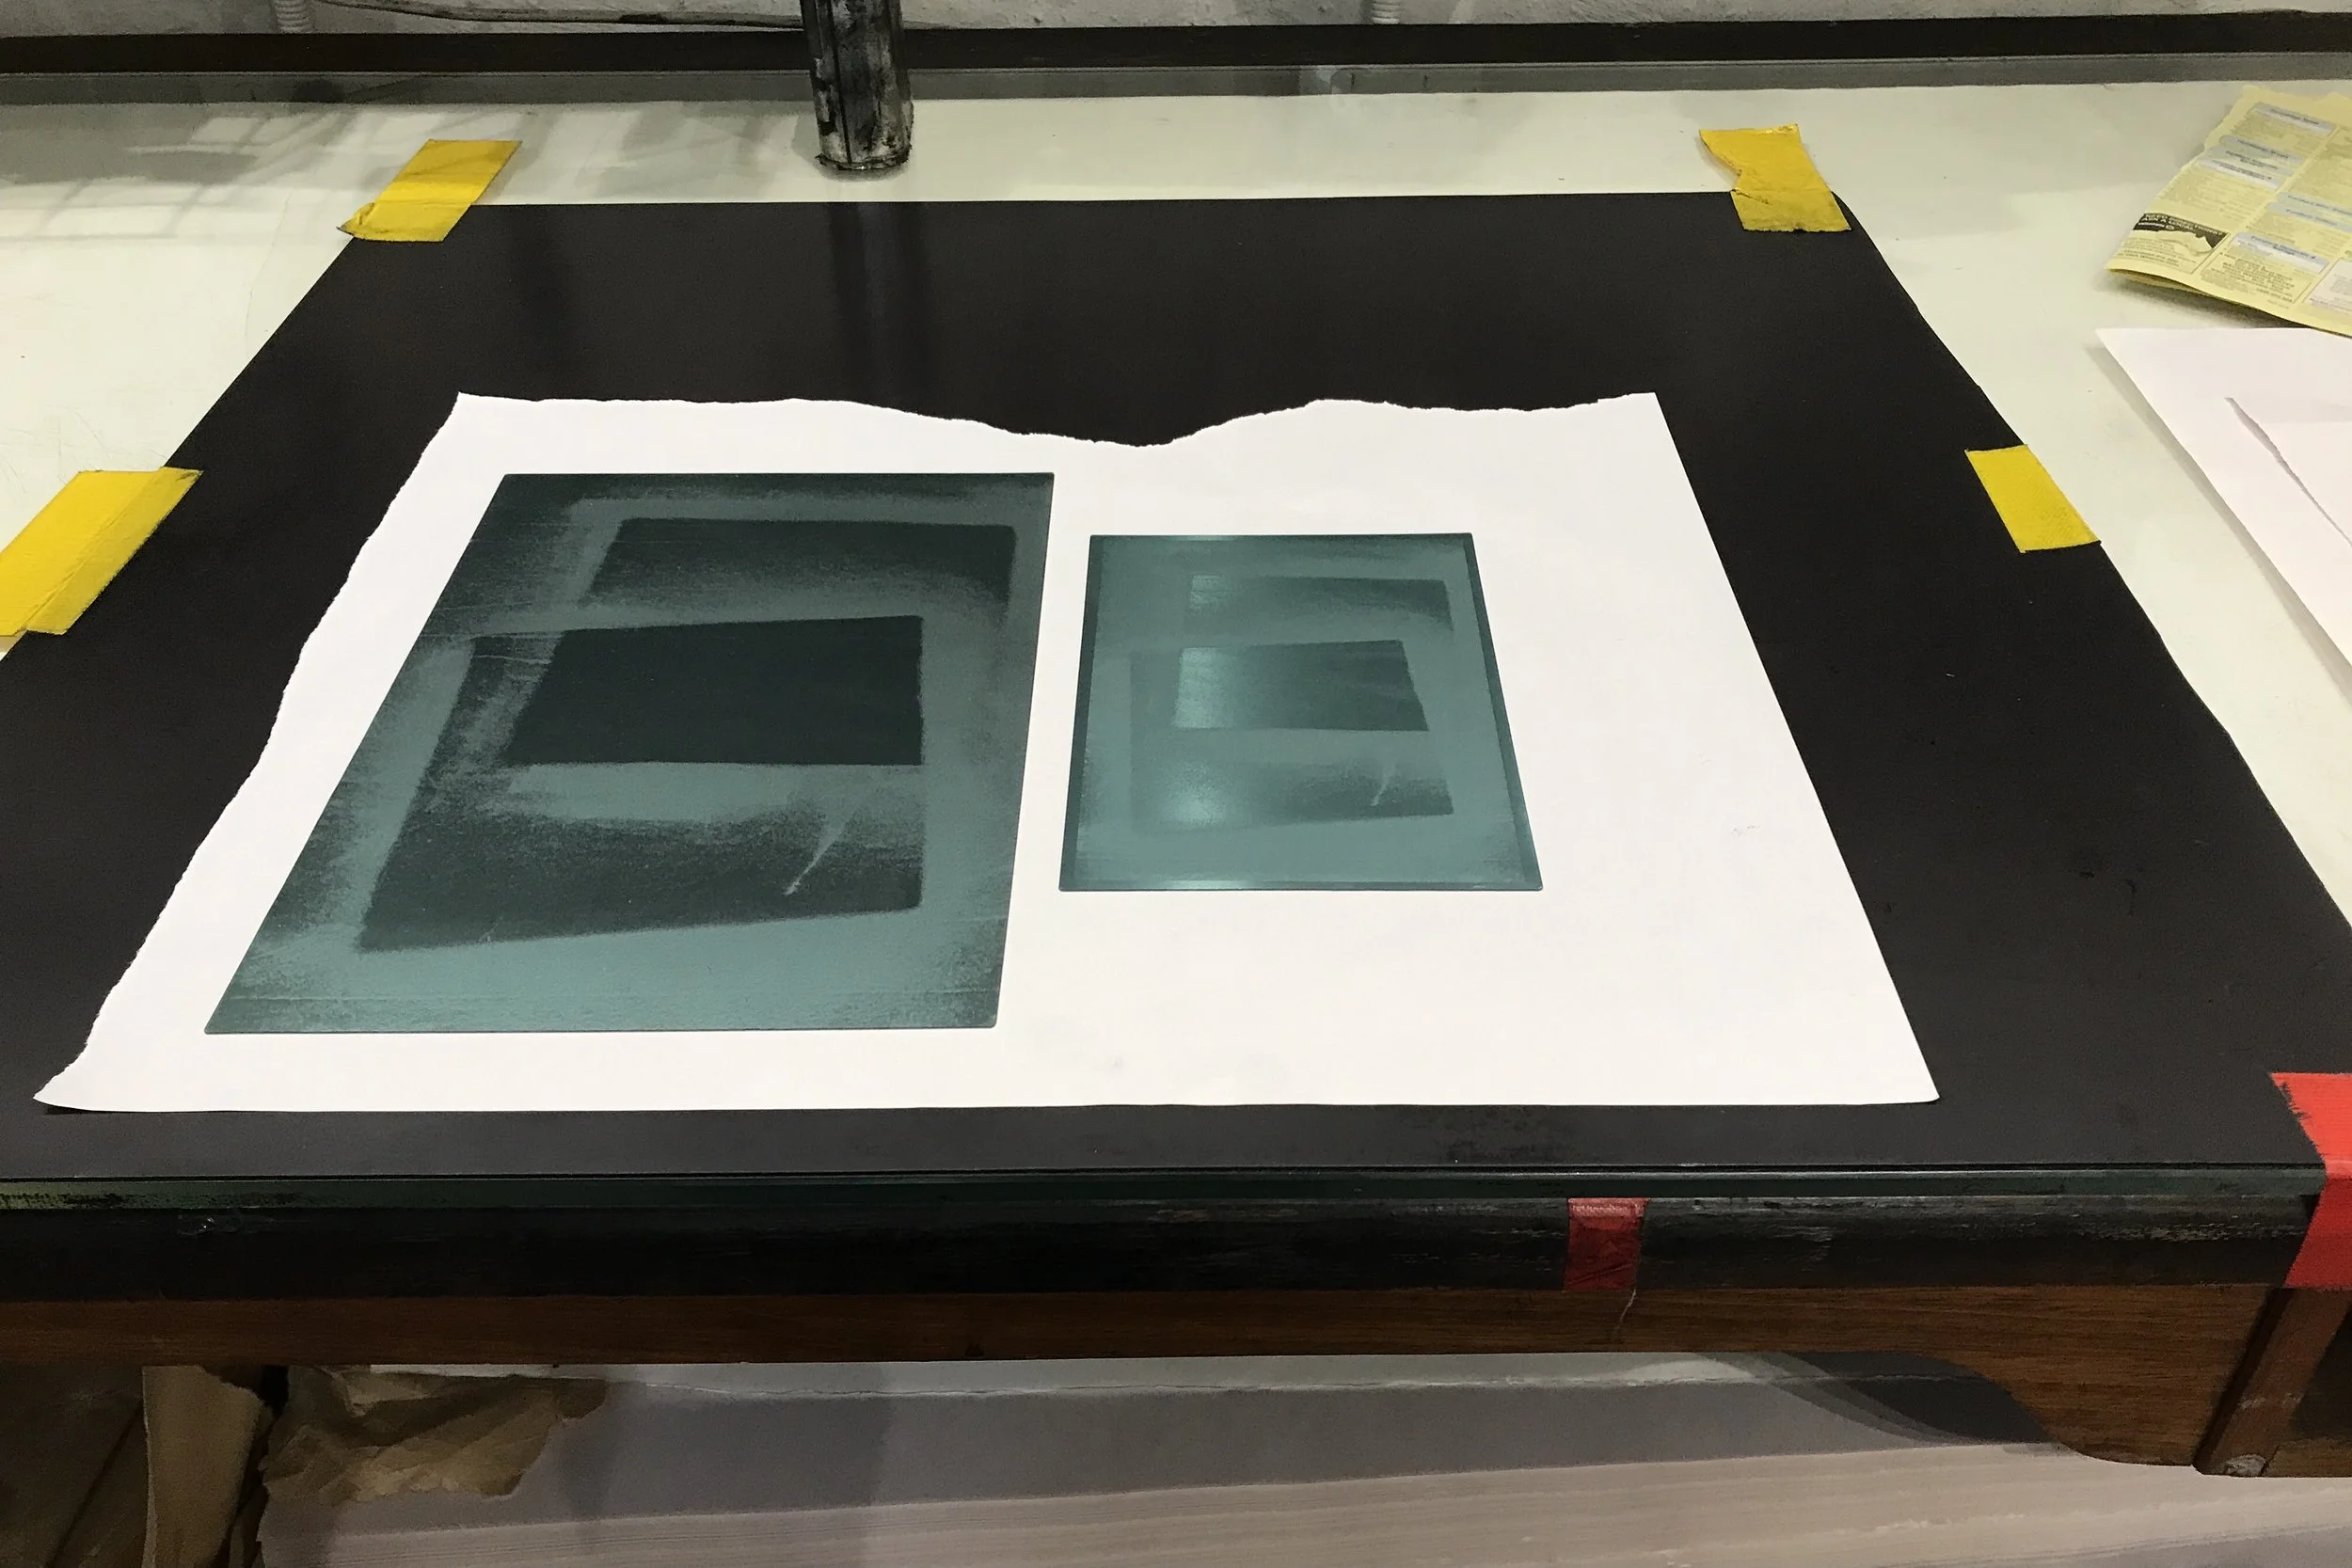
Figure 1
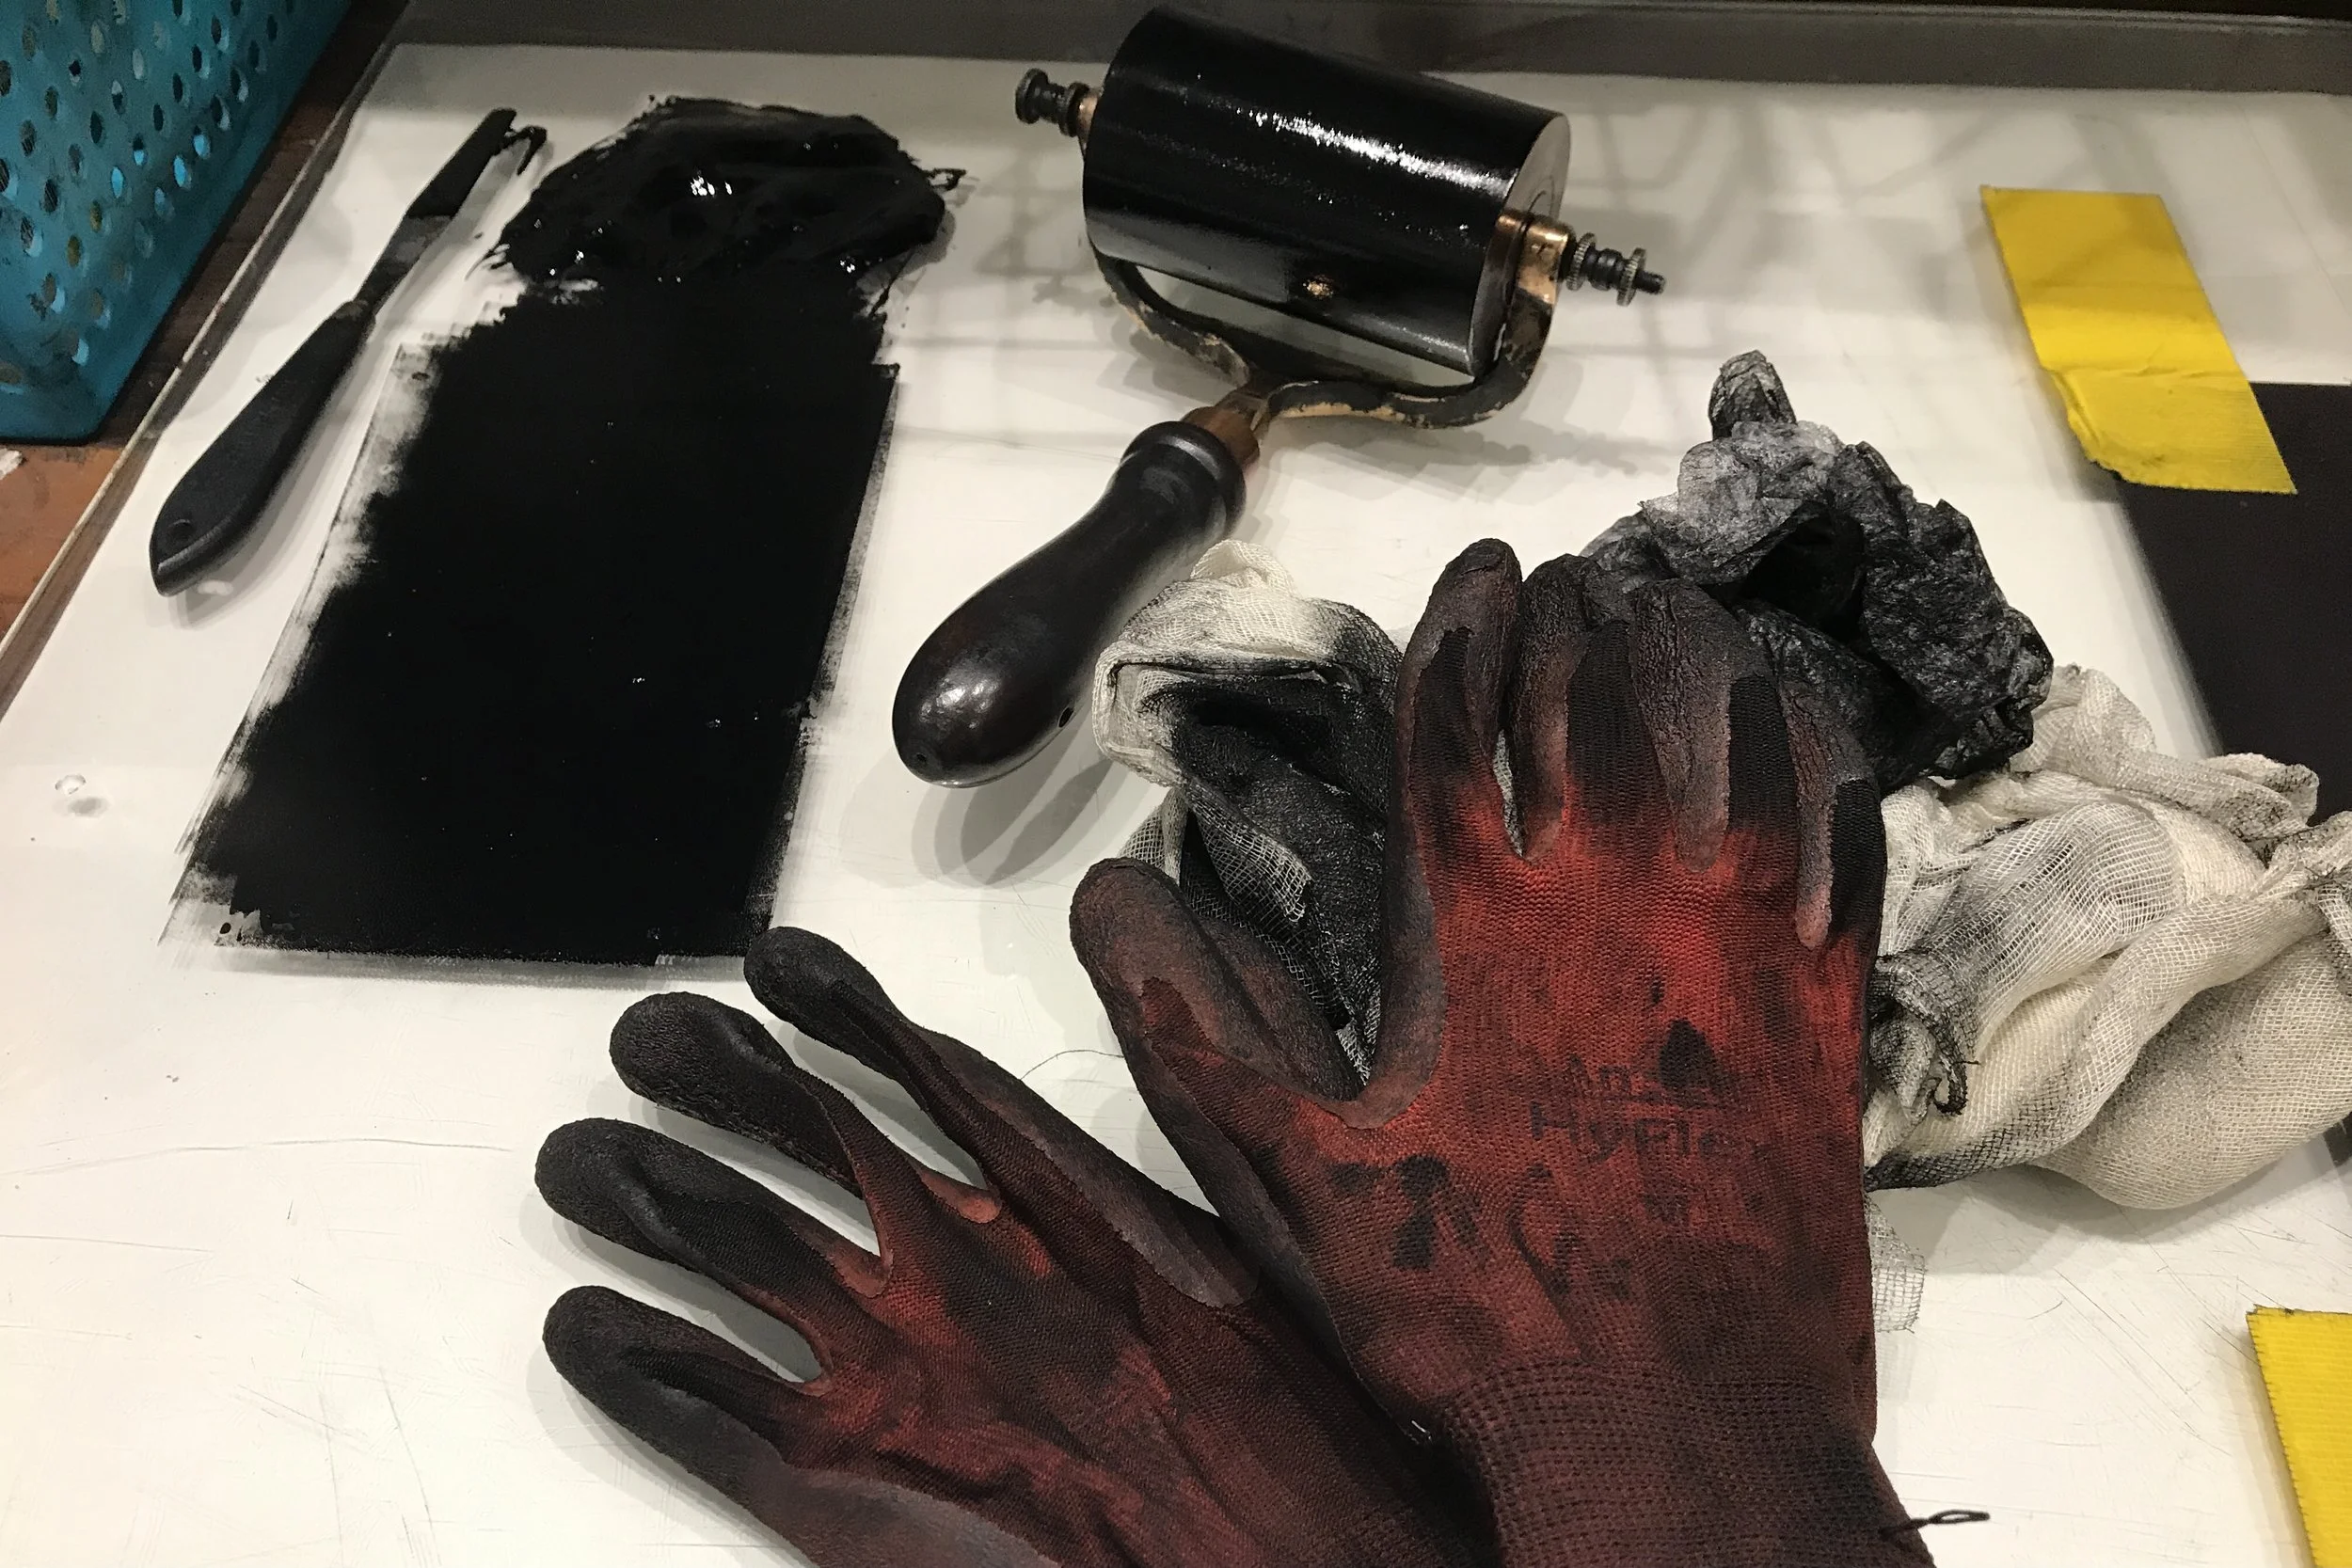
Figure 2
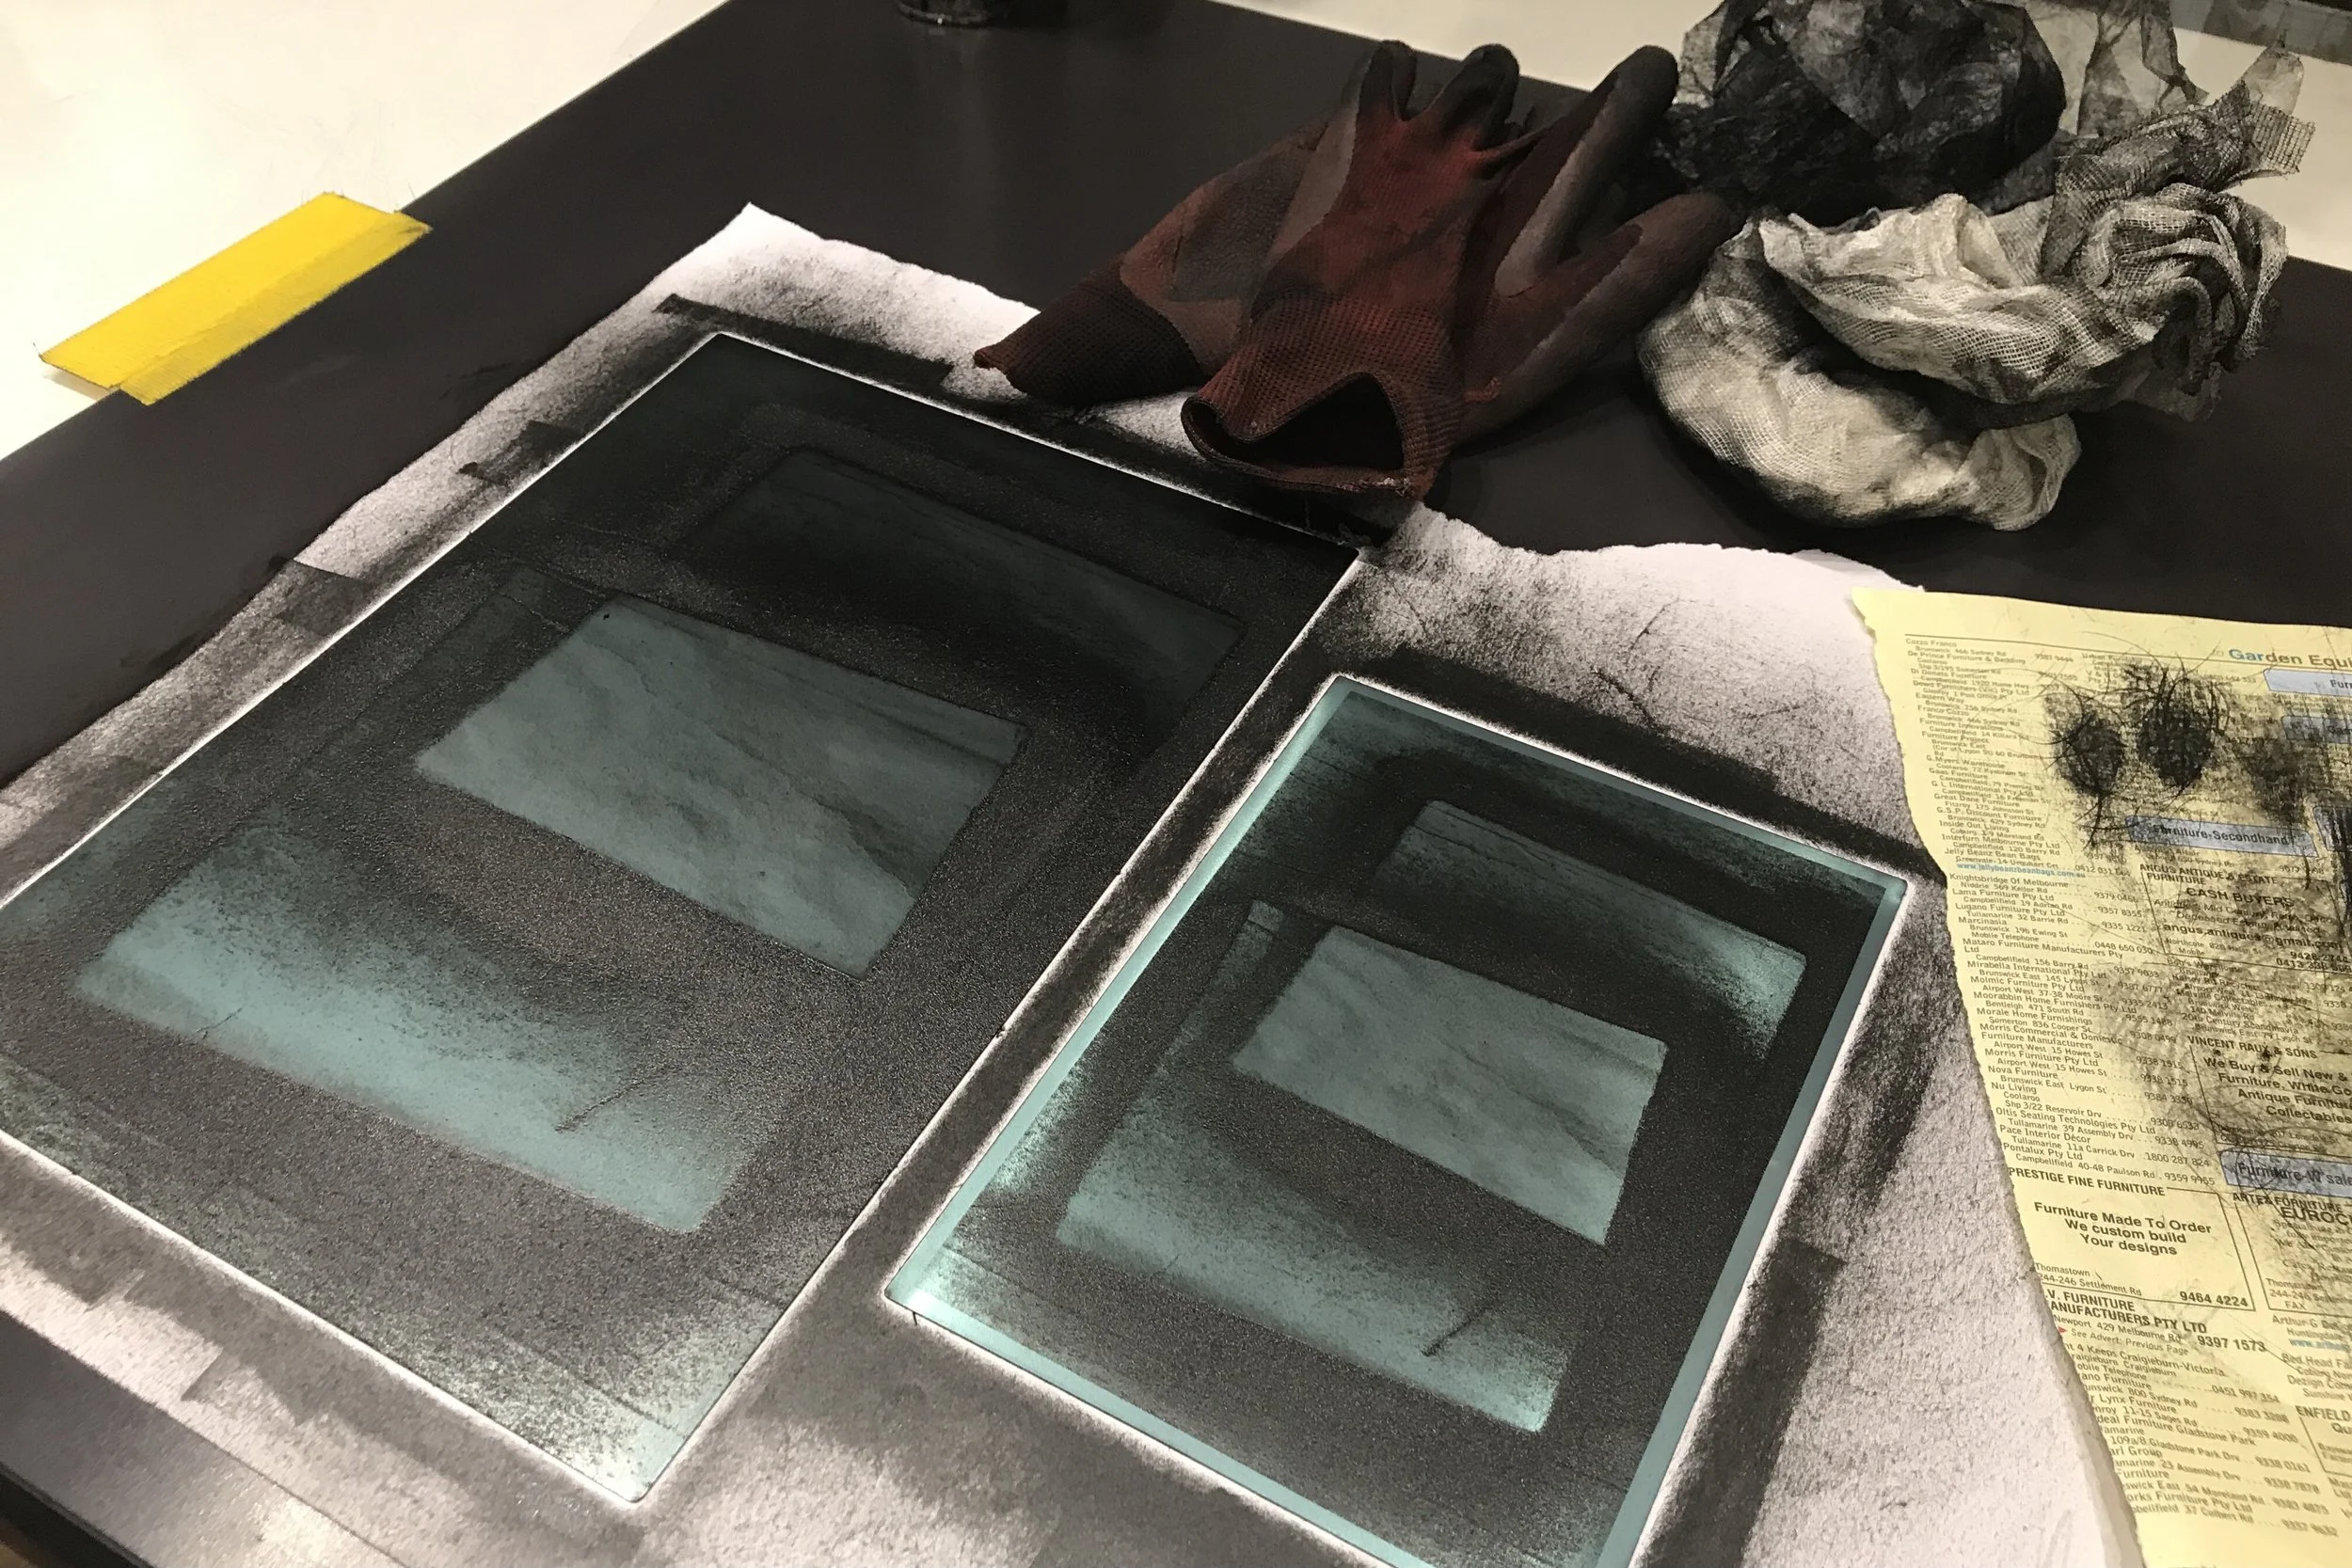
Figure 3
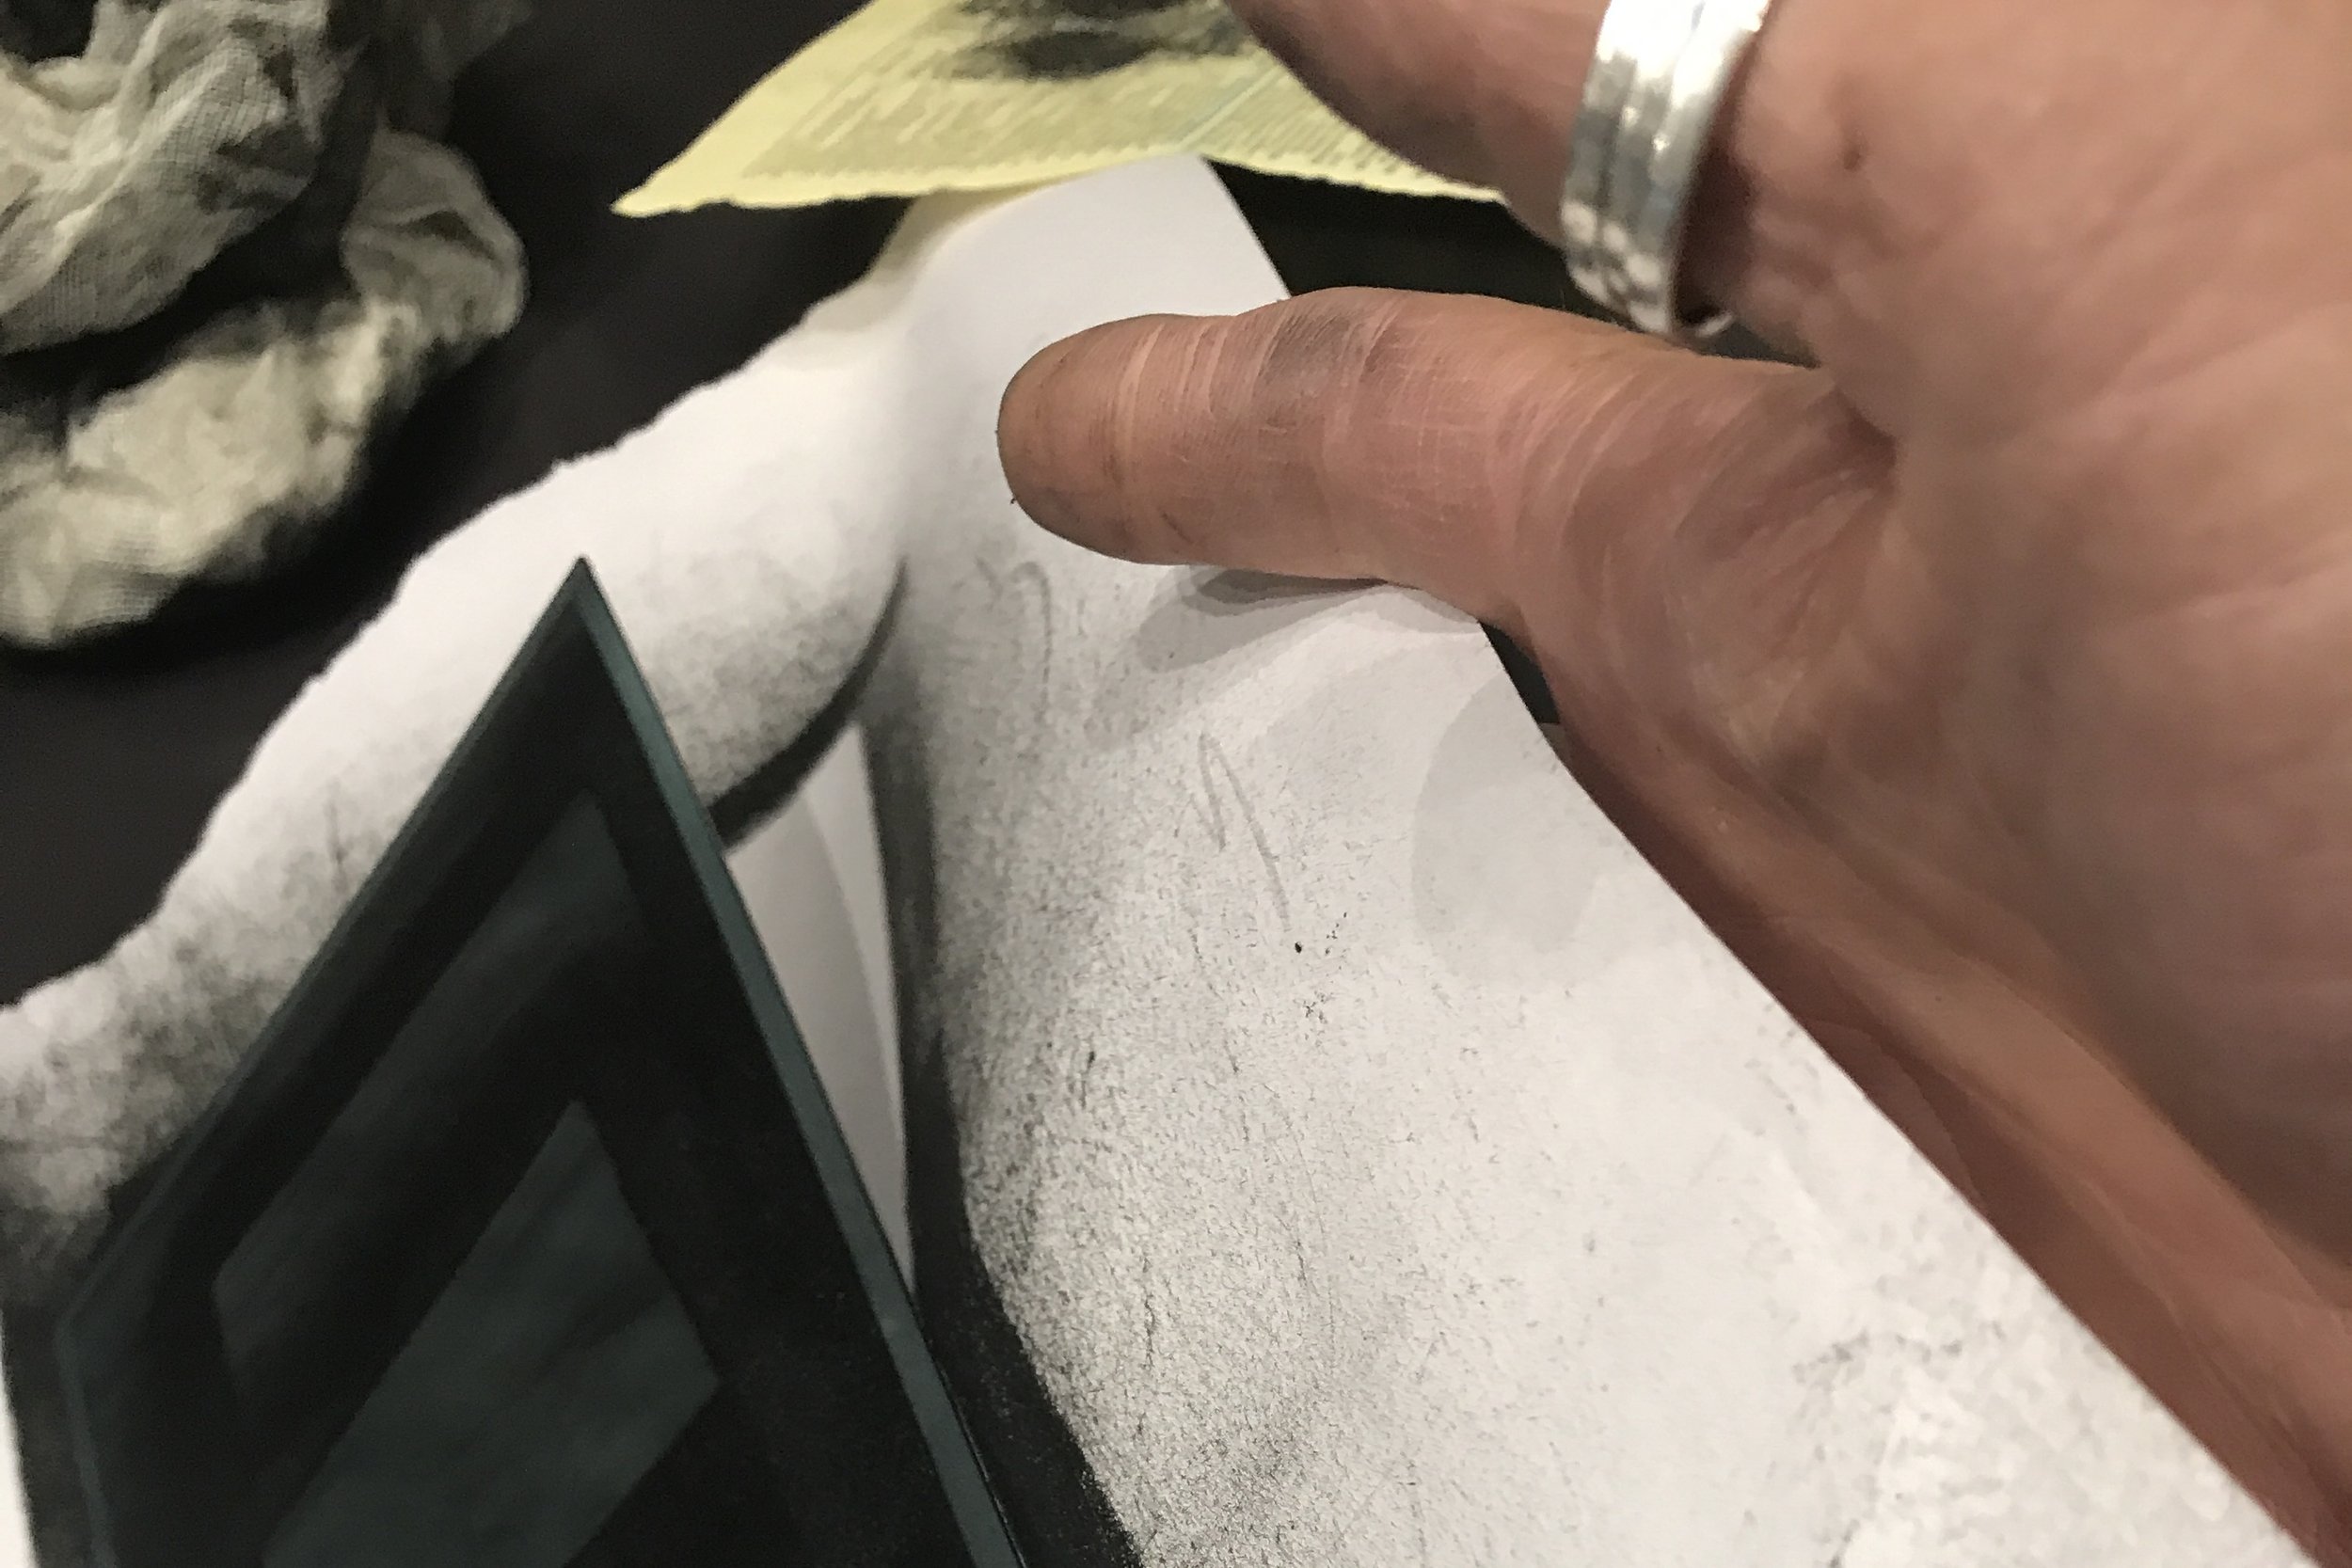
Figure 4
Footnotes
Photogravure etching is non-toxic and without use of solvents, or acids. Images are transferred directly onto a photopolymer plate with the use of an inkjet printer. The plate is then exposed using UV light, processed with water, and printed via an etching press (Glattauer 2021).
Keywords
MFA, Studio 1, Development of practice, Photogravure, Printmaking, Artefacts
Bibliography
Glattauer, Silvi. 2021. “PHOTOPOLYMER PHOTOGRAVURE - WEEK-END WORKSHOP.” Melbourne: Baldessin Press. https://baldessinpress.com.au/upcoming-workshops/photopolymer-photogravure-july2021-wgxz.
Visual art and soundscapes
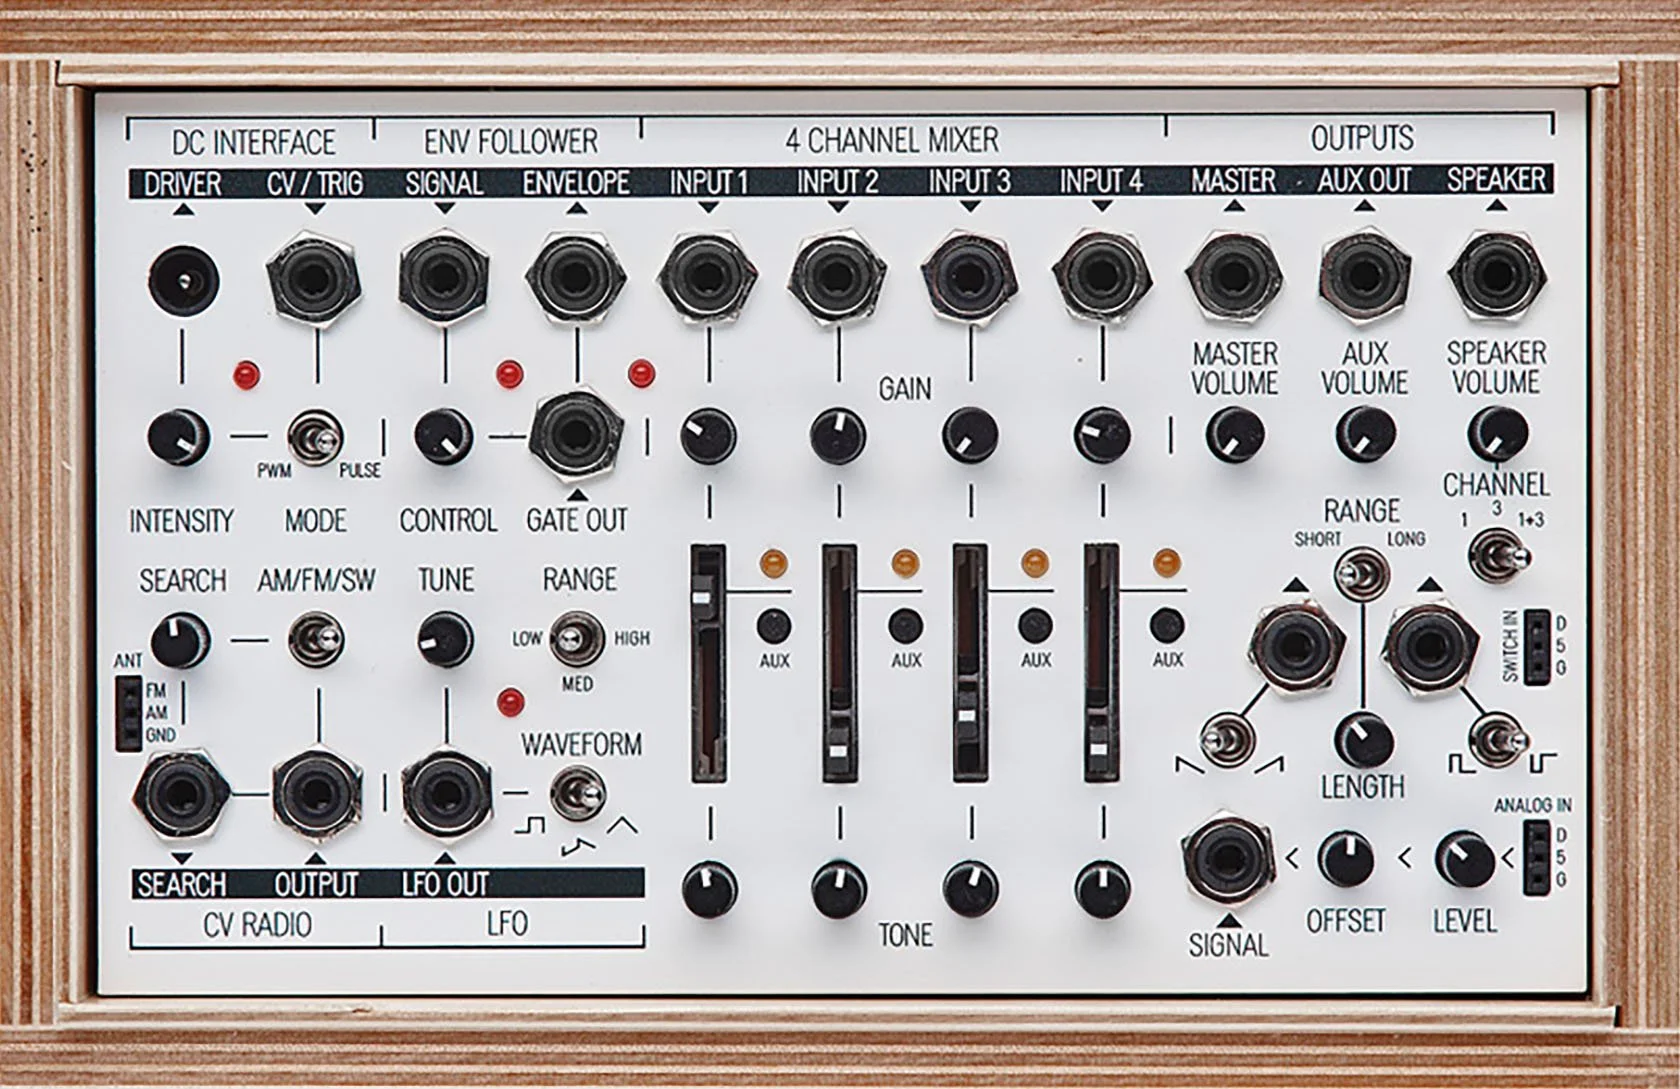
Koma Elektronik, Field Kit – Electro Acoustic Workstation, 2017
Raul Sanchez is an Australian musician. Although best known as the lead guitarist in Magic Dirt, Raul also plays in several other (less known) bands. Additionally, Raul's taste in music is expansive and eclectic, as can be heard in his soundtracks (written for short films), solo projects, and Avant Garde soundscapes (which he refers to as "sound sculptures").
This resonates strongly (see Master of Photography capstone project “Frisson”) which aimed to visualise mental and bodily sensations experienced when listening to music (or musically induced frisson) in a series of abstracted portraits of Melbourne musicians created using alternative analogue photography and printmaking. The involvement and participation of musicians informed the project from the perspective of the live music creative sectors and contributed to my artwork, 'speaking back' to my study of neuroscience, phenomenology and live music culture that underpinned the creative-based research.
Raul and I are discussing numerous collaborative projects, whereby I create 2D works based on soundscapes he has composed, and he creates soundscapes to accompany my visual art (2D).
Musicians and academic theories inform visual art series. My photographic and creative practices used to create series are recorded, sampled and used to compose a soundscape by a working musician. Thus the visual works, informed by live music creative sectors and academic study, come 'full circle' to inspire the music and musician. Full circle.
This week, we are meeting to build on my concept of recording my photographic (analogue) and printmaking processes as samples to create a soundscape or sound sculpture to accompany a visual installation of works.
The equipment Raul will use includes The Koma Field Kit and Koma Field Kit FX, both made in Germany for creating sound art and electro-acoustic music. He has provided links to the equipment, which I have yet to research. Raul referenced Curtis Roads and David Toop (academics who specialise in the field of Avant-Guard music), who I have also begun to investigate.
Keywords
Avant-Garde, Music, Soundscapes, Sound sculpture, 2D art, Curtis Roads, David Toop, Koma Field Kit
Bibliography
Collins, Nick. 2016. "Composing Electronic Music: A New Aesthetic. By Curtis Roads". Music And Letters 97 (4): 675-677. doi:10.1093/ml/gcw092.
Roads, Curtis. Composing Electronic Music: A New Aesthetic. New York: Oxford University Press, 2015. Oxford Scholarship Online, 2015. doi: 10.1093/acprof:oso/9780195373233.001.0001.
Toop, David. 2012. "Sounding The Object: A Timebase Archive". Journal Of Conservation And Museum Studies 10 (1). doi:10.5334/jcms.1011203.
Arvidsson, Alf. 2017. "David Toop. 2016. Into The Maelstrom: Music, Improvisation And The Dream Of Freedom: Before 1970." New York and London: Bloomsbury. ISBN 978-1-5013-1451-3 (Hbk), 978-1-6289-2769-6 (Pbk). 330 Pp.". Perfect Beat 18 (2): 170-172. doi:10.1558/prbt.33480.
Koma Elektronik GmbH. 2016. "FIELD KIT - Electroacoustic Workstation". Kickstarter. https://www.kickstarter.com/projects/komaelektronik/field-kit-electroacoustic-workstation.
Koma Elektronik. 2017. Field Kit – Electro Acoustic Workstation. Image. https://koma-elektronik.com/?product=field-kit.
Soundscapes
Record photographic processes used to create a series (such as agitation of darkroom trays, film developing canisters, timer, winding of film loading film), to sample and create a soundscape that accompanies the visual art. The process brings the work that visually iterates (in 2D imagery) mental and physical sensations induced by listening to music (musically induced frissons and musical emotion) full circle, whereby the processes used to create the art are then used to transform back into music. The intention is that the soundscape then presents an audial iteration of musically induced frissons and musical emotion. Although this soundscape is intended to be part of the final installation, I am keen to produce a limited edition vinyl release. I am currently discussing with a friend who is an established touring and recording musician on the ‘rock scene’ and a talented sound engineer, solo artist and composer who reaches into the ambient noise and the avant garde.
Keywords
Soundscapes, Musical emotion, Frissons